

Please note: This is not my tutorial, I found it on reddit. All credit to the original poster. ")
source: is here
The Rebuilding of an Atlantis Coil
Created 10 hours ago · 18 images · 3,307 views · stats

This is the coil disassembled. Since I couldn't really find any solid tutorial, I decided to to do one of my own. Apologies for some crappy phone pics. Remove everything, except the screen material over wicking holes, and the SS mesh donut on the bottom.
Ew!
this is the stock innards. Ceramic wicking.
.... gross.

I believe the coil from the factory is 24 gauge, 3.5mm I.D., 8 wraps with about a mm in between wraps. Sleeper style. If you wished to rebuild to factory spec. Although these specifications are hard to pinpoint as both coils unravled as I attempted to remove them.
Matrix tracking bug anyone?

This is the coil that I'm replacing it with. I've tried a couple of different coil diameters/gauge/wraps, and this seems to work best. 22 gauge, 3mm I.D., 9/10 wraps. Try to get that bottom lead to wrap as tight to the body of the coil as possible, without touching. Also, make the leads opposite in position to the coil as possible. 12 o'clock and 6 o'clock, if looking from the top
The tough part, wicking.

Cut a strip of JAPANESE COTTON a little wider than the total overall length of the coil. Japanese cotton is a must in my opinion, as the singular strands of cotton balls tend to try and fall between the wraps.
... now split said strip in 2..

(self explanatory)
Tuck the cotton right between the coil, and the negative lead

Like a clothese pin
Now wrap it slowly and tightly
like a nice cotton burrito. This time, on the outside of the negative lead.
Stuff it in

Have a flathead screw driver to help nudge the cotton down with the coil. If it slips out from around the coil at the mouth, pull it out and try again. It all needs to go down together.
You can try and center the coil here

Make sure you don't accidentally shove out the stainless mesh donut down here, and if you do; replace it!
Insert the little grommet, followed by the pin.

If you've ever rebuilt a kanger coil, you know how this works. Make sure that one wire resides INSIDE the grommet, and another OUTSIDE the grommet. This is very important. This is what separates the + and - leads. Insert the positive pin, and help bend the leads 90 degrees. Check your coil from the bottom again and adjust as necessary.
Now snip em!

Horrible pic, my apologies. Make sure they are nice and tight!
Throw it on the base and ohm check it!
I could have gone a little lower, but this will make for a warmer vape.
DRIP IT FIRST!

Make sure to saturate that coil before you put the tank on. I don't trust it's ability to soak everything when installed. Takes between a 1/4ml and 1/2ml just for the coil. Fire it while blowing it out (optional), and re-drip.
Secondary ohm check for shorts

And set your wattage! This is my favorite setting, slow wake up but nice and warm. Your experience may vary!
And....

Voila!
source: is here
The Rebuilding of an Atlantis Coil
Created 10 hours ago · 18 images · 3,307 views · stats

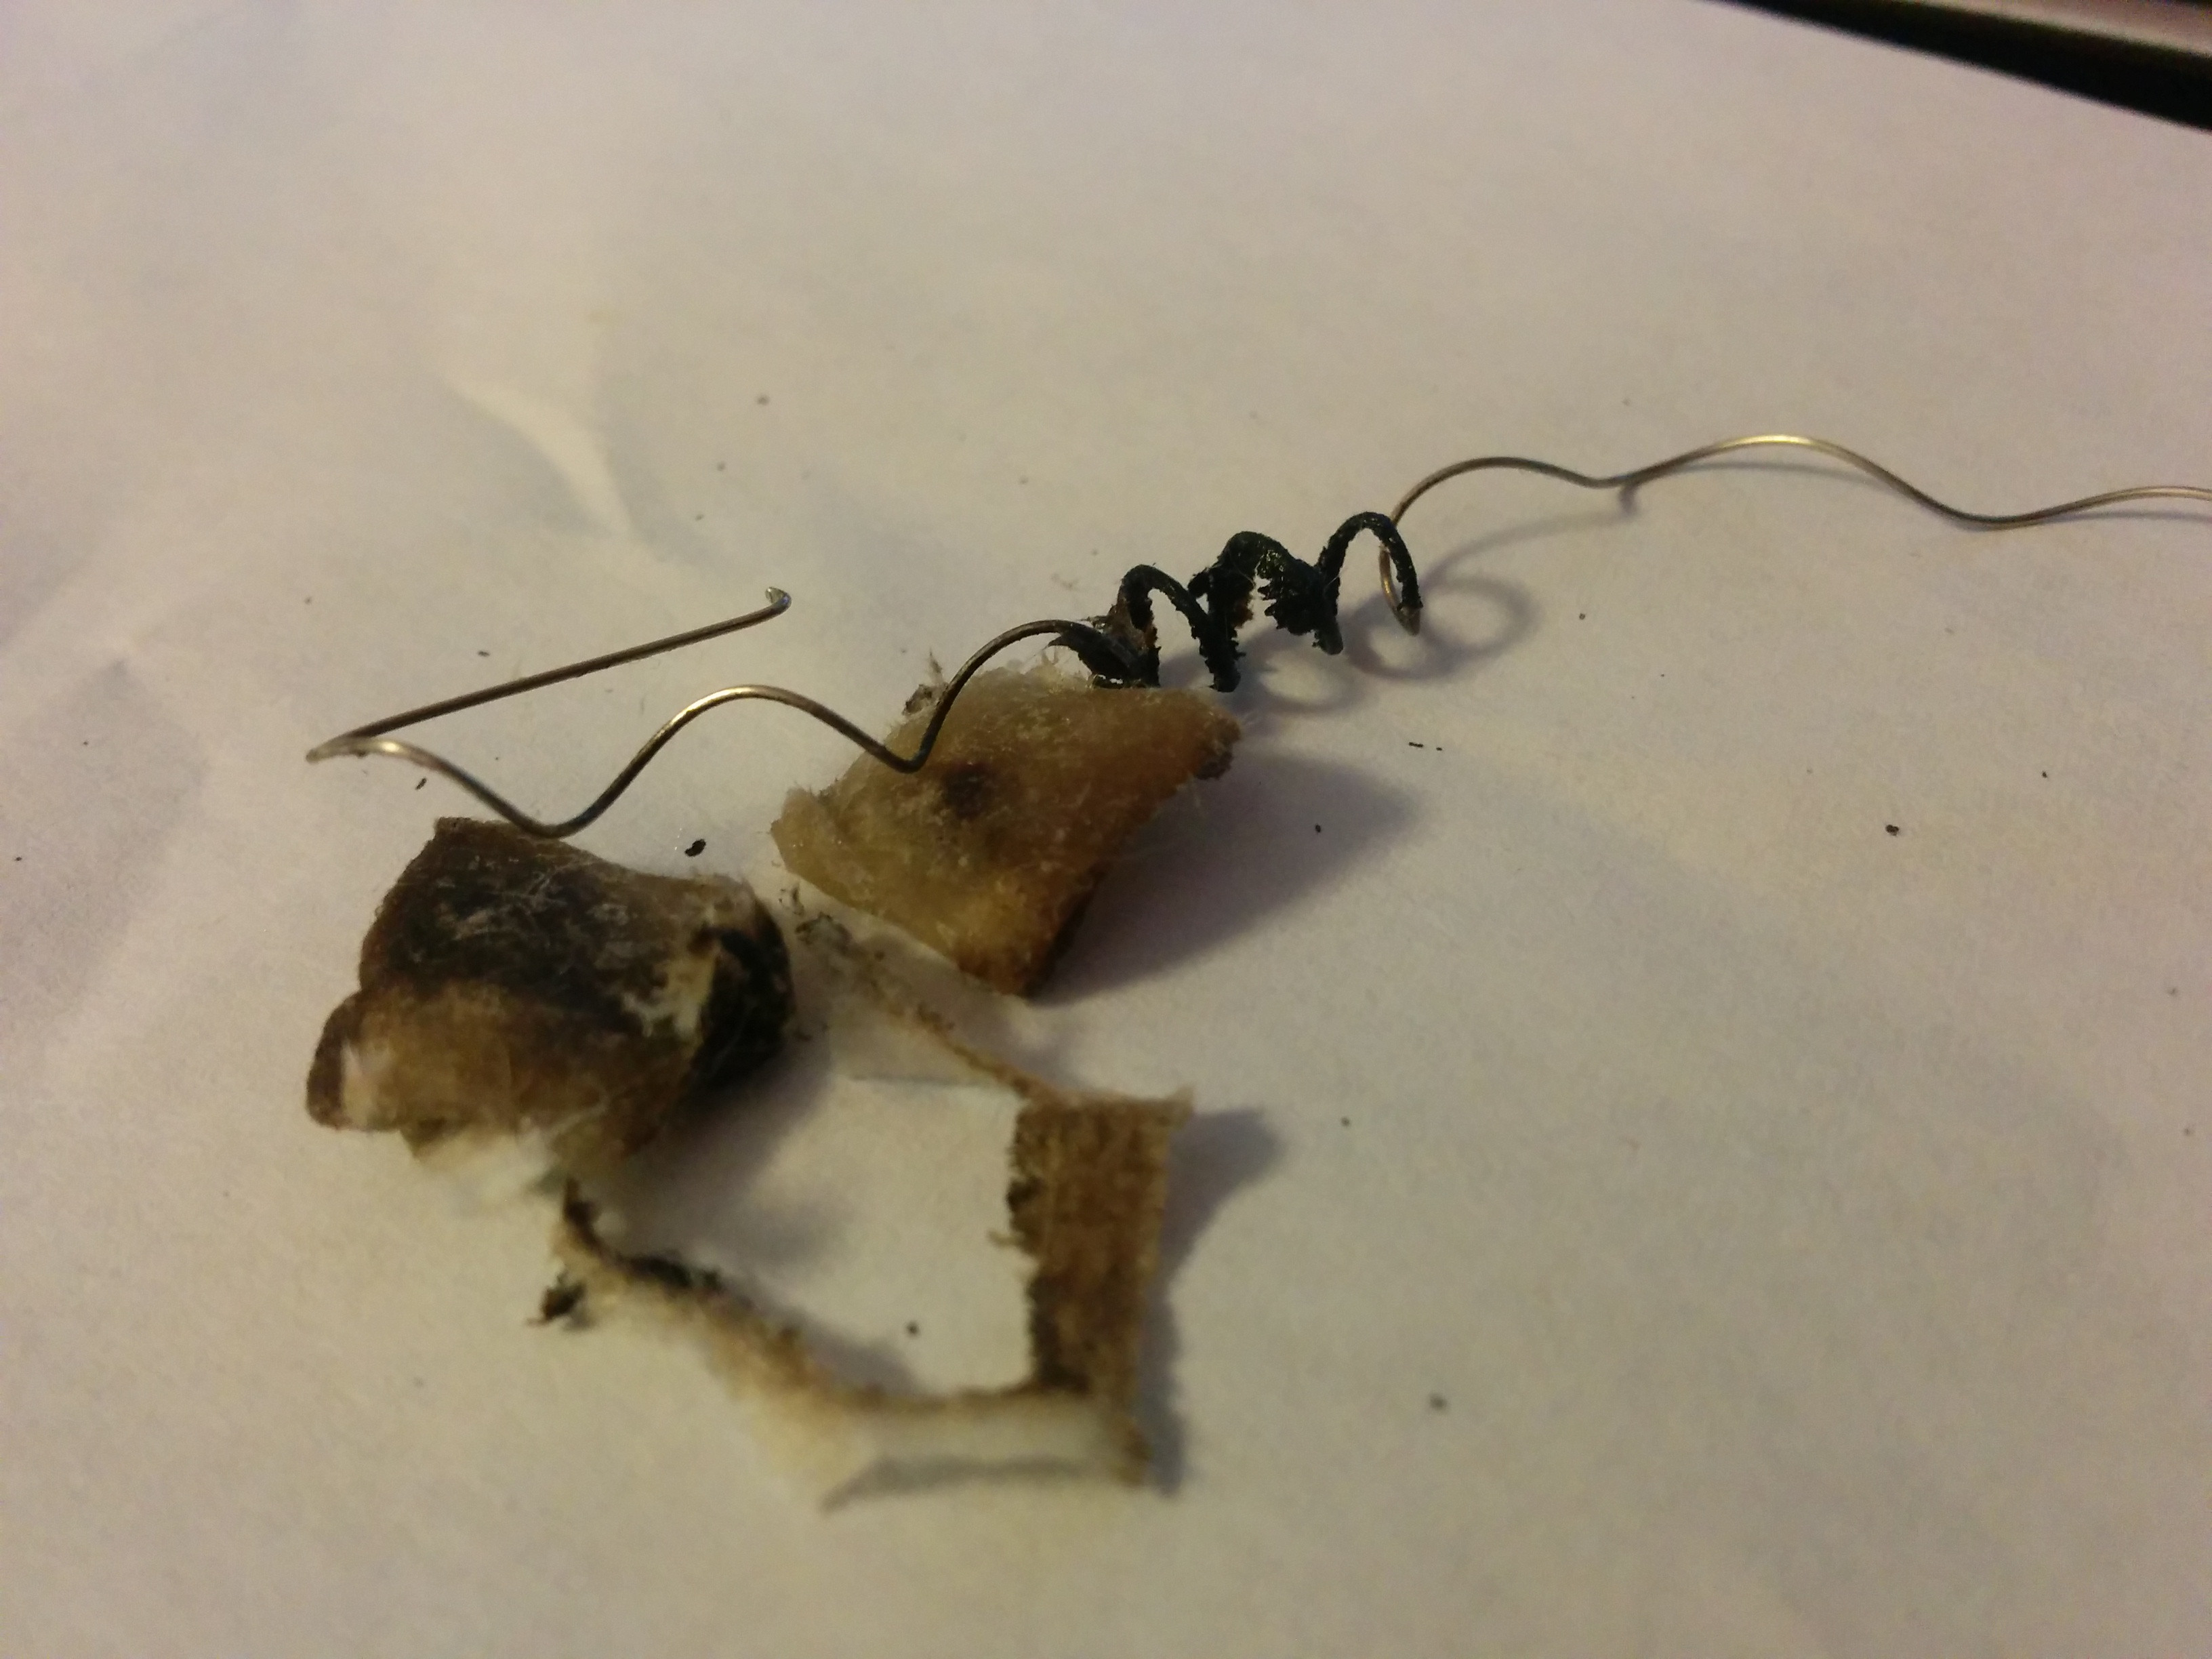
This is the coil disassembled. Since I couldn't really find any solid tutorial, I decided to to do one of my own. Apologies for some crappy phone pics. Remove everything, except the screen material over wicking holes, and the SS mesh donut on the bottom.
Ew!

this is the stock innards. Ceramic wicking.
.... gross.

I believe the coil from the factory is 24 gauge, 3.5mm I.D., 8 wraps with about a mm in between wraps. Sleeper style. If you wished to rebuild to factory spec. Although these specifications are hard to pinpoint as both coils unravled as I attempted to remove them.
Matrix tracking bug anyone?

This is the coil that I'm replacing it with. I've tried a couple of different coil diameters/gauge/wraps, and this seems to work best. 22 gauge, 3mm I.D., 9/10 wraps. Try to get that bottom lead to wrap as tight to the body of the coil as possible, without touching. Also, make the leads opposite in position to the coil as possible. 12 o'clock and 6 o'clock, if looking from the top
The tough part, wicking.

Cut a strip of JAPANESE COTTON a little wider than the total overall length of the coil. Japanese cotton is a must in my opinion, as the singular strands of cotton balls tend to try and fall between the wraps.
... now split said strip in 2..

(self explanatory)
Tuck the cotton right between the coil, and the negative lead

Like a clothese pin
Now wrap it slowly and tightly

like a nice cotton burrito. This time, on the outside of the negative lead.
Stuff it in

Have a flathead screw driver to help nudge the cotton down with the coil. If it slips out from around the coil at the mouth, pull it out and try again. It all needs to go down together.
You can try and center the coil here

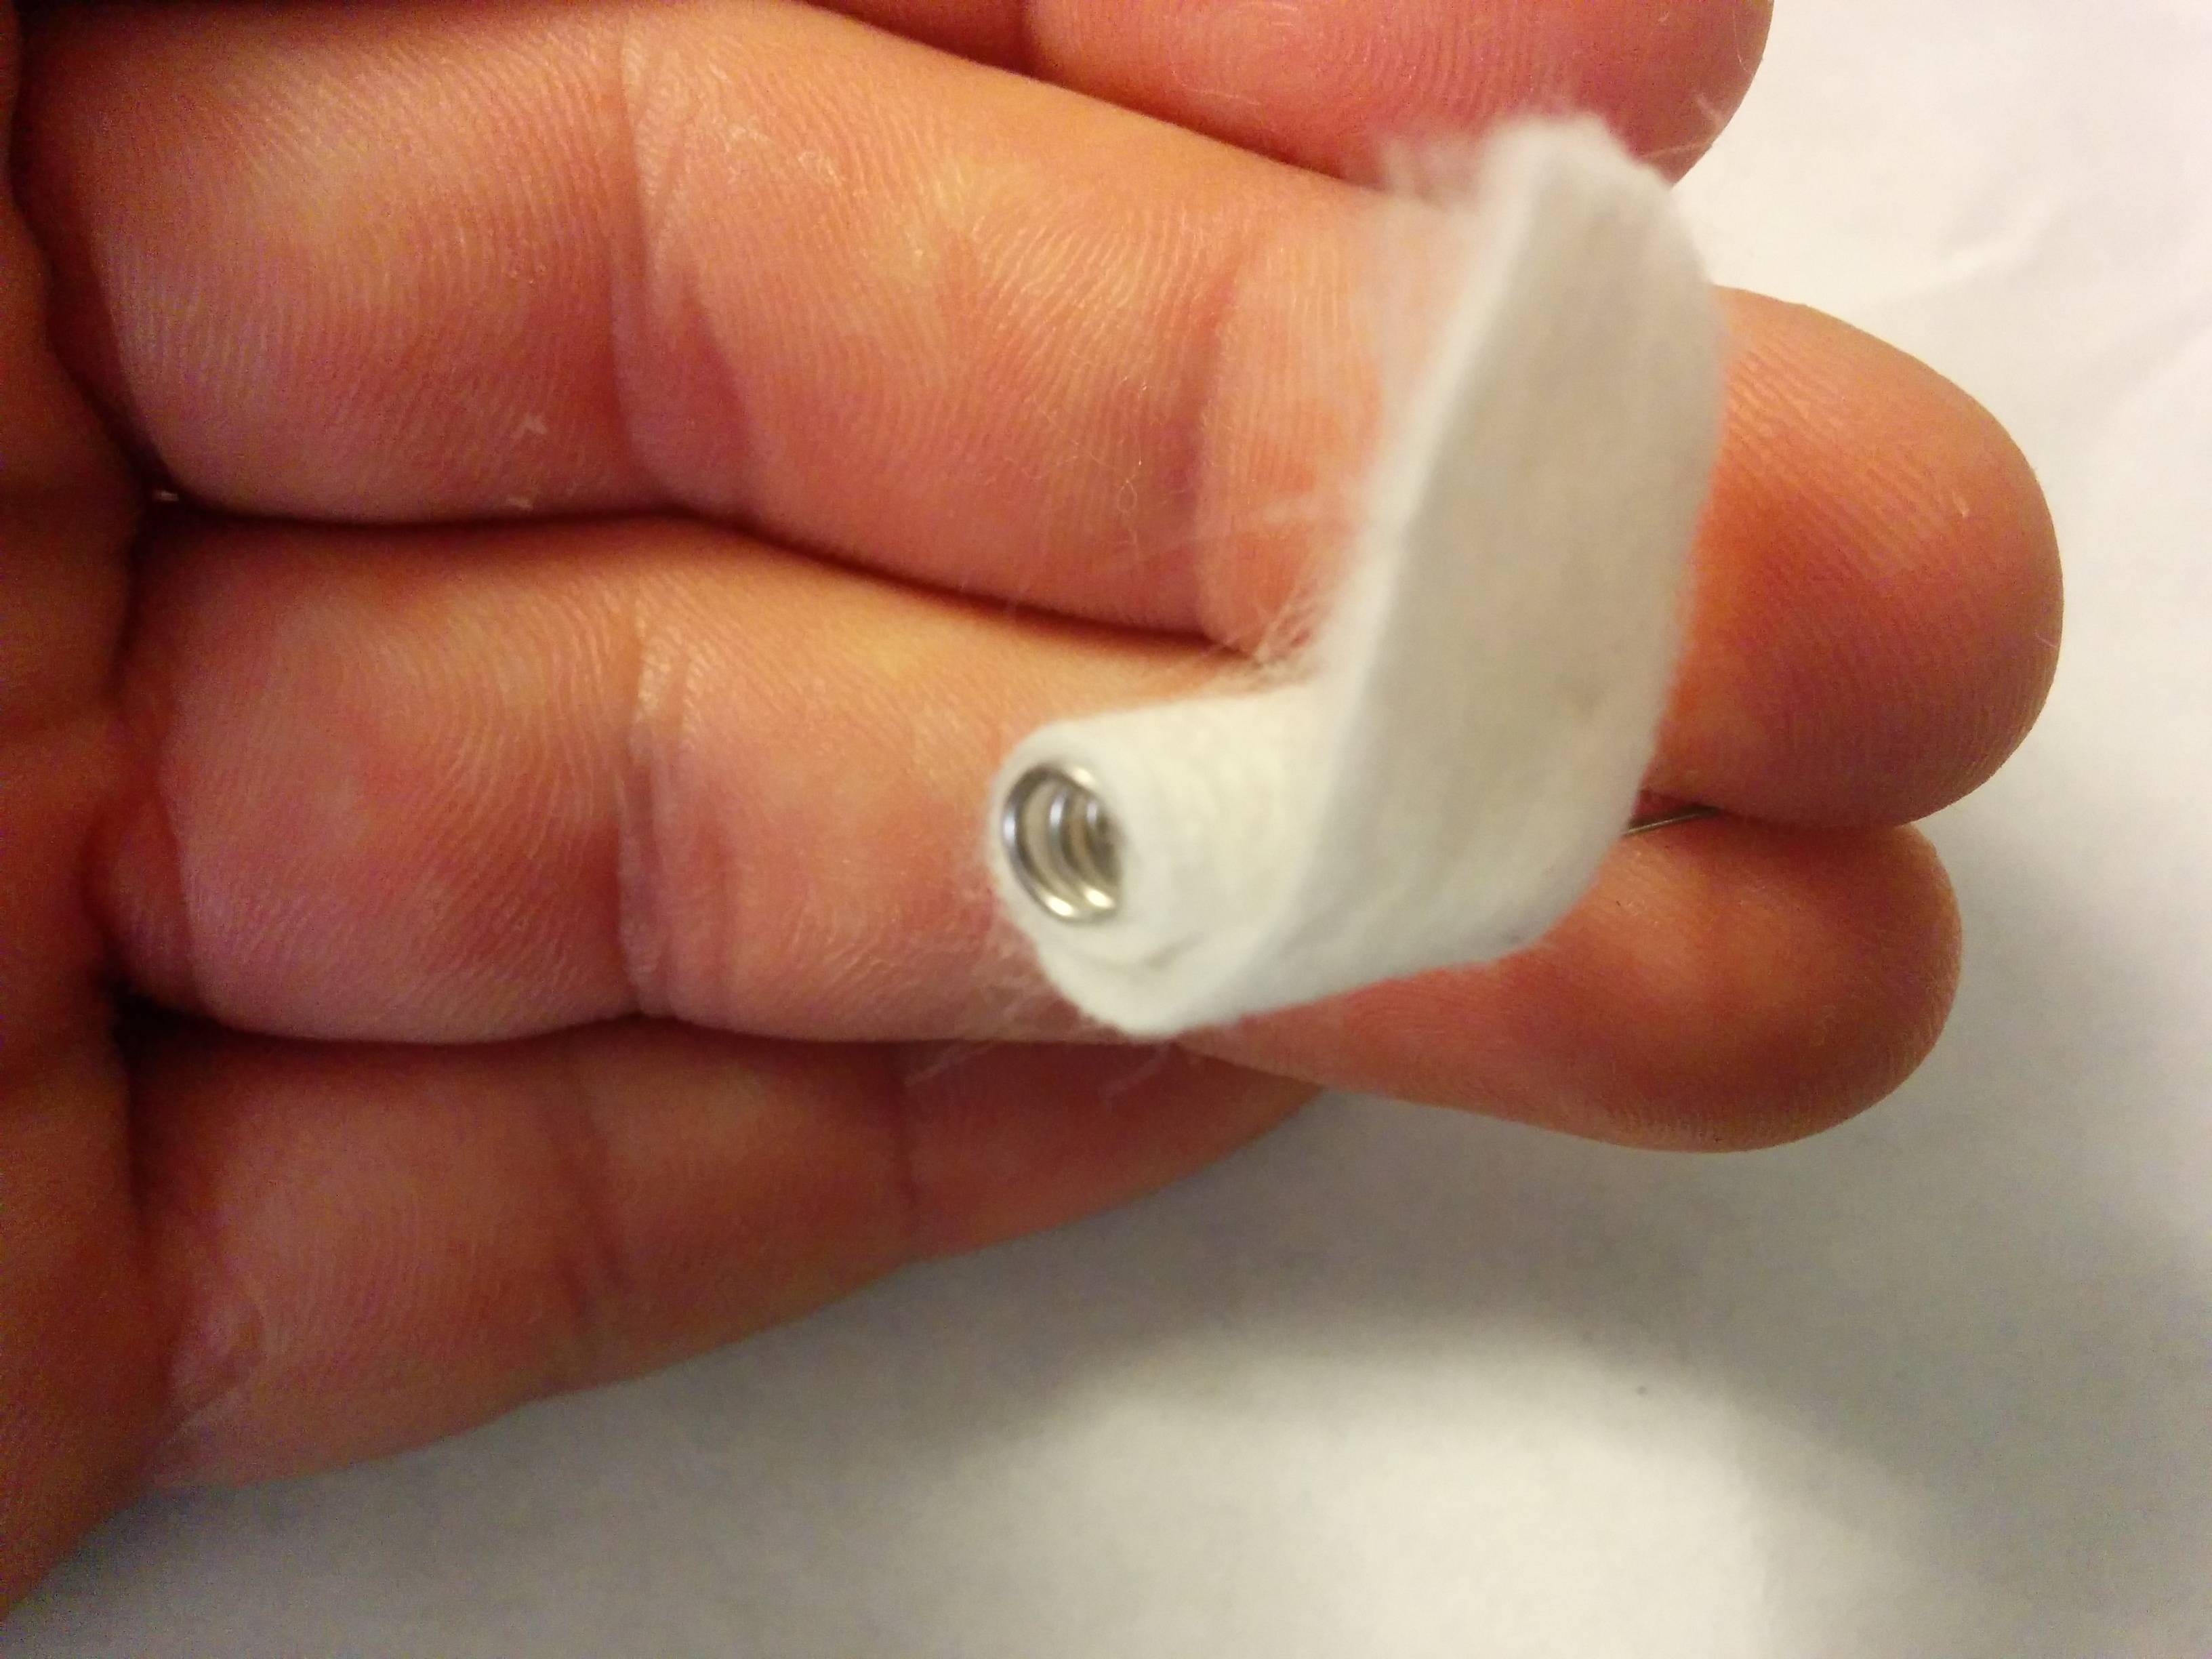
Make sure you don't accidentally shove out the stainless mesh donut down here, and if you do; replace it!
Insert the little grommet, followed by the pin.

If you've ever rebuilt a kanger coil, you know how this works. Make sure that one wire resides INSIDE the grommet, and another OUTSIDE the grommet. This is very important. This is what separates the + and - leads. Insert the positive pin, and help bend the leads 90 degrees. Check your coil from the bottom again and adjust as necessary.
Now snip em!

Horrible pic, my apologies. Make sure they are nice and tight!
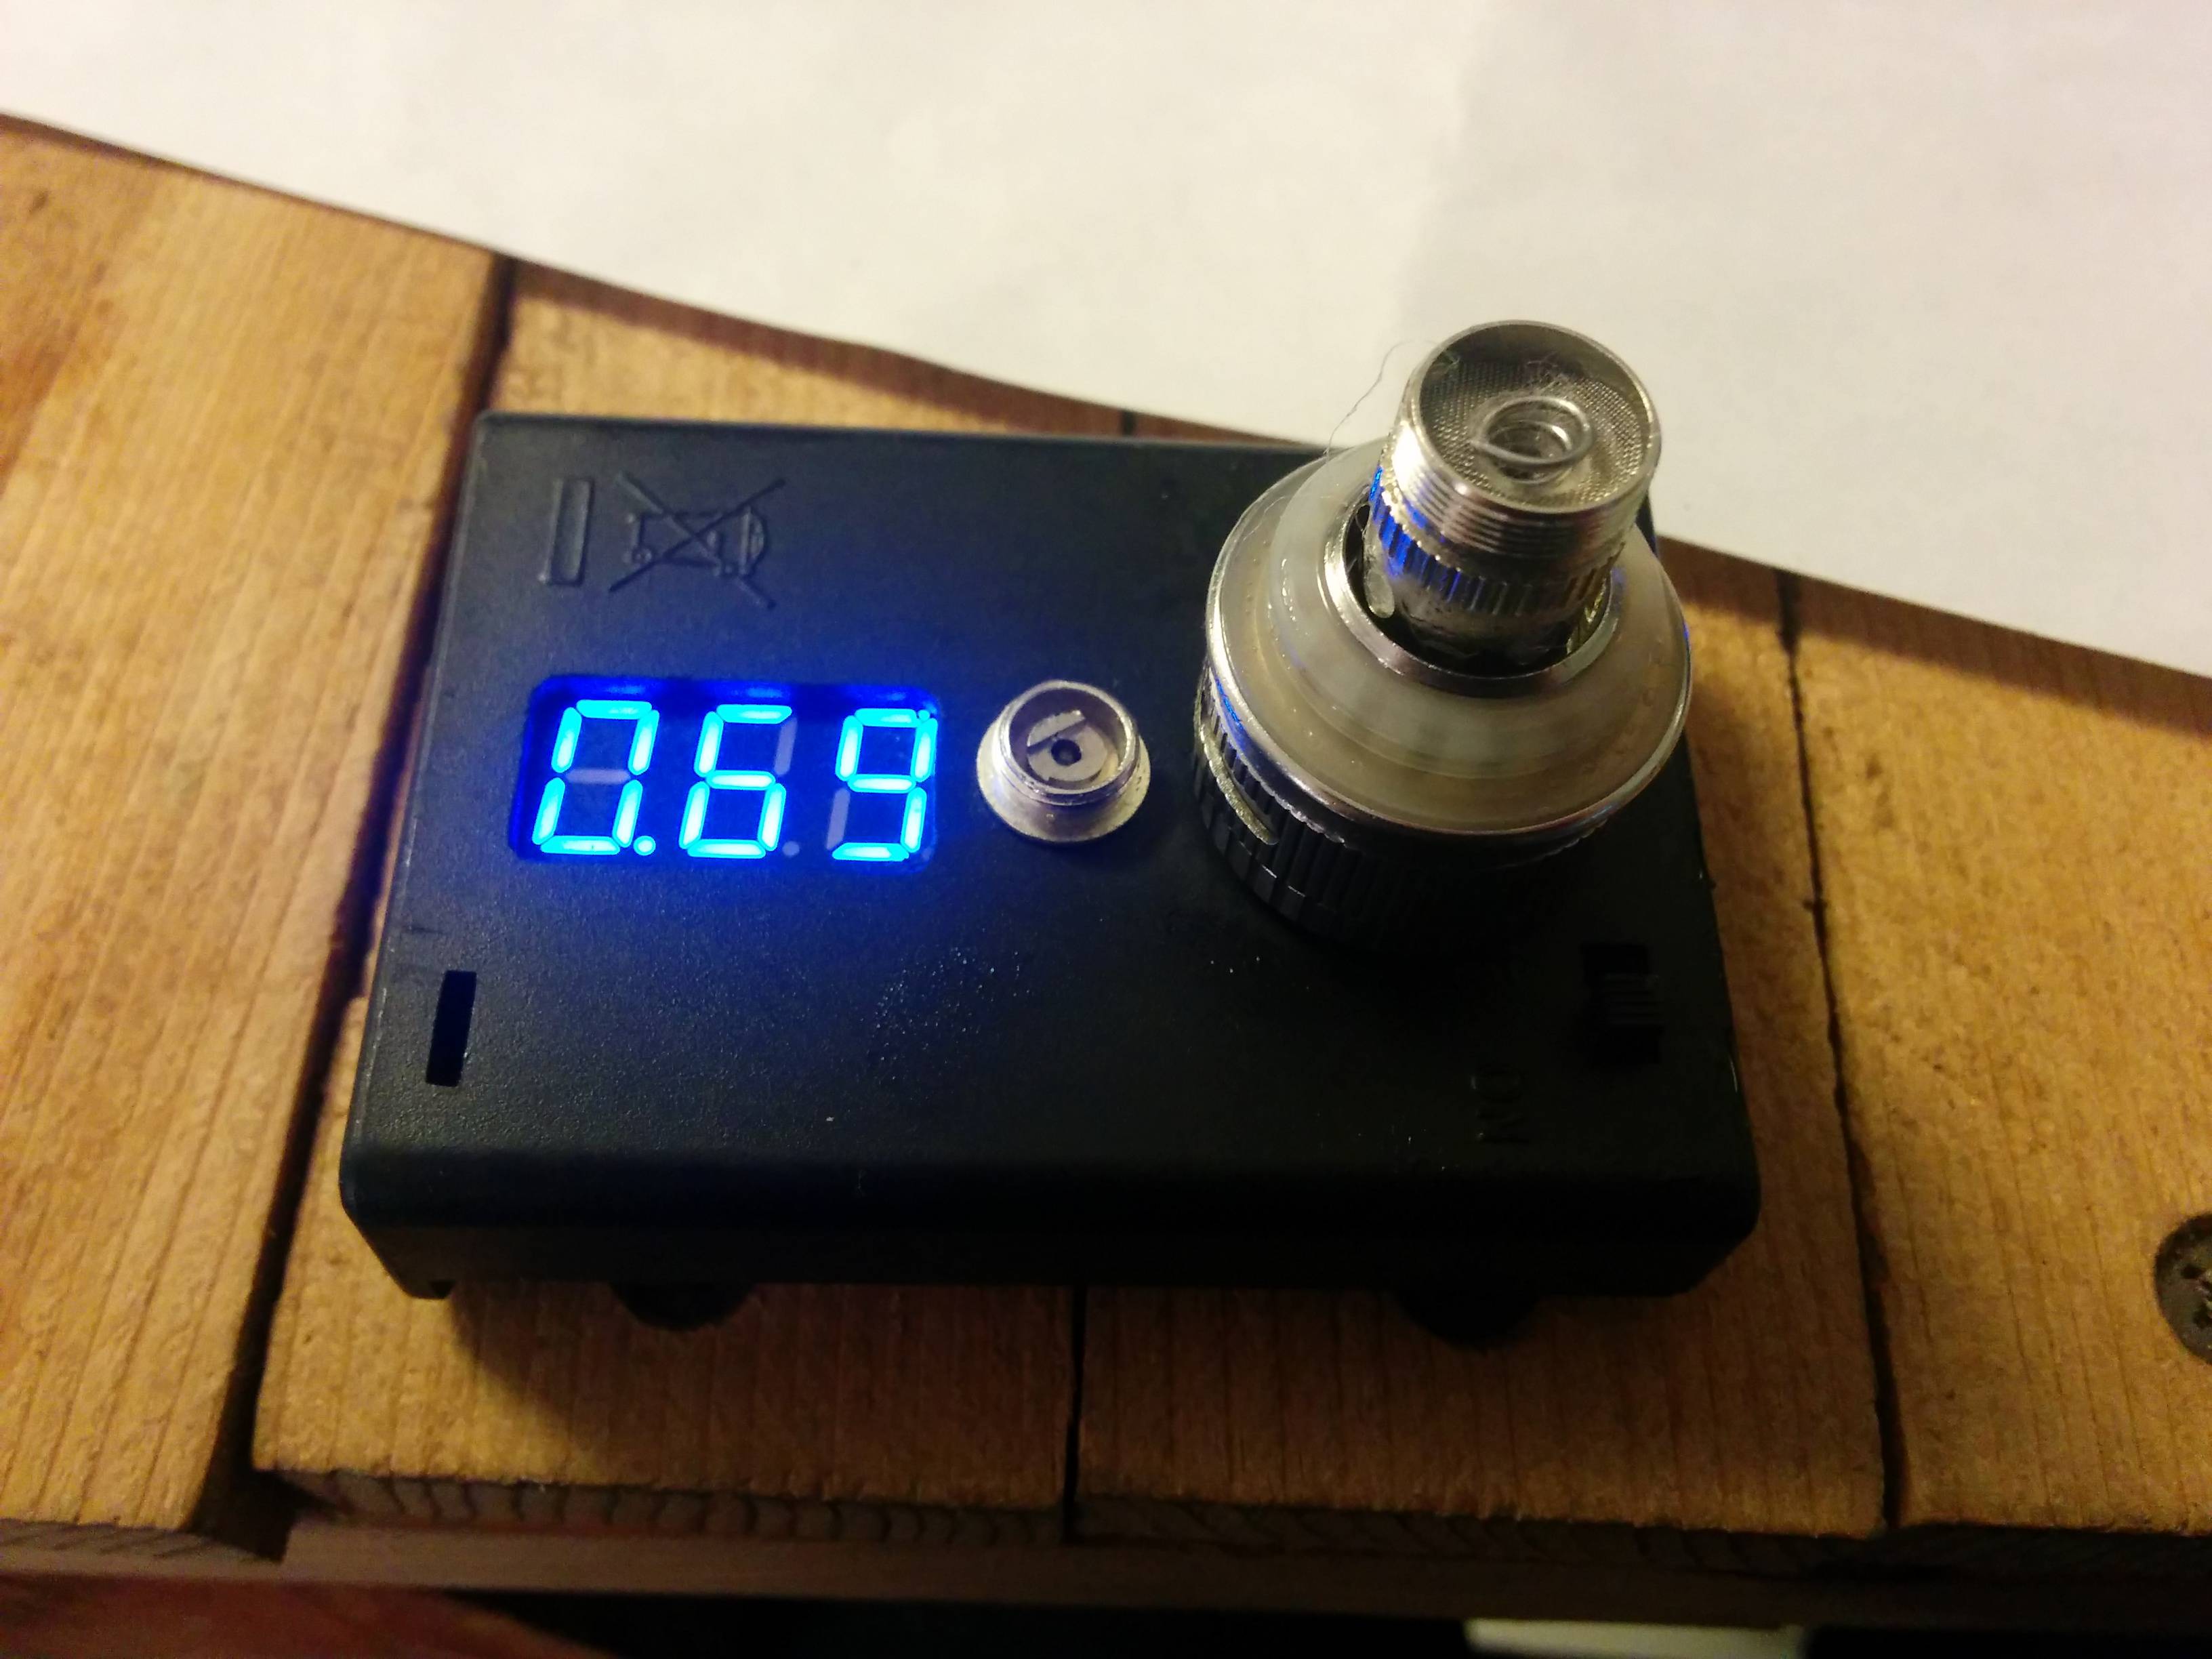
Throw it on the base and ohm check it!

I could have gone a little lower, but this will make for a warmer vape.
DRIP IT FIRST!

Make sure to saturate that coil before you put the tank on. I don't trust it's ability to soak everything when installed. Takes between a 1/4ml and 1/2ml just for the coil. Fire it while blowing it out (optional), and re-drip.
Secondary ohm check for shorts

And set your wattage! This is my favorite setting, slow wake up but nice and warm. Your experience may vary!
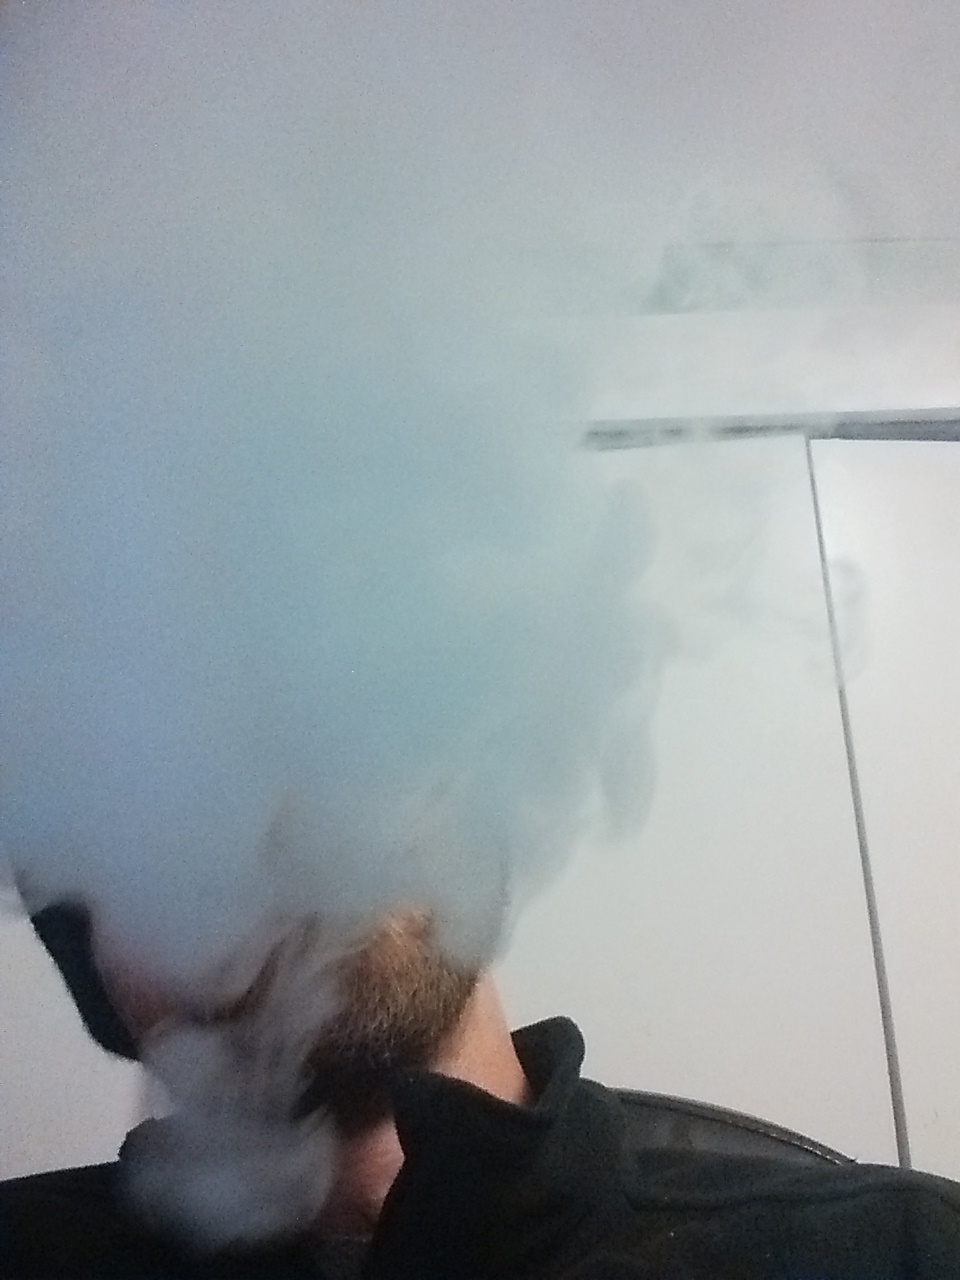
And....

Voila!


