Welcome all new vapers! What a wonderful time to start vaping 
In this post I will attempt to give as much useful information as I can for a new vaper deciding what device(s) to get when starting out of this wonderful journey.
This may be a bit long-winded, so feel free to skip to the end for a definitive recommendation (the TL;DR part)
When starting out it can be very daunting to choose which device to get - the choices seem endless and the descriptions may sound quite outlandish.
For the longest time, it has been quite challenging to recommend a good starting device for new vapers. Most of what was available was either underpowered or a combination of things (which makes shopping more difficult than it should be for a new vaper).
Previously, my standard recommendations were one of the following:
KangerTech Evod Kit - this is a cheap dual device kit that is very well priced and is usually a good way to "test the vaping waters". The problem with it is that it needs replacing very soon to keep up with the new vapers needs (most will need an upgrade within the first month or two). When looking at it like that, it's cost really isn't that cheap after all.
iStick + Aspire Nautilus Mini - this is a two part set (sold separately) which has for a long time been the "best" way to get going with vaping. But even with this "kit" many vapers needed an upgrade after a while - either when the device no longer satisfied them or when they wanted to get into more advanced vaping.
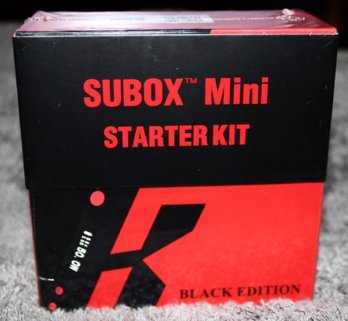
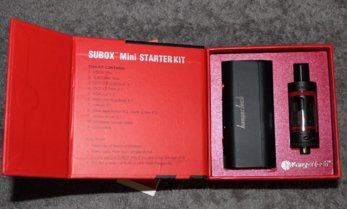
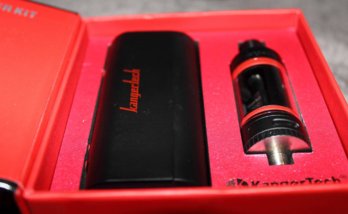
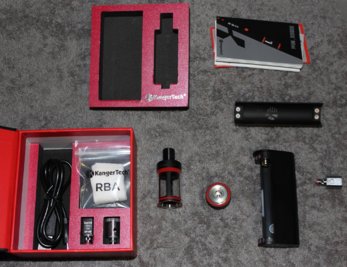
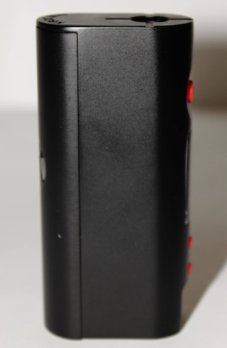
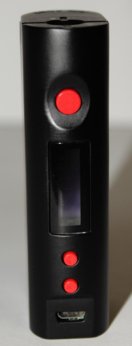
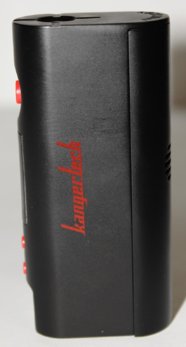
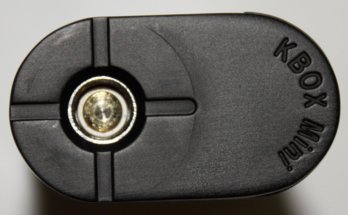
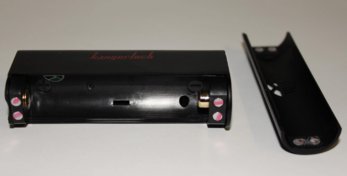
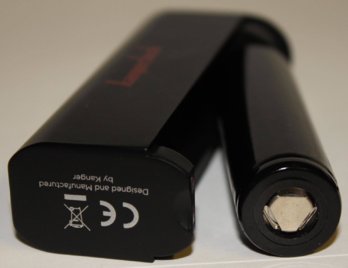
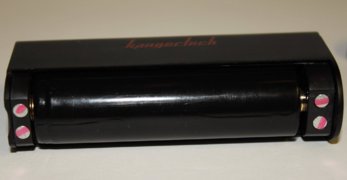
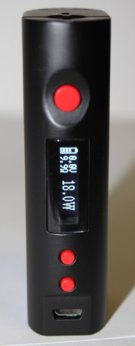
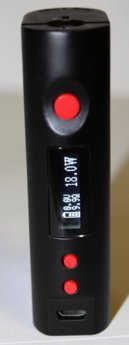
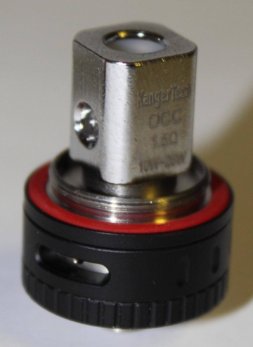
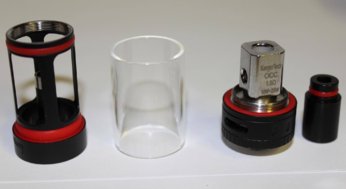
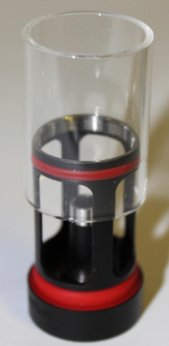
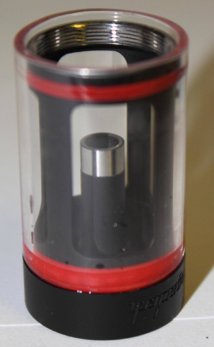
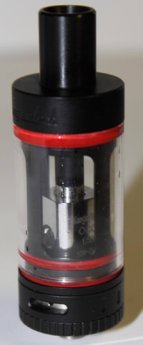
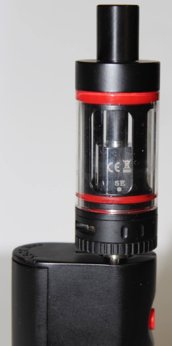
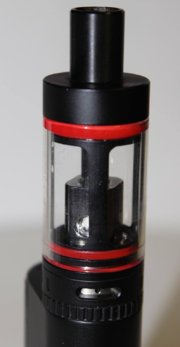
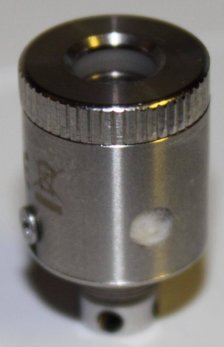
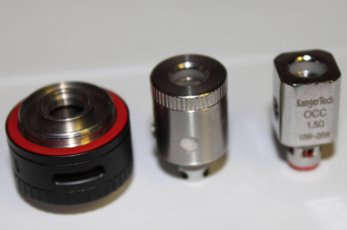
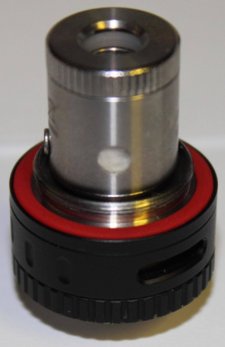
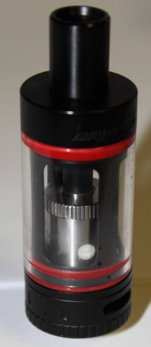
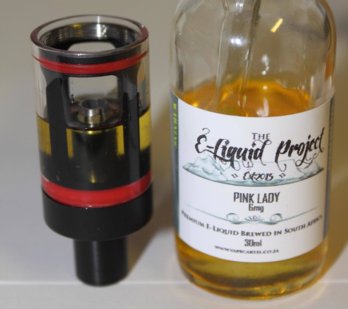
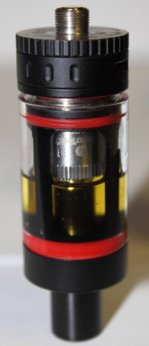
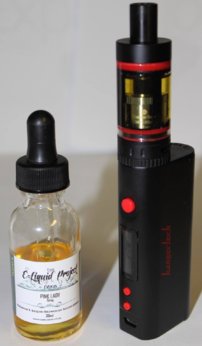
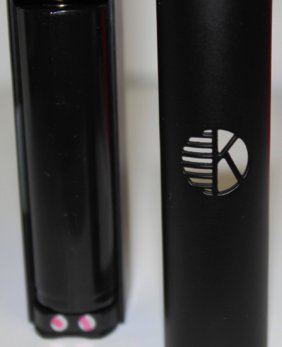
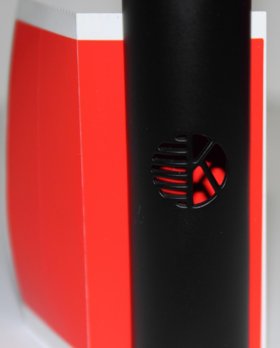
This has now changed dramatically, as there is finally a all-in-one kit which can satisfy a beginning vaper, and grow with them as their needs change. Most vapers would not need to upgrade from this kit for a very long time (some may never need to). This kit is called the KangerTech Subox Mini (of which I will do a full review with instructions and usage tips in one of the posts below). By the time you read this it should be available from most of the local vendors and it comes in black/white.
--------------------------------------------------
In order to fully illustrate the amazing value of this kit (and justify the recommendation) I will first need to describe some vaping terms and concepts to you (these are covered in many places on here, but I thought I'd add them again for an all-in-one post).
E-liquid (Juice) & Nicotine Concentration
E-liquid is the liquid which (usually) contains nicotine. These liquids come in a wide variety of flavours to cater to everyone's tastes. This is such an involved field and very important to your vaping journey so I suggest trying out lots of different juices and reading many reviews
Like cigarettes, e-liquids come in various concentrations of nicotine, with 18mg being the strongest commonly available one and 1.5mg the lowest. Juices without any nicotine (0mg) are also available, and are suitable for non-smokers who vape.
Mouth-To-Lung (MTL for short)
This refers to the type of vaping where you draw vapour into your mouth before inhaling it into your lungs - similar to how most people smoke cigarettes.
When you first start vaping, (most) of our lungs are in a bad state (the severity depends on the duration/intensity of smoking). And because vapour is so very different from smoke, initially your lungs will be a bit sensitive to it. For this reason it is highly advised that new vapers start out with MTL vaping. You also need to limit the amount of vapour going into your lungs or you may cough quite a bit as your lungs acclimate to the new "stuff" coming in - some coughing is natural but keeping the vapour volume down eases this transition quite a bit.
Because of the reduced volume of vapour intake, an e-liquid (juice) with a higher concentration of nicotine (around 12 to 18mg) is advised when starting out.
Throat Hit
This refers to the feeling you get in the back of your throat when inhaling vapour - it is very similar to the burning sensation you get when inhaling cigarette smoke, but much less harsh and more pleasant.
Many new (and even seasoned) vapers crave this hit as they "feel" like they are inhaling something. Without it, a new vapor may crave smoking a cigarette to get that sensation. In other words, for some it is crucial to giving up smoking completely.
Higher nicotine generally provides a more pronounced throat hit (as do some other factors, but I'll keep it simple for now).
Lung Hitting
Many (but not all) seasoned vapers eventually move on from MTL vaping by drawing vapour directly into their lungs (in much higher volumes than with MTL). This is usually what people are doing when you see larger billowing clouds coming out of them
Because of the larger volume of vapour, these vapers generally use e-liquids with a much lower concentration of nicotine (around 1.5 to 6mg).
Coils & Wicks
Coils are heating elements which heat up e-liquid and turns it into vapour which is then inhaled - note that no combustion occurs as with smoking. There are multiple types of metal used for making coils, with Kanthal (and more recently Nickel and Titanium) being the most popular.
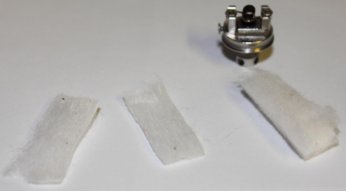
Wicks are the parts that carry the liquid from a container to the coil so that it can be vapourised. There are various materials used, but generally it is some form of cotton or silica.
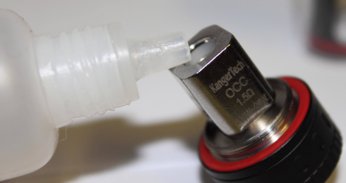
For new vapers, a commercial coil is recommended, which is an all-in-one unit with the actual coil and wick installed inside a casing that can be easily replaced. Each of these commercial coils only have a limited life, at which point they should be replaced to ensure you are getting the best vape (and nicotine delivery) you can. More on these later.
Atomizer & Mod (Battery)
Atomizers are the parts of vaping devices which houses the coil, the wick, and the liquid. There are quite a few variations available, from ones that take commercial coils (as mentioned above), to advanced devices which allow you to create your own coils and change wicks as needed (see "rebuilding" below).
There are two main types of atomizers: Tanks (Clearomizers/RTAs) and Drippers (RDAs) - more on these later.
Older style atomizers which use commercial coils only are know as clearomizers.
Mods (the battery + screen + buttons) are what provides power to the coil in order to heat it up. These come in a wide variety, each with many different settings you can use to customize your vaping experience.
Power (Watts)
Mods are rated based on the amount of power they can provide to the atomizer. Beginning vapers generally vape at around 10-20W of power. Intermediate vaping is generally done around 20-50W. Advanced vapers can go up to 150-200W (but this is very specialized).
There are other forms of power, which involve reading the temperature of the coil (called temp sensing) but these are well beyond the scope of this intro.
Batteries
Some mods contain built-in batteries (with internal chargers), and others use loose cells that you can take out and charge in external devices. With replaceable battery units you can also carry more than one charged battery around and just swap it out when the current cell is depleted - this means you are never without your vape.
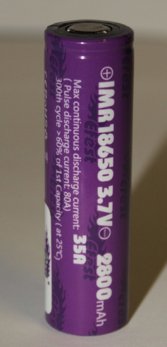
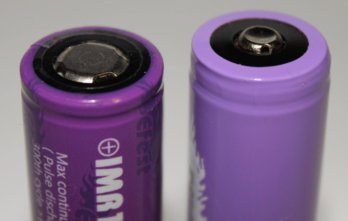
The most common batteries used for vaping devices are high discharge IMR cells of the 18650 (refers to their size) variety. These are commonly available and come in various quality levels, usually sacrificing one feature for another (such as less battery life, for more current draw). This is a very important field, but beyond the scope of this introduction - please research this (or ask questions), get good batteries, and use them safely.
Edit: I added a section on battery safety at the end of this post. Please take the time to read through it as this is a very important aspect of vaping safely
Rebuilding (RBA, RDA, RTA)
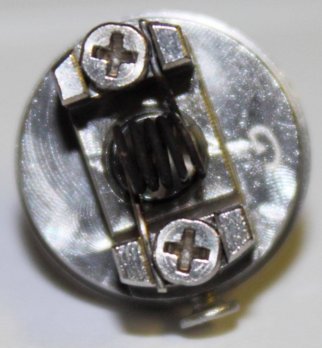
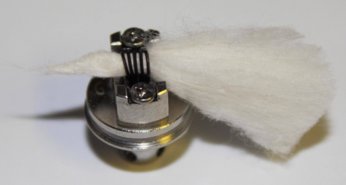
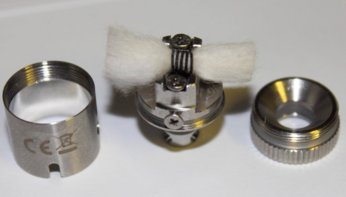
When vapers use the term "rebuilding" they are referring to creating their own coils and wicking them. Because commercial coils can be expensive to replace and are generally of the "one size fits all" variety, many vapers eventually turn to building their own coils to suit their personal preferences. Not only is this very cost effective, it is also quite fun and rewarding. There are many concepts involved in rebuilding (none of which are too complicated) but they are again a bit out of scope here. There is lots of information available and I will cover a bit of it in the Subox review.
The atomizers used for rebuilding are as follows:
RBA = ReBuildable Atomizer (this is a group name referring to all rebuildable atomizers)
RTA = Rebuildable Tank Atomizer (these store liquid in a tank, which is fed to the coil as you vape - similar to clearomizers, but unlike those you build your own coils and wicks with these tanks).
RDA = Rebuildable Dripping Atomizer (this group of atomizers holds no liquid - the liquid is dripped directly onto the wick every now and then to keep it saturated).
--------------------------------------------------
There are various other concepts, and interesting things to discover, but these basics should suffice for now.
This brings us back to the recommended device: The KangerTech Subox Mini.
The reason this device is so amazing is that, in a single package, you have most of the above methods of vaping (and their benefits) available to you - without spending any more money (or at least very little for the consumable wire/wick).
All you need is the kit and one 18650 battery (2500/2800mAh recommended). At a later stage you can buy some more batteries and an external charger to make it even easier to use (but this is NOT a requirement at all).
So let me do a quick rundown of what you can do with this device (the short-short version):
To put this into perspective, I started out about 11 months ago and spent about R1500 on devices which lasted me about 3 weeks before I had to upgrade to get the satisfaction I needed.
Pair this with any 12/18mg juice and I can all but guarantee you will be vaping up a storm and forgetting all about your cigarettes in no time
And this concludes part 1
In part 2 (below) I will go into a bit more detail on how to use your new Subox Mini (from beginner to advanced)...stay tuned
Before we get to that...
I would like to say a big thank you to @KieranD from Vape Cartel for getting this device to me early so that I was able to get this done before the bulk of these devices arrive - the pricing was amazing and I really appreciate the effort. If you are looking to get one, their next shipment is inbound and they have amazing other vape gear and juices as well
---------------------------------------------------------------------
Battery Safety (don't go "boom")
Because this is very important, I felt that I had to at least mention some more on battery safety as this device can push the limits of some batteries. This might be a bit confusing and I'll try not to get too technical
Batteries are rated in duration (the mAh value) which indicates how much power it can store and how long it can be used for before requiring a recharge. The other (and often overlooked by new vapers) value is the current draw (the A value, which stands for Ampere and indicates the flow rate of electric charge). Previously I mentioned high discharge, which refers to a battery with a high A rating. Unfortunately there are two sub-types of rating when it comes to current draw, pulse and continuous discharge. The pulse discharge (also called maximum discharge) rating refers to the Amp limit "in short bursts" (a second or two at a time) while the continuous discharge rating refers to the Amp limit for "an extended duration". When used for vaping, where you will frequently be applying power to the coil for longer than 1-2 seconds, the continuous discharge rate is obviously the one we are interested in.
Unfortunately most battery manufacturers don't list the continuous value - choosing instead to list the larger pulse discharge rate. For example, the 2500 Efest batteries have a 35A rating printed on the label - this is the pulse rating - but independent testing places their continuous discharge rate at around 20A. The bottom line to all of this is to buy recommended batteries only and always err on the side of caution - if you don't know if it's safe then rather ask someone first.
For those that are interested in the technical side I will quickly illustrate the limits of this device. This involves using Ohm's Law to calculate the Amp Draw based on the settings of the device. You can use a Ohm's Law Calculator to find these values based on your current settings (simply enter your settings and see what the "current" value is.
Assuming you push this device to it's maximum limits (using a 0.3 Ohm coil in the RBA and firing at 50W of power) the current draw will be 12.91 Amps. At 0.5 Ohm and 50W it will be 10 Amps.
Now you always want to leave a bit of space between your actual current draw and what the battery can safely handle. This device at it's peak will be well within the limits of an 2500/2800mAh Efest, Samsung 25R, or LG HE4 battery (all of which are rated at above 20A continuous discharge).
The Efest 3100mAh batteries however should only be used with the 1.5 Ohm coils as they are only rated for 10A continuous discharge (leaving no margin when used with a 0.5 Ohm coil at 30W). With the 1.5 Ohm coil at 30W (more the maximum recommended power for it) you will only be drawing 4.5A of power, so it will be quite safe to use.
Sorry for the long and technical bit, but battery safety is really important as it's the one part of vaping that can actually cause you direct physical harm if not paid attention too. Also, don't let this scare you off, vaping is very safe as long as you do it responsible - so it's the same as everything else in life
Also, go read this thread for some really great battery safety tips
Thanks to @nemo who sent me a link to a site which contains a table of battery ratings which can be very useful when deciding to buy a battery - find it here (scroll down for the table, and note that what I called "pulse discharge" above is labeled as "maximum discharge" in the table - they are the same thing)
In this post I will attempt to give as much useful information as I can for a new vaper deciding what device(s) to get when starting out of this wonderful journey.
This may be a bit long-winded, so feel free to skip to the end for a definitive recommendation (the TL;DR part)
When starting out it can be very daunting to choose which device to get - the choices seem endless and the descriptions may sound quite outlandish.
For the longest time, it has been quite challenging to recommend a good starting device for new vapers. Most of what was available was either underpowered or a combination of things (which makes shopping more difficult than it should be for a new vaper).
Previously, my standard recommendations were one of the following:
KangerTech Evod Kit - this is a cheap dual device kit that is very well priced and is usually a good way to "test the vaping waters". The problem with it is that it needs replacing very soon to keep up with the new vapers needs (most will need an upgrade within the first month or two). When looking at it like that, it's cost really isn't that cheap after all.
iStick + Aspire Nautilus Mini - this is a two part set (sold separately) which has for a long time been the "best" way to get going with vaping. But even with this "kit" many vapers needed an upgrade after a while - either when the device no longer satisfied them or when they wanted to get into more advanced vaping.
This has now changed dramatically, as there is finally a all-in-one kit which can satisfy a beginning vaper, and grow with them as their needs change. Most vapers would not need to upgrade from this kit for a very long time (some may never need to). This kit is called the KangerTech Subox Mini (of which I will do a full review with instructions and usage tips in one of the posts below). By the time you read this it should be available from most of the local vendors and it comes in black/white.
--------------------------------------------------
In order to fully illustrate the amazing value of this kit (and justify the recommendation) I will first need to describe some vaping terms and concepts to you (these are covered in many places on here, but I thought I'd add them again for an all-in-one post).
E-liquid (Juice) & Nicotine Concentration
E-liquid is the liquid which (usually) contains nicotine. These liquids come in a wide variety of flavours to cater to everyone's tastes. This is such an involved field and very important to your vaping journey so I suggest trying out lots of different juices and reading many reviews
Like cigarettes, e-liquids come in various concentrations of nicotine, with 18mg being the strongest commonly available one and 1.5mg the lowest. Juices without any nicotine (0mg) are also available, and are suitable for non-smokers who vape.
Mouth-To-Lung (MTL for short)
This refers to the type of vaping where you draw vapour into your mouth before inhaling it into your lungs - similar to how most people smoke cigarettes.
When you first start vaping, (most) of our lungs are in a bad state (the severity depends on the duration/intensity of smoking). And because vapour is so very different from smoke, initially your lungs will be a bit sensitive to it. For this reason it is highly advised that new vapers start out with MTL vaping. You also need to limit the amount of vapour going into your lungs or you may cough quite a bit as your lungs acclimate to the new "stuff" coming in - some coughing is natural but keeping the vapour volume down eases this transition quite a bit.
Because of the reduced volume of vapour intake, an e-liquid (juice) with a higher concentration of nicotine (around 12 to 18mg) is advised when starting out.
Throat Hit
This refers to the feeling you get in the back of your throat when inhaling vapour - it is very similar to the burning sensation you get when inhaling cigarette smoke, but much less harsh and more pleasant.
Many new (and even seasoned) vapers crave this hit as they "feel" like they are inhaling something. Without it, a new vapor may crave smoking a cigarette to get that sensation. In other words, for some it is crucial to giving up smoking completely.
Higher nicotine generally provides a more pronounced throat hit (as do some other factors, but I'll keep it simple for now).
Lung Hitting
Many (but not all) seasoned vapers eventually move on from MTL vaping by drawing vapour directly into their lungs (in much higher volumes than with MTL). This is usually what people are doing when you see larger billowing clouds coming out of them
Because of the larger volume of vapour, these vapers generally use e-liquids with a much lower concentration of nicotine (around 1.5 to 6mg).
Coils & Wicks
Coils are heating elements which heat up e-liquid and turns it into vapour which is then inhaled - note that no combustion occurs as with smoking. There are multiple types of metal used for making coils, with Kanthal (and more recently Nickel and Titanium) being the most popular.
Wicks are the parts that carry the liquid from a container to the coil so that it can be vapourised. There are various materials used, but generally it is some form of cotton or silica.
For new vapers, a commercial coil is recommended, which is an all-in-one unit with the actual coil and wick installed inside a casing that can be easily replaced. Each of these commercial coils only have a limited life, at which point they should be replaced to ensure you are getting the best vape (and nicotine delivery) you can. More on these later.
Atomizer & Mod (Battery)
Atomizers are the parts of vaping devices which houses the coil, the wick, and the liquid. There are quite a few variations available, from ones that take commercial coils (as mentioned above), to advanced devices which allow you to create your own coils and change wicks as needed (see "rebuilding" below).
There are two main types of atomizers: Tanks (Clearomizers/RTAs) and Drippers (RDAs) - more on these later.
Older style atomizers which use commercial coils only are know as clearomizers.
Mods (the battery + screen + buttons) are what provides power to the coil in order to heat it up. These come in a wide variety, each with many different settings you can use to customize your vaping experience.
Power (Watts)
Mods are rated based on the amount of power they can provide to the atomizer. Beginning vapers generally vape at around 10-20W of power. Intermediate vaping is generally done around 20-50W. Advanced vapers can go up to 150-200W (but this is very specialized).
There are other forms of power, which involve reading the temperature of the coil (called temp sensing) but these are well beyond the scope of this intro.
Batteries
Some mods contain built-in batteries (with internal chargers), and others use loose cells that you can take out and charge in external devices. With replaceable battery units you can also carry more than one charged battery around and just swap it out when the current cell is depleted - this means you are never without your vape.
The most common batteries used for vaping devices are high discharge IMR cells of the 18650 (refers to their size) variety. These are commonly available and come in various quality levels, usually sacrificing one feature for another (such as less battery life, for more current draw). This is a very important field, but beyond the scope of this introduction - please research this (or ask questions), get good batteries, and use them safely.
Edit: I added a section on battery safety at the end of this post. Please take the time to read through it as this is a very important aspect of vaping safely
Rebuilding (RBA, RDA, RTA)
When vapers use the term "rebuilding" they are referring to creating their own coils and wicking them. Because commercial coils can be expensive to replace and are generally of the "one size fits all" variety, many vapers eventually turn to building their own coils to suit their personal preferences. Not only is this very cost effective, it is also quite fun and rewarding. There are many concepts involved in rebuilding (none of which are too complicated) but they are again a bit out of scope here. There is lots of information available and I will cover a bit of it in the Subox review.
The atomizers used for rebuilding are as follows:
RBA = ReBuildable Atomizer (this is a group name referring to all rebuildable atomizers)
RTA = Rebuildable Tank Atomizer (these store liquid in a tank, which is fed to the coil as you vape - similar to clearomizers, but unlike those you build your own coils and wicks with these tanks).
RDA = Rebuildable Dripping Atomizer (this group of atomizers holds no liquid - the liquid is dripped directly onto the wick every now and then to keep it saturated).
--------------------------------------------------
There are various other concepts, and interesting things to discover, but these basics should suffice for now.
This brings us back to the recommended device: The KangerTech Subox Mini.
The reason this device is so amazing is that, in a single package, you have most of the above methods of vaping (and their benefits) available to you - without spending any more money (or at least very little for the consumable wire/wick).
All you need is the kit and one 18650 battery (2500/2800mAh recommended). At a later stage you can buy some more batteries and an external charger to make it even easier to use (but this is NOT a requirement at all).
So let me do a quick rundown of what you can do with this device (the short-short version):
- It takes an single 18650 battery which can be easily swapped out when depleted. The mod has a built in charger (micro USB) so you don't need an external charger. You can also vape on it while it is charging (a feature called pass-through).
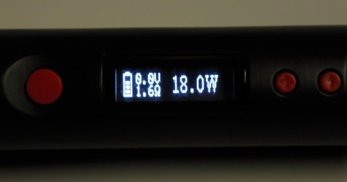
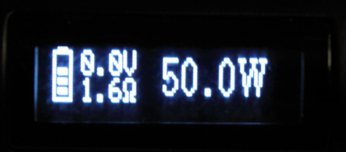
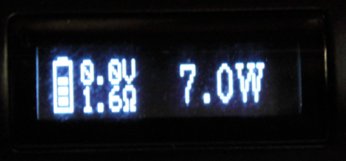
- The mod provides 50 Watts of power - this allows you to start off nice and easy but leaves enough headroom to grow your vaping over time.
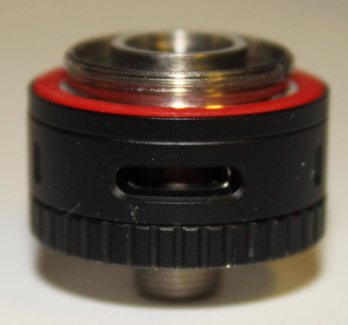
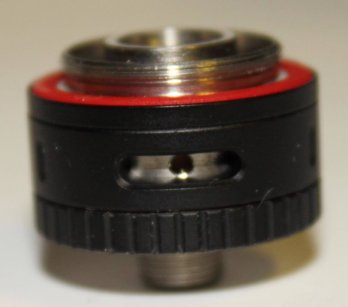
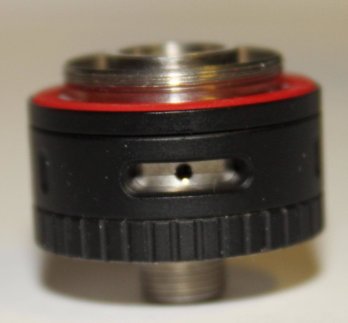
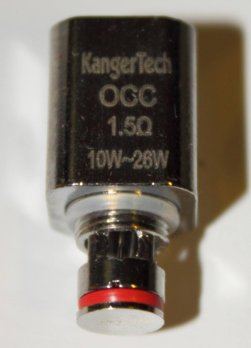
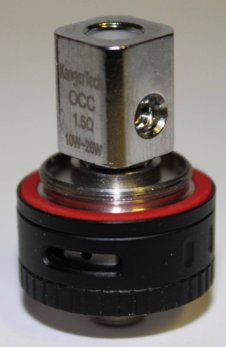
- Using the included 1.5 Ohm coil and the smallest airflow setting you get the best mouth-to-lung experience currently available. Paired with some 12/18mg juice this is the perfect configuration when starting out.
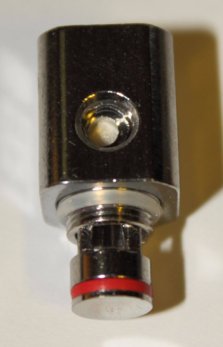
- Once you feel the need for something more (or just different) - replace with the 0.5 Ohm coil and use one of the two larger airflow settings for satisfying lung hits. Paired with some 6/12mg juice this will give you some proper kick when needed.
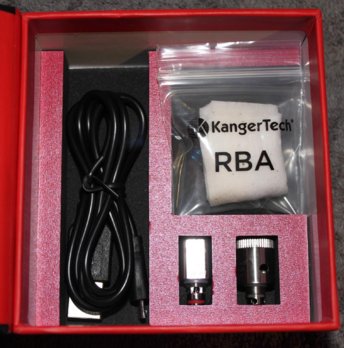
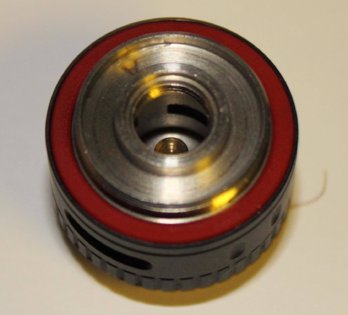
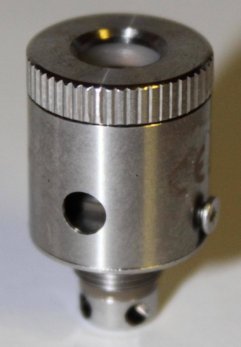
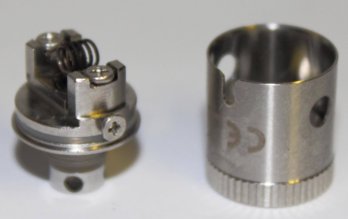
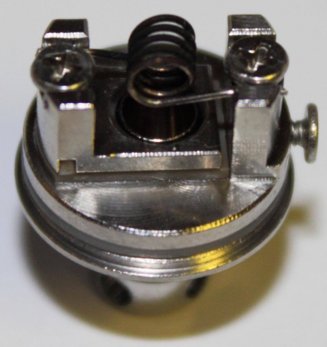
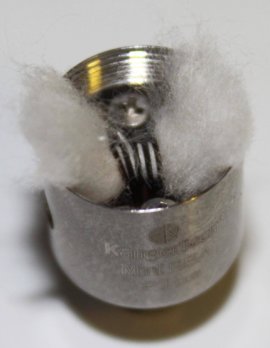
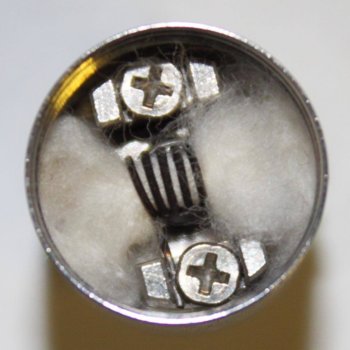
- Once you feel like getting into rebuilding, simply install the RBA Base, (effectively switching the device from a clearomizer to an RTA) and you are making your own coils at a fraction of the cost of buying new coils. Your own coils can be built based on your preferred vaping style (which means you can choose what resistance to use and that can have a massive impact on how the vape is experienced).
To put this into perspective, I started out about 11 months ago and spent about R1500 on devices which lasted me about 3 weeks before I had to upgrade to get the satisfaction I needed.
Pair this with any 12/18mg juice and I can all but guarantee you will be vaping up a storm and forgetting all about your cigarettes in no time
And this concludes part 1
In part 2 (below) I will go into a bit more detail on how to use your new Subox Mini (from beginner to advanced)...stay tuned
Before we get to that...
I would like to say a big thank you to @KieranD from Vape Cartel for getting this device to me early so that I was able to get this done before the bulk of these devices arrive - the pricing was amazing and I really appreciate the effort. If you are looking to get one, their next shipment is inbound and they have amazing other vape gear and juices as well
---------------------------------------------------------------------
Battery Safety (don't go "boom")
Because this is very important, I felt that I had to at least mention some more on battery safety as this device can push the limits of some batteries. This might be a bit confusing and I'll try not to get too technical
Batteries are rated in duration (the mAh value) which indicates how much power it can store and how long it can be used for before requiring a recharge. The other (and often overlooked by new vapers) value is the current draw (the A value, which stands for Ampere and indicates the flow rate of electric charge). Previously I mentioned high discharge, which refers to a battery with a high A rating. Unfortunately there are two sub-types of rating when it comes to current draw, pulse and continuous discharge. The pulse discharge (also called maximum discharge) rating refers to the Amp limit "in short bursts" (a second or two at a time) while the continuous discharge rating refers to the Amp limit for "an extended duration". When used for vaping, where you will frequently be applying power to the coil for longer than 1-2 seconds, the continuous discharge rate is obviously the one we are interested in.
Unfortunately most battery manufacturers don't list the continuous value - choosing instead to list the larger pulse discharge rate. For example, the 2500 Efest batteries have a 35A rating printed on the label - this is the pulse rating - but independent testing places their continuous discharge rate at around 20A. The bottom line to all of this is to buy recommended batteries only and always err on the side of caution - if you don't know if it's safe then rather ask someone first.
For those that are interested in the technical side I will quickly illustrate the limits of this device. This involves using Ohm's Law to calculate the Amp Draw based on the settings of the device. You can use a Ohm's Law Calculator to find these values based on your current settings (simply enter your settings and see what the "current" value is.
Assuming you push this device to it's maximum limits (using a 0.3 Ohm coil in the RBA and firing at 50W of power) the current draw will be 12.91 Amps. At 0.5 Ohm and 50W it will be 10 Amps.
Now you always want to leave a bit of space between your actual current draw and what the battery can safely handle. This device at it's peak will be well within the limits of an 2500/2800mAh Efest, Samsung 25R, or LG HE4 battery (all of which are rated at above 20A continuous discharge).
The Efest 3100mAh batteries however should only be used with the 1.5 Ohm coils as they are only rated for 10A continuous discharge (leaving no margin when used with a 0.5 Ohm coil at 30W). With the 1.5 Ohm coil at 30W (more the maximum recommended power for it) you will only be drawing 4.5A of power, so it will be quite safe to use.
Sorry for the long and technical bit, but battery safety is really important as it's the one part of vaping that can actually cause you direct physical harm if not paid attention too. Also, don't let this scare you off, vaping is very safe as long as you do it responsible - so it's the same as everything else in life
Also, go read this thread for some really great battery safety tips
Thanks to @nemo who sent me a link to a site which contains a table of battery ratings which can be very useful when deciding to buy a battery - find it here (scroll down for the table, and note that what I called "pulse discharge" above is labeled as "maximum discharge" in the table - they are the same thing)
Last edited:


