Howdy guys ")
@Wesley contacted me to ask about my wicking method I use for my single coil RTAs. This method will work well in any kayfun style RTA (Lemo 1, 2, Subtank, delta II, etc)
I am not claiming this to be the ultimate method. I just find it works really well for me. It works especially well for high VG liquids in these tanks which ordinarily struggle to wick these juices effectively.
PS one can use either Koh Gen Doh or Rayon for this Method.
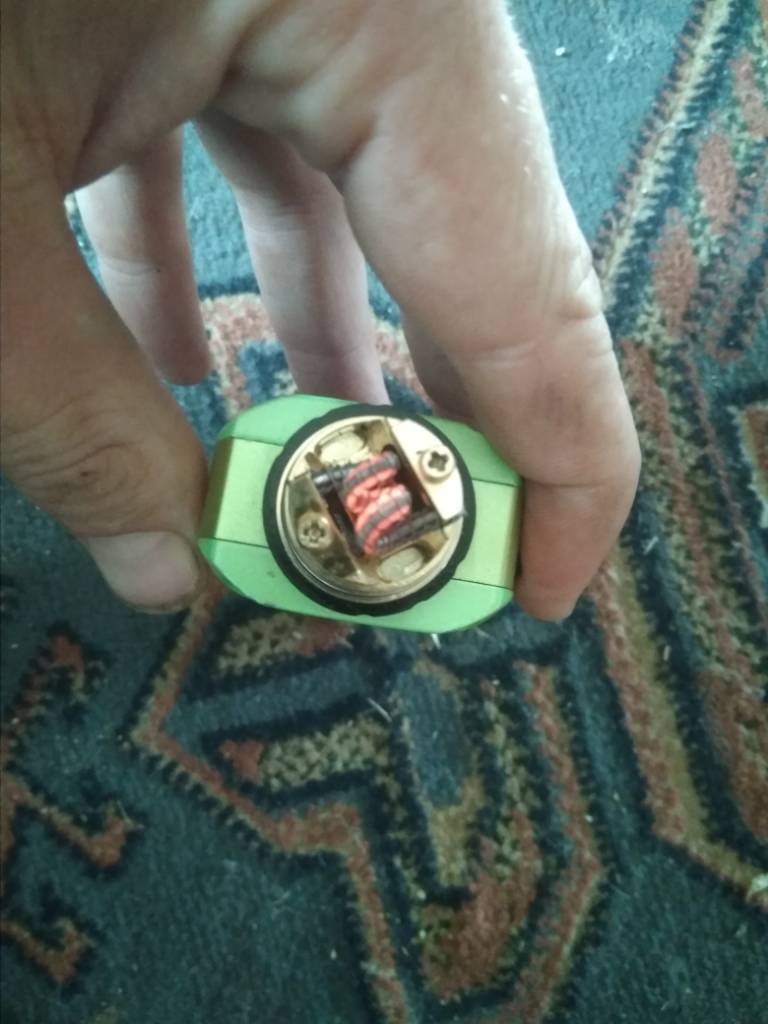
Step one:
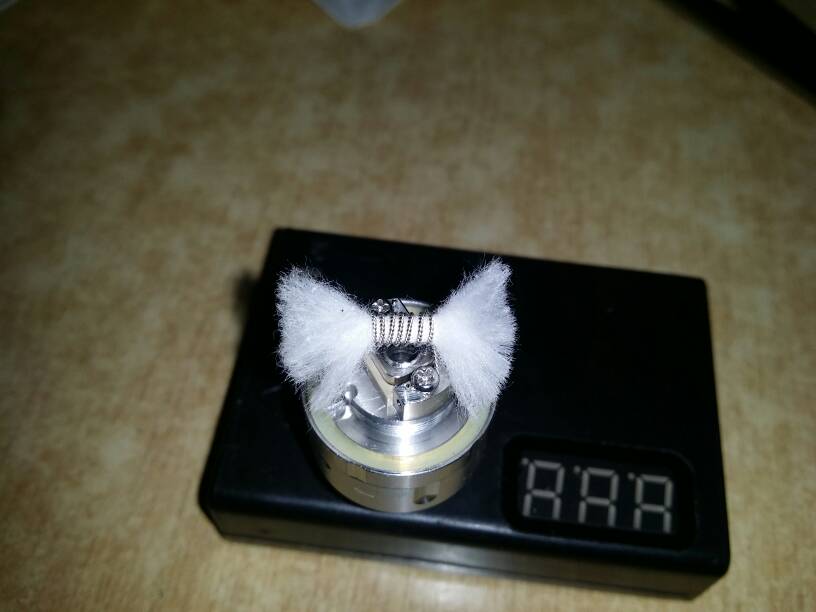
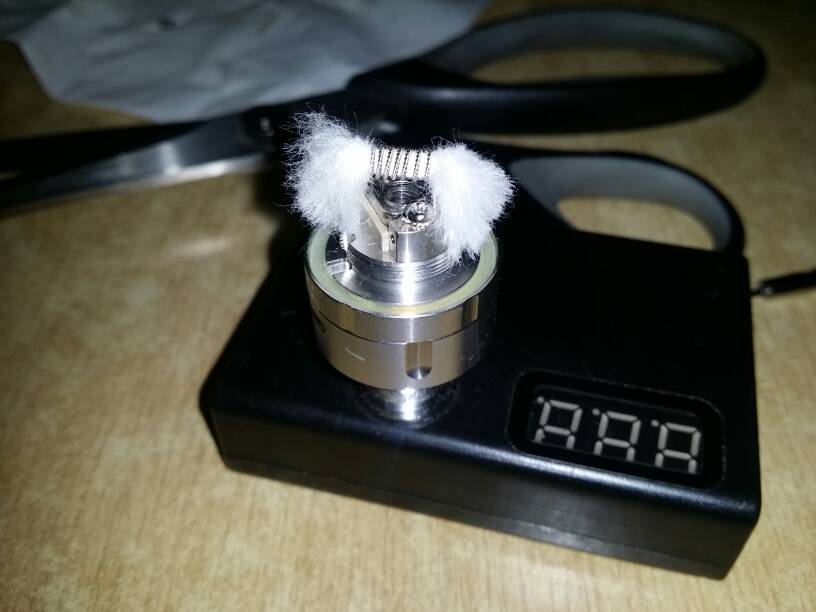
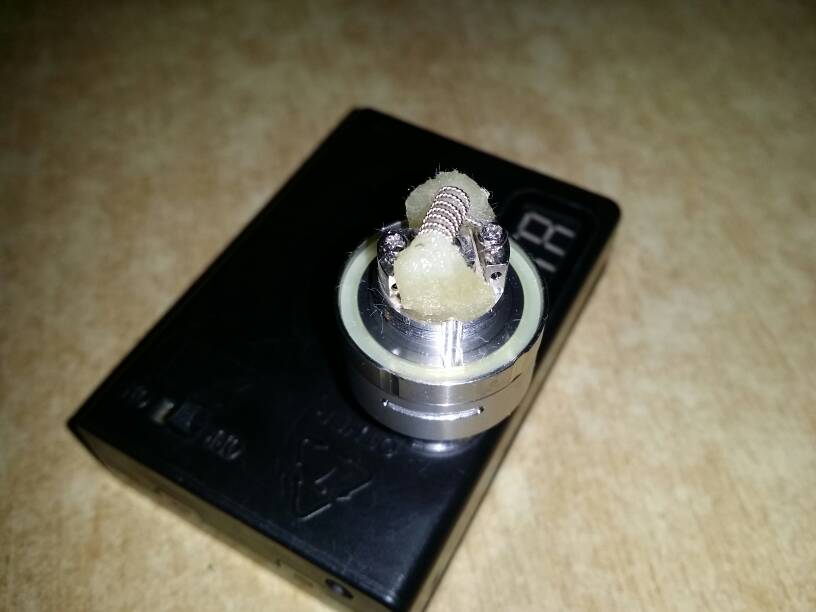
Thread your cotton through your coil. You want to make sure that the cotton is not too tight but simultaneously, not too loose.
Rather thread through a more generous amount and move the wick back and forth in the coil which will help to get it sitting just slightly snug as well as the even out the puffiness of the wick on each end of the coil
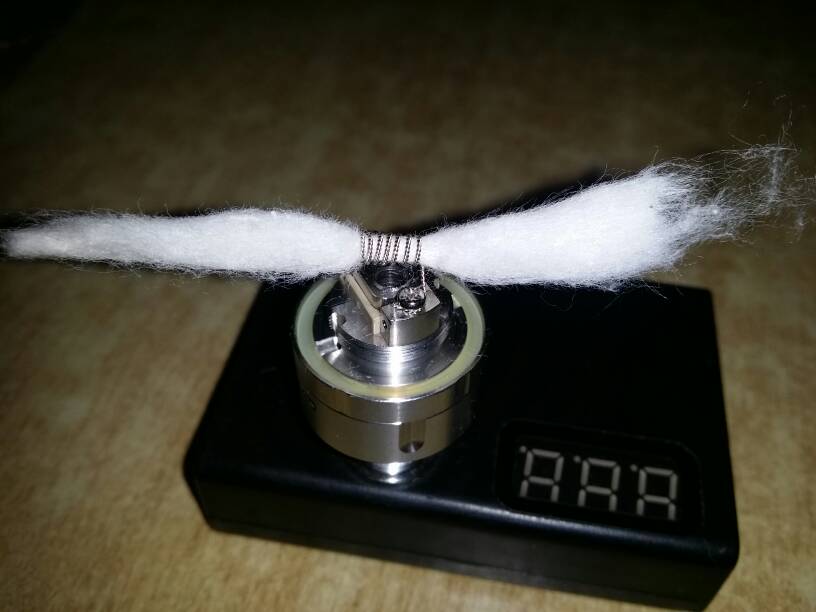
Step Two:
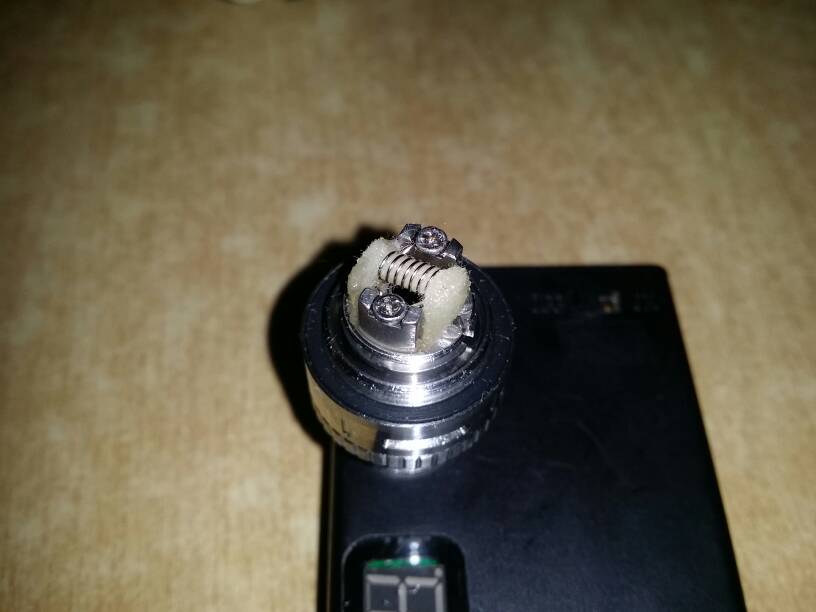
Grab a sharp scissors and trim off the end bits of the wick, but still leaving a generous amount at each side.
Using a pieces of kanthal or a small screw driver, comb the wick very gently outward from each side. This helps to thin the wick out and get it fluffy so it's not too dense.

Step Three:
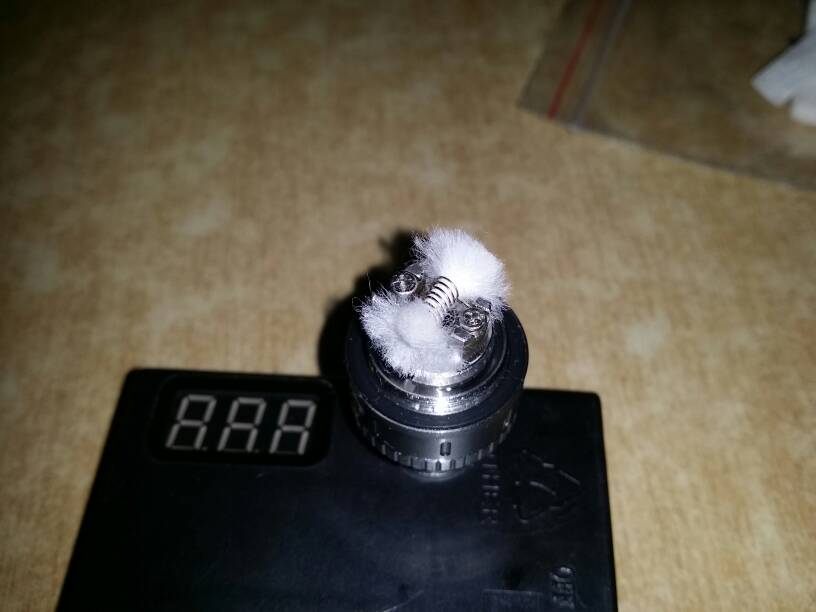
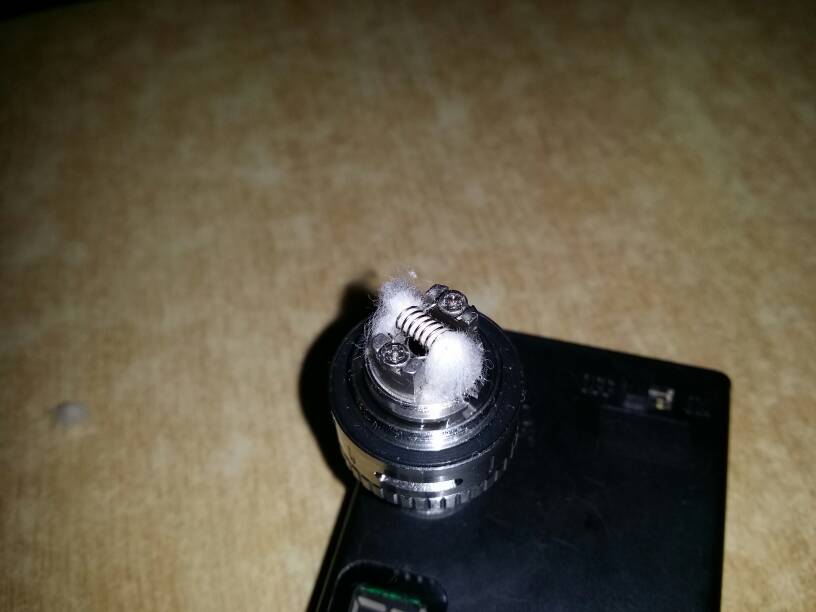
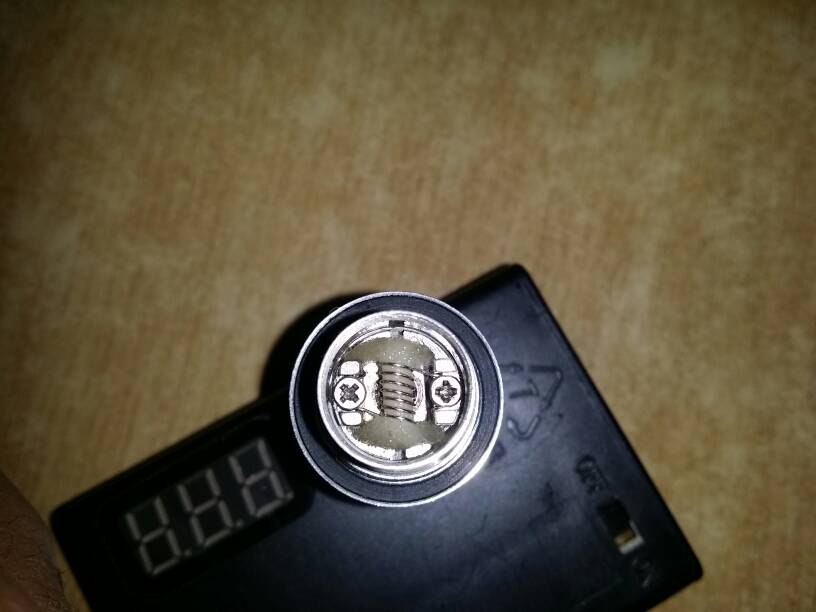
Using your thinnest micro screwdriver press the wick down until it touches the base of the deck. Use that screw driver to mark the point on the wick so you can cut the wick at that point. I generally move the screw driver back and forth in this position and it leaves a crease on the wick so I know where to cut.
Repeat this process on the other end of the wick as well.
Please excuse the poor quality of this picture. I know it's really blurred. Lol but it might help illustrate the above point.
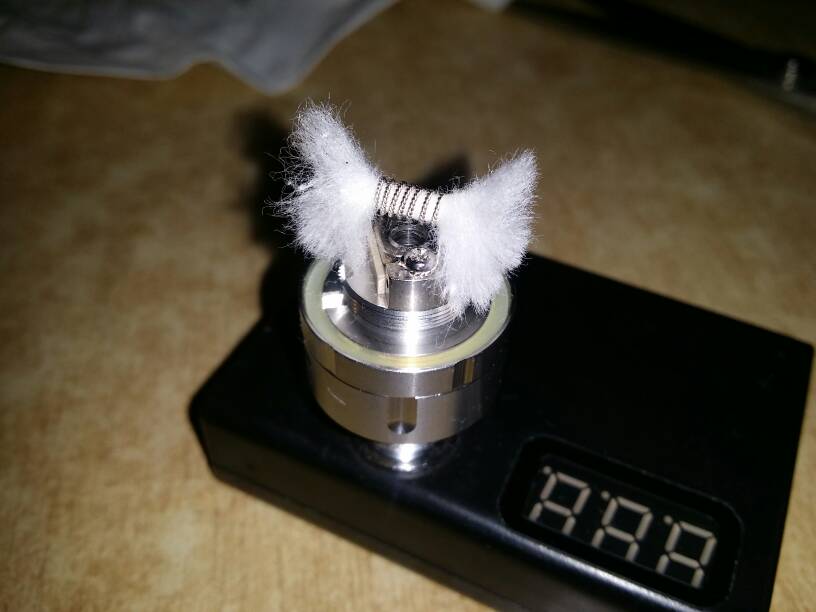
The next picture is taken after trimming both sides.
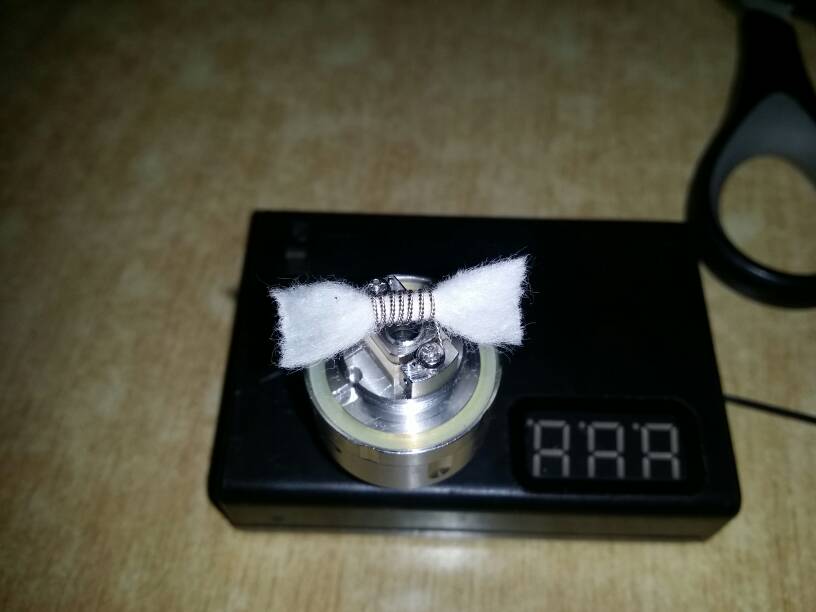
Step Four:
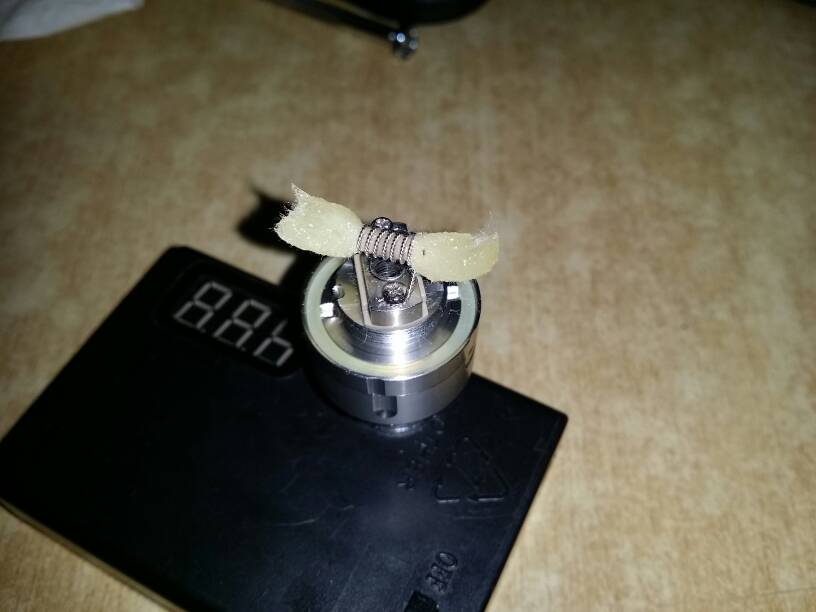
Using your screw driver, gently fluff the wick a little. Then blow on the wick to get it to fan out against the deck of the coil. In the same way you would for a pancake wick.
Your setup should now look like this if you have a lemo 2
and like this if you have a subtank mini
Both are the same of course It's just for demo purposes that I've included both where I could.
Step Five:
This step is what actually sets my method apart from the pancake method.
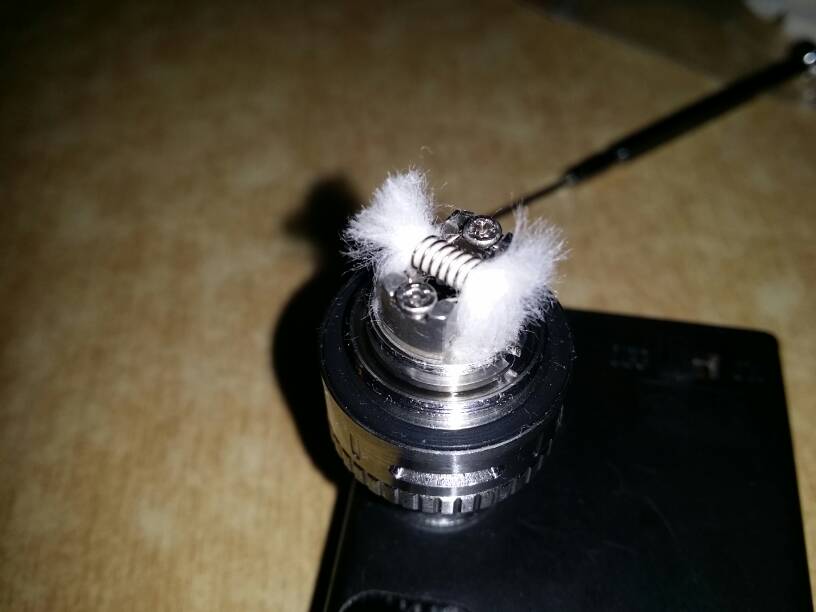
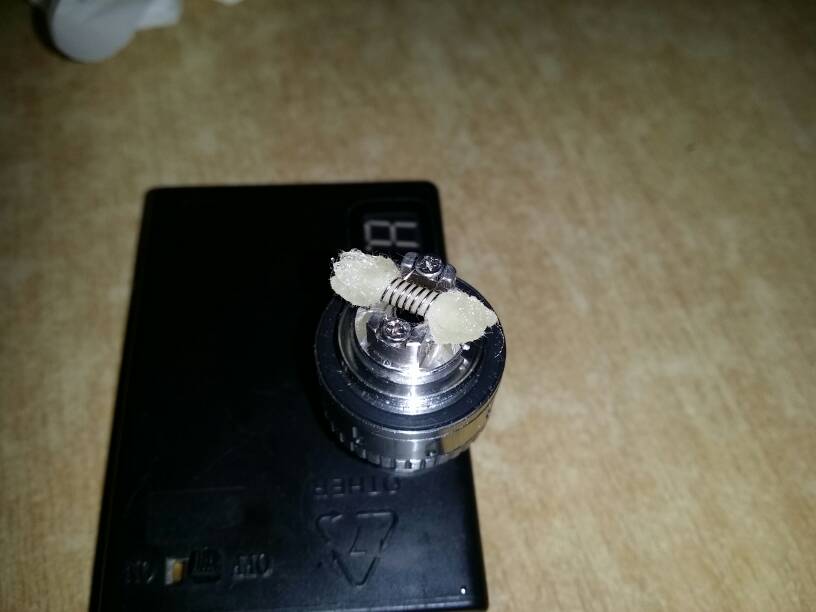
So after having fanned out your wick by blowing on it, use the trusty little screwdriver to tame some of the wick and move it down toward the deck.
Pull some of the fanned parts on the side back down and push up some of the fanned parts at the top to further separate them from the bottom part of the wick.
If I had to put it into percentages, I would say push back down, 70% of thr fanned out wick and further push out the other 30% of the fanned out wick.
It should now look as follows
Step Six:
Using your scissors, cut off the pieces which are sticking out at the top. You'll now notice that your wick is starting to look draped already. You have essentially thinned out the wick to allow it to wick easier.
It will look like this :
Step Seven:
Grab your juice and saturate your wick. Lift it up to ensure your get all of the wick saturated.
Like so:
Step Eight:
Using the screw driver once again, move the wick back down onto the deck and gently press the wick up against the side of the deck to ensure your channels are unobstructed.
Placed the bottom chimney piece on and from the top, gently press the wick against the sides just to make sure it's sitting nicely. Wick will move over time but if you have cut the wick right, it won't go covering up your channels.
I hope this helps
Feel free to shout if you have any questions
Sent from my SM-N9005 using Tapatalk
@Wesley contacted me to ask about my wicking method I use for my single coil RTAs. This method will work well in any kayfun style RTA (Lemo 1, 2, Subtank, delta II, etc)
I am not claiming this to be the ultimate method. I just find it works really well for me. It works especially well for high VG liquids in these tanks which ordinarily struggle to wick these juices effectively.
PS one can use either Koh Gen Doh or Rayon for this Method.
Step one:
Thread your cotton through your coil. You want to make sure that the cotton is not too tight but simultaneously, not too loose.
Rather thread through a more generous amount and move the wick back and forth in the coil which will help to get it sitting just slightly snug as well as the even out the puffiness of the wick on each end of the coil
Step Two:
Grab a sharp scissors and trim off the end bits of the wick, but still leaving a generous amount at each side.
Using a pieces of kanthal or a small screw driver, comb the wick very gently outward from each side. This helps to thin the wick out and get it fluffy so it's not too dense.
Step Three:
Using your thinnest micro screwdriver press the wick down until it touches the base of the deck. Use that screw driver to mark the point on the wick so you can cut the wick at that point. I generally move the screw driver back and forth in this position and it leaves a crease on the wick so I know where to cut.
Repeat this process on the other end of the wick as well.
Please excuse the poor quality of this picture. I know it's really blurred. Lol but it might help illustrate the above point.
The next picture is taken after trimming both sides.
Step Four:
Using your screw driver, gently fluff the wick a little. Then blow on the wick to get it to fan out against the deck of the coil. In the same way you would for a pancake wick.
Your setup should now look like this if you have a lemo 2
and like this if you have a subtank mini
Both are the same of course
It's just for demo purposes that I've included both where I could.Step Five:
This step is what actually sets my method apart from the pancake method.
So after having fanned out your wick by blowing on it, use the trusty little screwdriver to tame some of the wick and move it down toward the deck.
Pull some of the fanned parts on the side back down and push up some of the fanned parts at the top to further separate them from the bottom part of the wick.
If I had to put it into percentages, I would say push back down, 70% of thr fanned out wick and further push out the other 30% of the fanned out wick.
It should now look as follows
Step Six:
Using your scissors, cut off the pieces which are sticking out at the top. You'll now notice that your wick is starting to look draped already. You have essentially thinned out the wick to allow it to wick easier.
It will look like this :
Step Seven:
Grab your juice and saturate your wick. Lift it up to ensure your get all of the wick saturated.
Like so:
Step Eight:
Using the screw driver once again, move the wick back down onto the deck and gently press the wick up against the side of the deck to ensure your channels are unobstructed.
Placed the bottom chimney piece on and from the top, gently press the wick against the sides just to make sure it's sitting nicely. Wick will move over time but if you have cut the wick right, it won't go covering up your channels.
I hope this helps
Feel free to shout if you have any questions
Sent from my SM-N9005 using Tapatalk
Last edited: