

source
Tools of The Trade
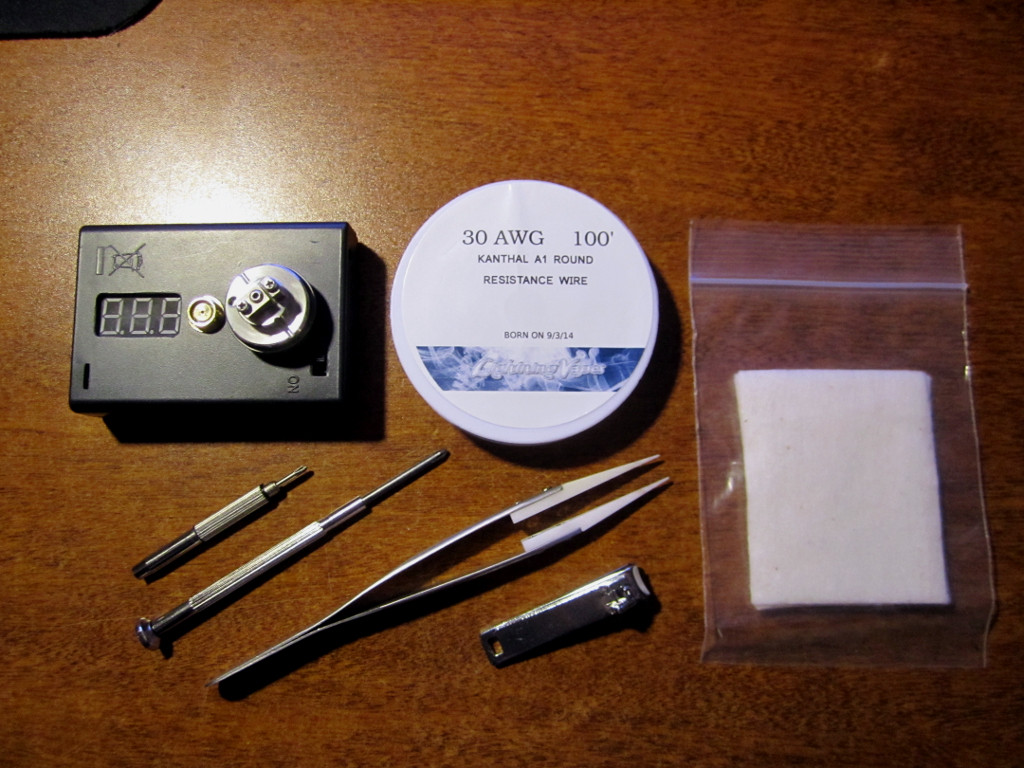
- 30g Kanthal & 5/64 Phillips #0 screwdriver (1.80mm) to wrap the coil. - Muji or similar Japanese organic cotton for best wicking. - Set of tweezers. Ceramic tips are well worth it for fine tuning. - Ohm reader of your choice or use your device.
30g Twisted Kanthal
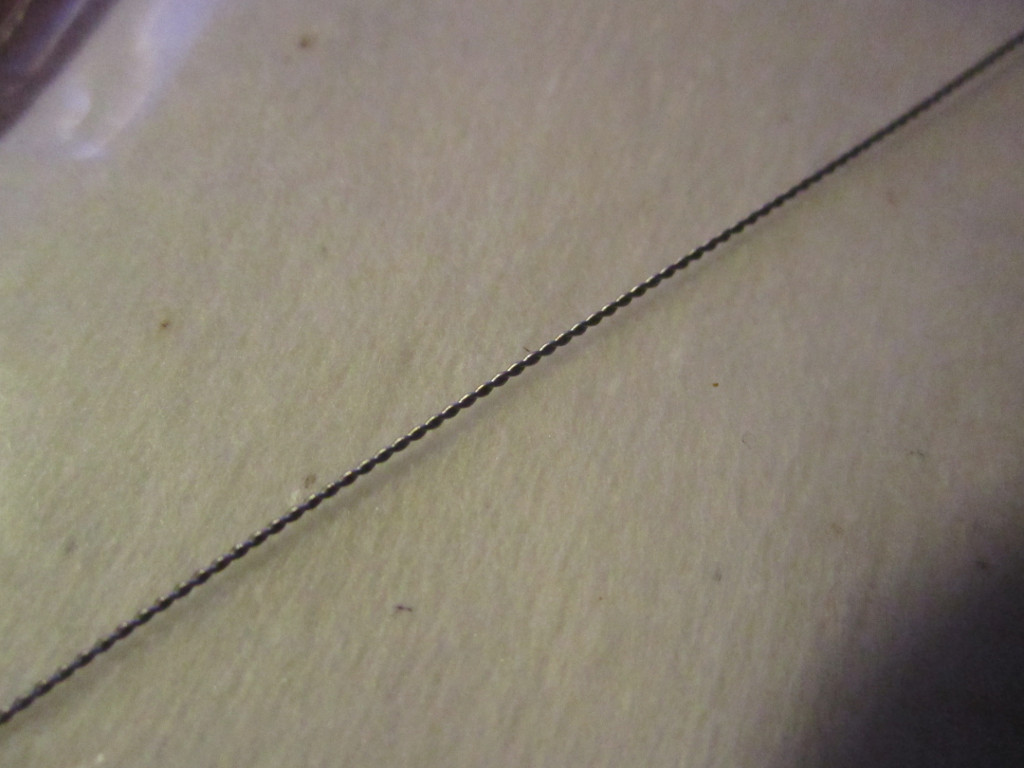
You will need to twist together a nice long strand of 30g wire via your choice of twisting. You can use a drill, or two key rings around your pointer fingers. Works like a charm.
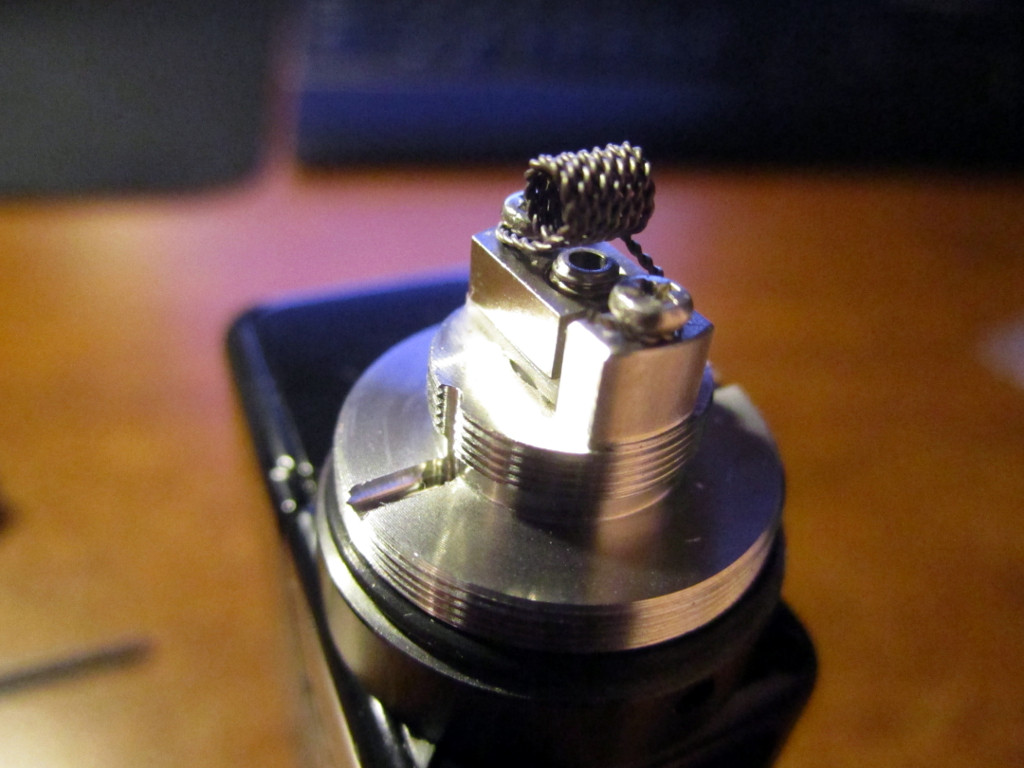
Wrap Your Coil

Use a 5/64 Phillips #0 (1.80 mm) screwdriver and wrap 8 1/2 times. Pull tight on the leads to remove slack.
Fasten Your Coil

Tighten your leads and keep the driver in. Pull once more to remove more slack. Readjust your leads until you have a nice 1mm+ of gap under your coil.
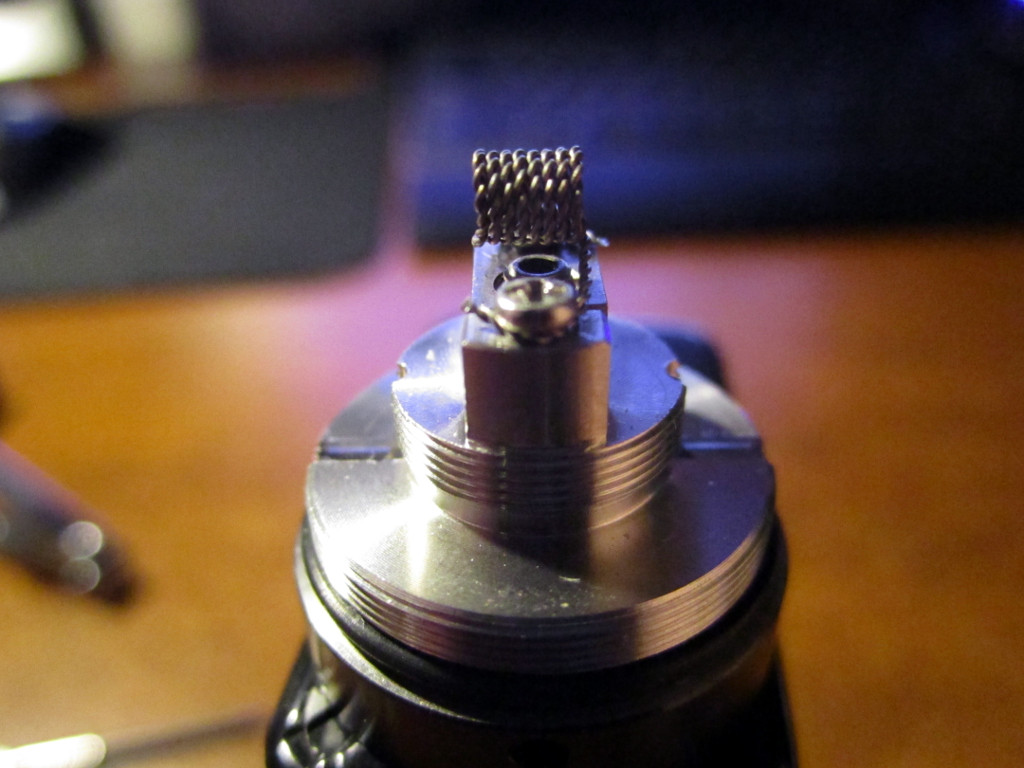
Remove the Driver
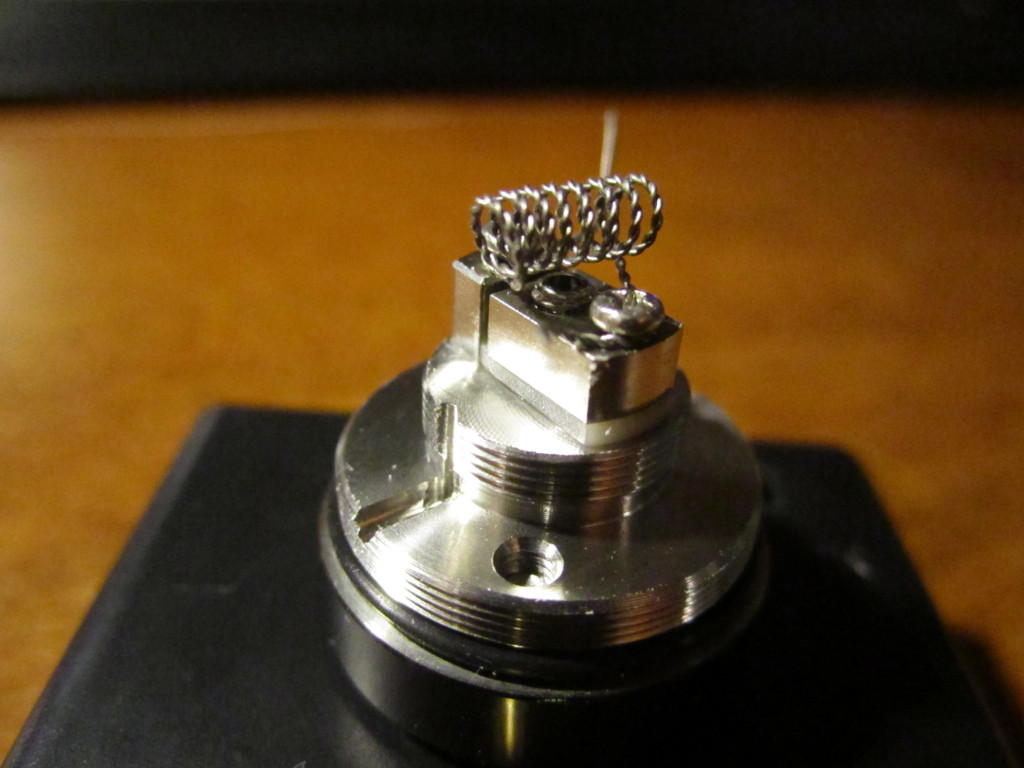
Some people say to keep the coil sitting crooked. **** that - straighten it out. Twist the driver until the coil stays perfectly horizontal across the deck when you remove the driver.
Spot On
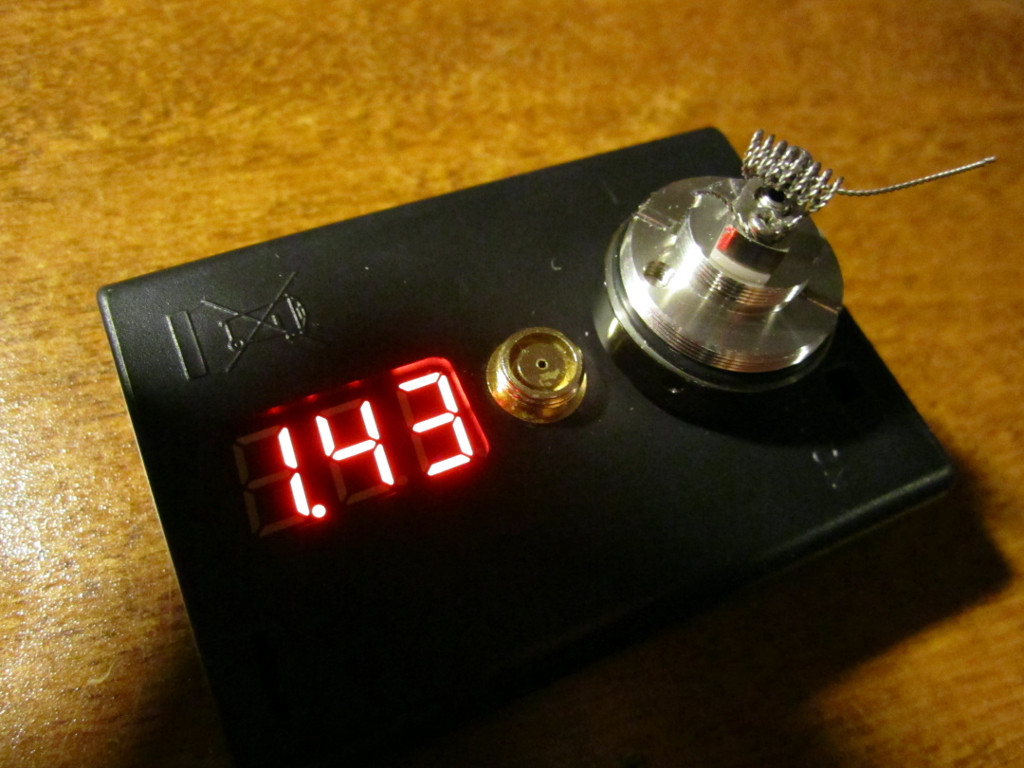
Throw it on your ohm meter and test. It should come up at 1.4ohm.
Fire and Squeeze
This is where the magic of ceramic tipped tweezers happens. You can get away with a regular metal set. But its so much easier to straighten the coil with the ceramics. Either way, get the coil hot, then squeeze it. Adjust it until the barrel is nice and even.
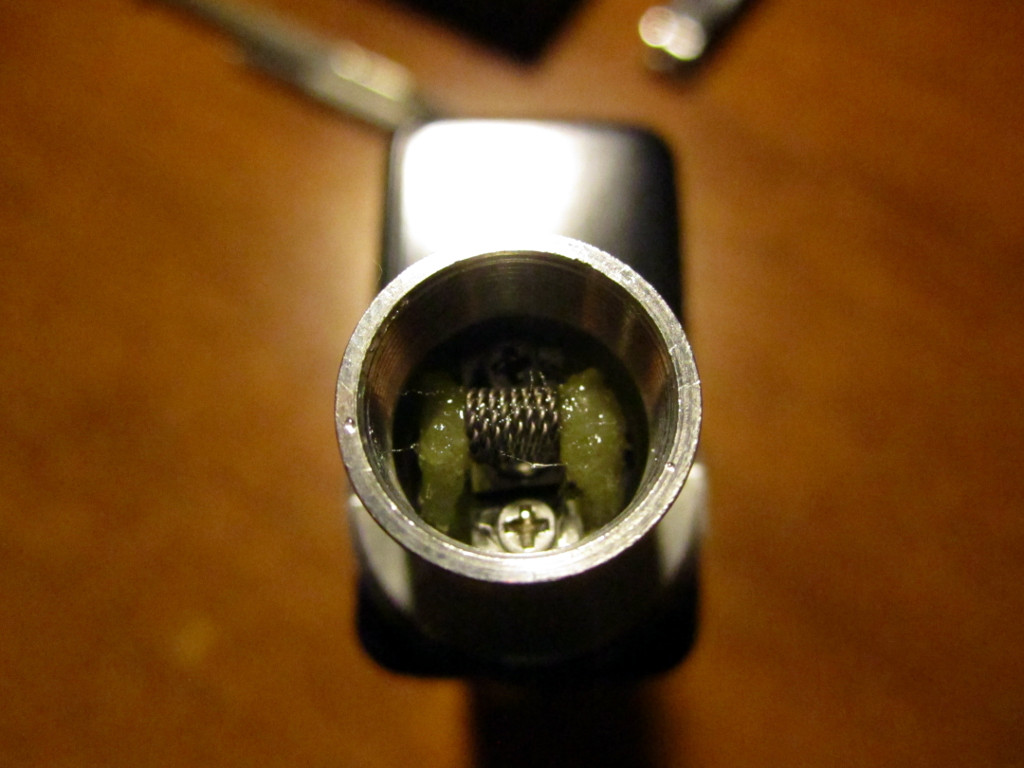
Dat Gap
Finish squeezing and straightening and then stop to admire that sexy beast.
Feel The Burn
Check for hot spots and make sure you are burning nice and even.
Wicking with Muji
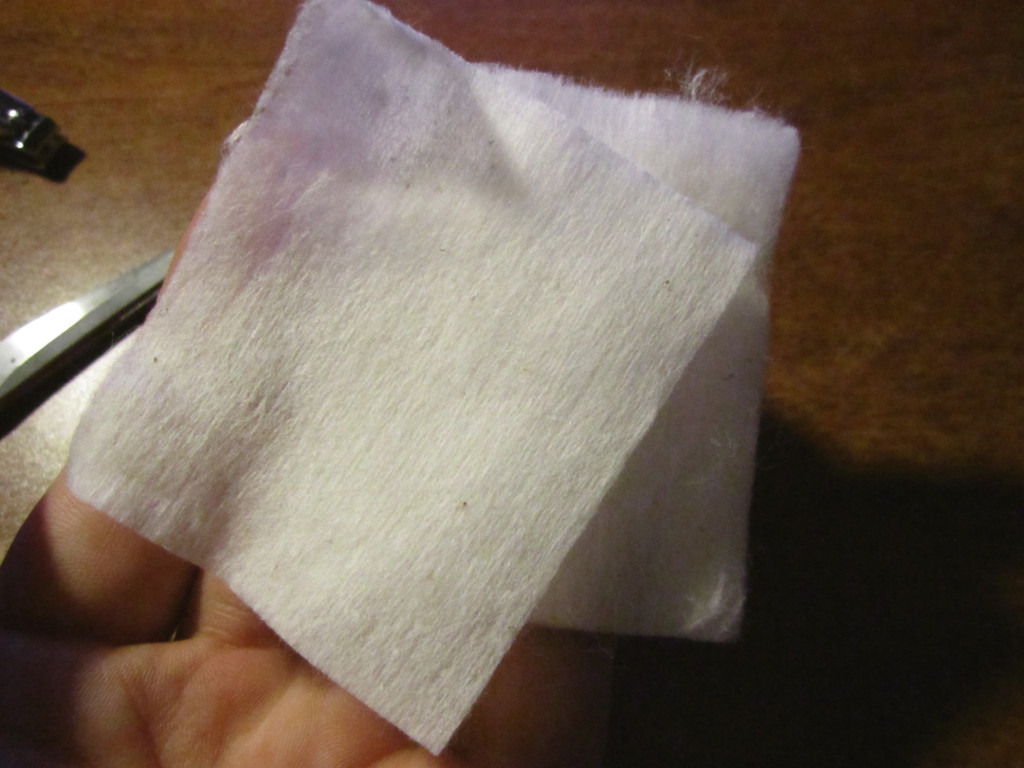
You can substitute this with any organic cotton, but I found Muji to be superior than everyday cotton for wicking. If you are using Muji: Tear off the outer layer of the sheet. This sheet is thin and woven. This is the shit you crave.
Cut ~1/2 inch
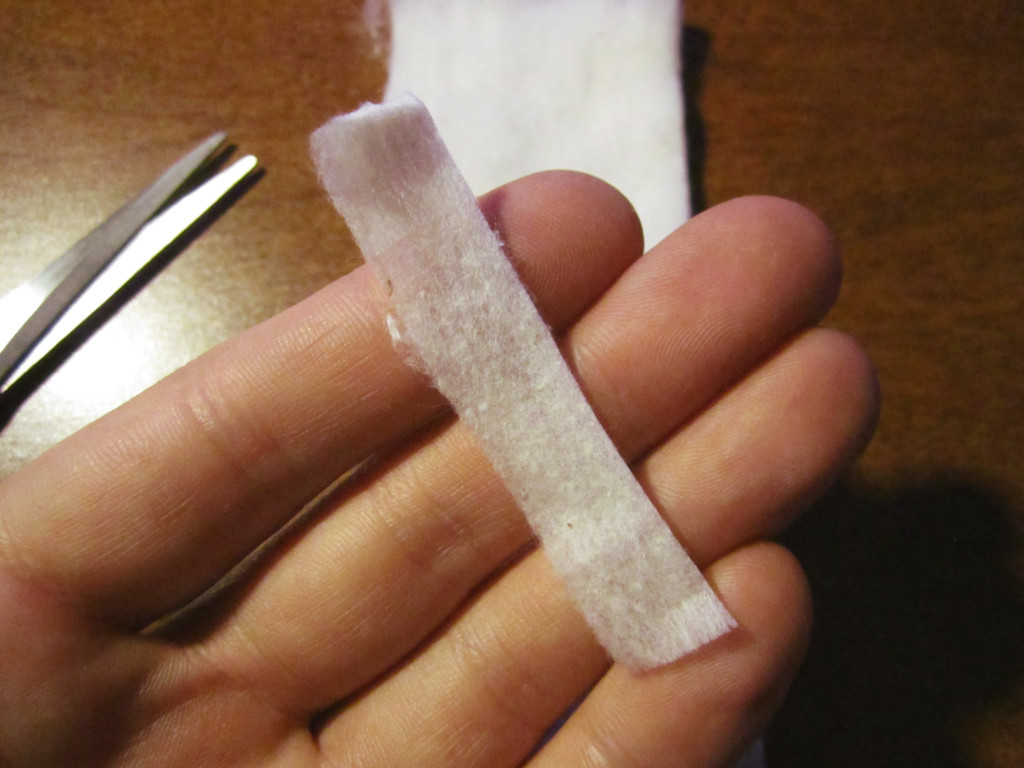
Cut the sheet with the grain going vertically. You don't need that much. 1/2 inch or so.
Roll it up
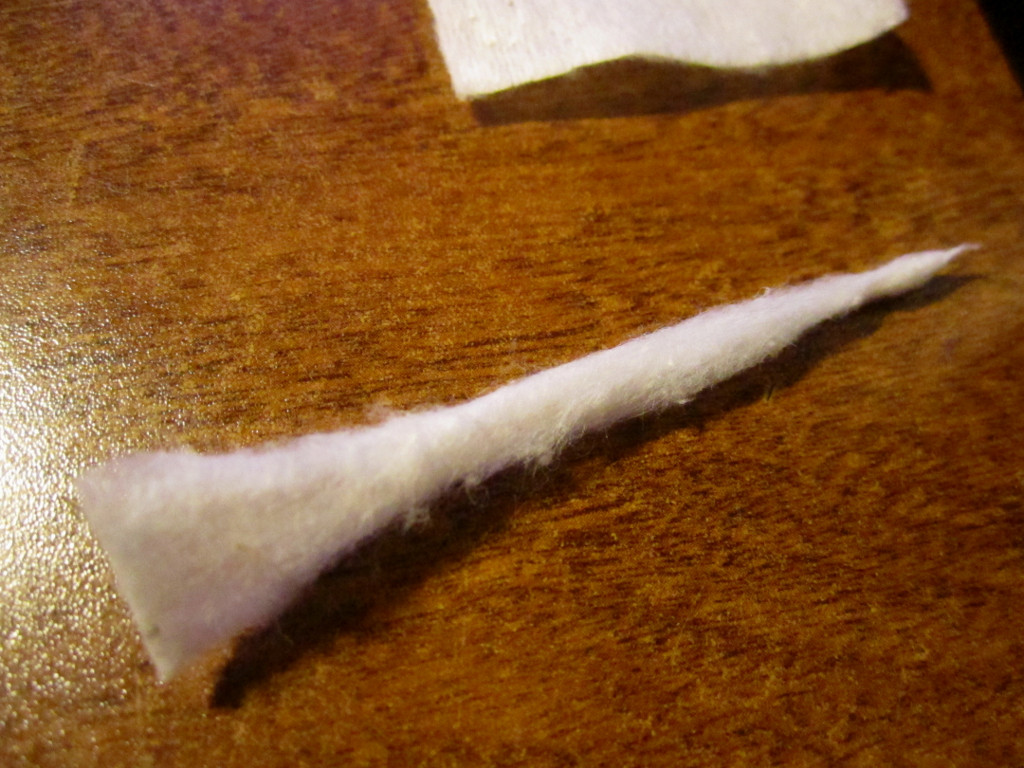
Loosely roll it from the center. The center is the only part you need to be uniform. Roll and tight twist the end of one side to feed through the coil.
Feed the Coil
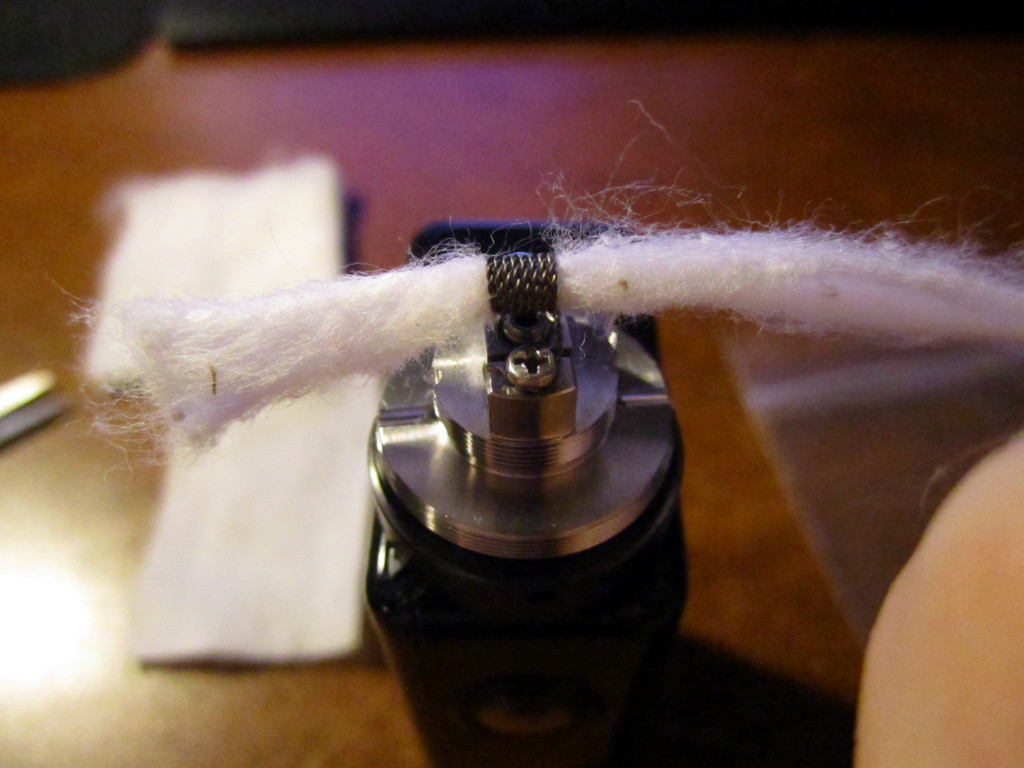
Feed the wick through until you have it centered. It should be touching the coil, but able to move back and forth easily.
Trim the Wick
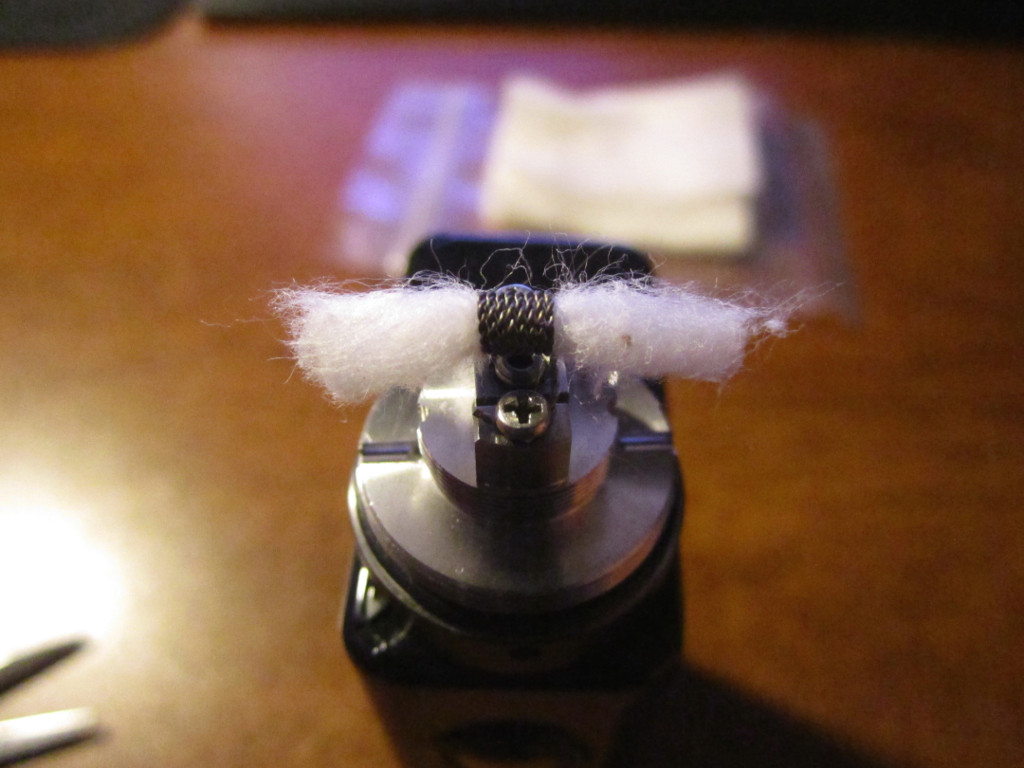
Trim each side of the wick. When its cut, you want it to be just barely touching the deck. This may take some practice if you happen to cut it too short and need a new piece of cotton. Don't use a short piece, it won't wick as well.
Juice It Up
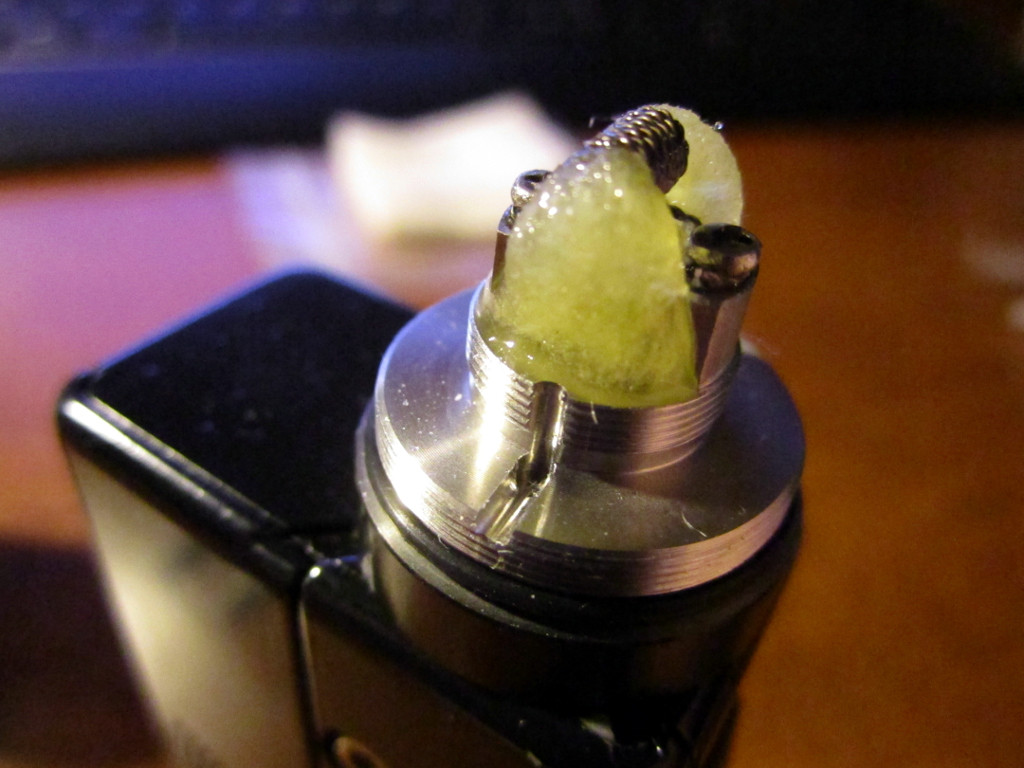
Add some liquid and secure the wick to the base. You need to keep the juice channels open. Both sides of the wick should look identical for best results. This works well even with high VG.
This!
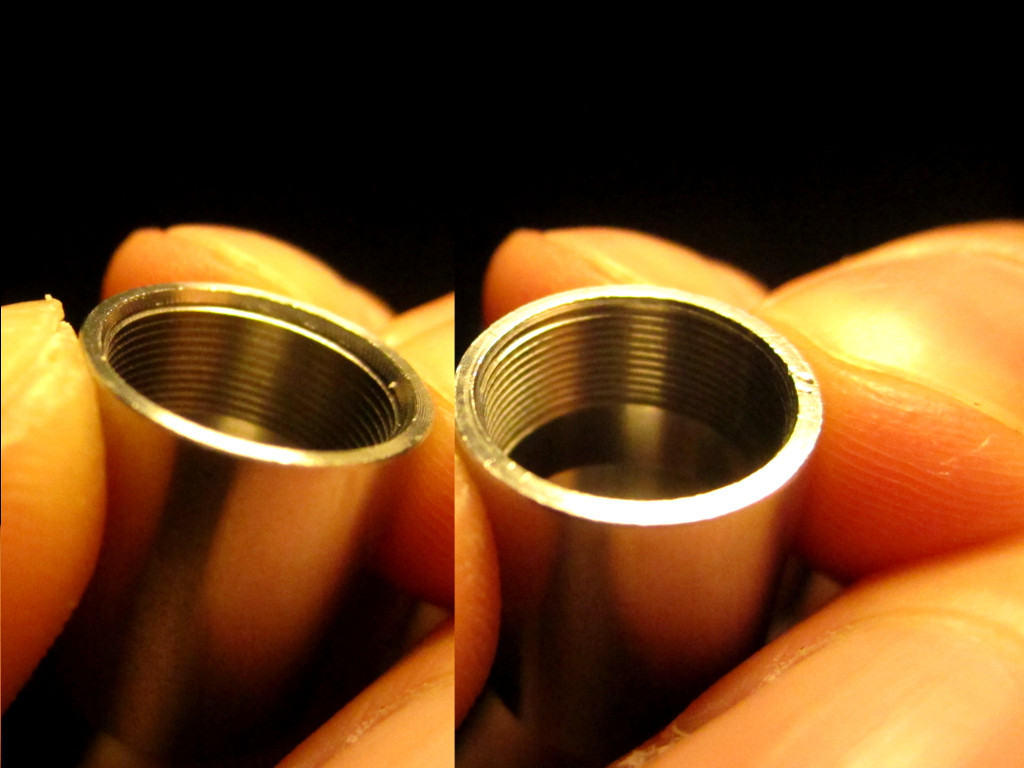
Your chimney base has two ends! One end is tapered, and the other end is cut evenly. You need the tapered end DOWN. This will maximize the juice flow. Trust me.
Ready To Roll
That's it ohmie, you're set. I like to pulse the coil at this point to get any cotton-y tastes out. Then vigorously apply more juice before putting the chimney top on. I fill from the bottom and let it sit for a few minutes.
Welcome to Flavor Country
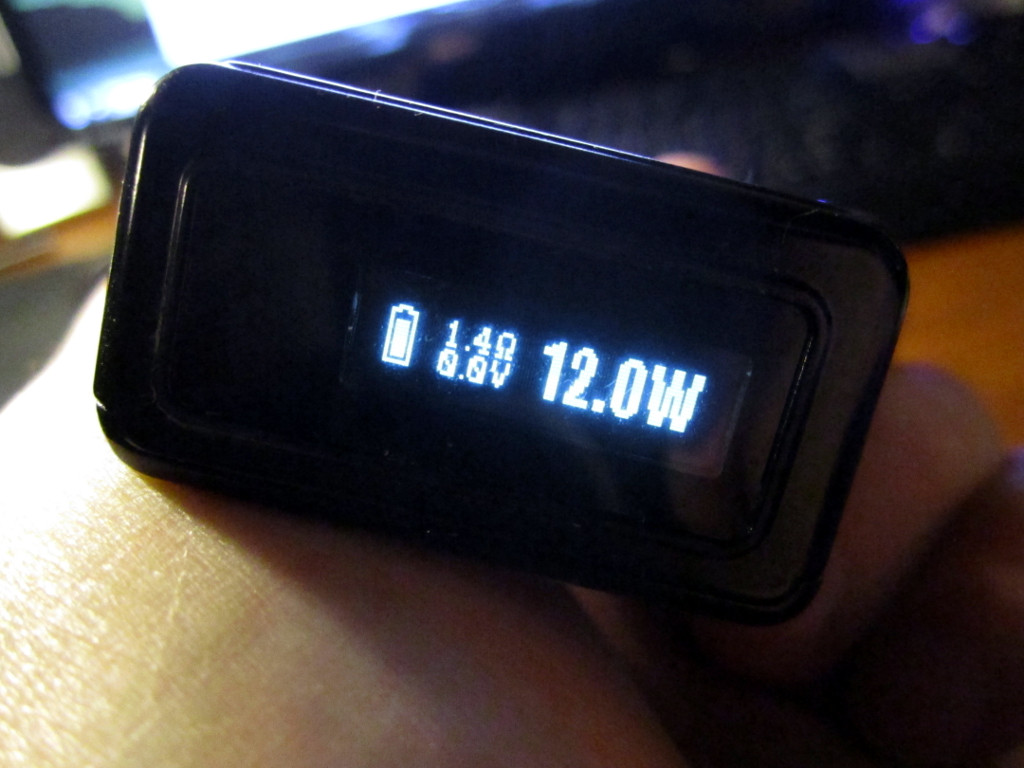
12w is my flavor zone. You can adjust as you feel necessary, but anything higher than 15w is too warm for me. Lower wattage means no burnt wicks, and more flavor longevity with no dry hits. Even with high VG juice. Enjoy!
Tools of The Trade

- 30g Kanthal & 5/64 Phillips #0 screwdriver (1.80mm) to wrap the coil. - Muji or similar Japanese organic cotton for best wicking. - Set of tweezers. Ceramic tips are well worth it for fine tuning. - Ohm reader of your choice or use your device.
30g Twisted Kanthal

You will need to twist together a nice long strand of 30g wire via your choice of twisting. You can use a drill, or two key rings around your pointer fingers. Works like a charm.
Wrap Your Coil

Use a 5/64 Phillips #0 (1.80 mm) screwdriver and wrap 8 1/2 times. Pull tight on the leads to remove slack.
Fasten Your Coil

Tighten your leads and keep the driver in. Pull once more to remove more slack. Readjust your leads until you have a nice 1mm+ of gap under your coil.
Remove the Driver

Some people say to keep the coil sitting crooked. **** that - straighten it out. Twist the driver until the coil stays perfectly horizontal across the deck when you remove the driver.
Spot On

Throw it on your ohm meter and test. It should come up at 1.4ohm.
Fire and Squeeze

This is where the magic of ceramic tipped tweezers happens. You can get away with a regular metal set. But its so much easier to straighten the coil with the ceramics. Either way, get the coil hot, then squeeze it. Adjust it until the barrel is nice and even.
Dat Gap

Finish squeezing and straightening and then stop to admire that sexy beast.
Feel The Burn
Check for hot spots and make sure you are burning nice and even.
Wicking with Muji

You can substitute this with any organic cotton, but I found Muji to be superior than everyday cotton for wicking. If you are using Muji: Tear off the outer layer of the sheet. This sheet is thin and woven. This is the shit you crave.
Cut ~1/2 inch

Cut the sheet with the grain going vertically. You don't need that much. 1/2 inch or so.
Roll it up

Loosely roll it from the center. The center is the only part you need to be uniform. Roll and tight twist the end of one side to feed through the coil.
Feed the Coil

Feed the wick through until you have it centered. It should be touching the coil, but able to move back and forth easily.
Trim the Wick

Trim each side of the wick. When its cut, you want it to be just barely touching the deck. This may take some practice if you happen to cut it too short and need a new piece of cotton. Don't use a short piece, it won't wick as well.
Juice It Up

Add some liquid and secure the wick to the base. You need to keep the juice channels open. Both sides of the wick should look identical for best results. This works well even with high VG.
This!

Your chimney base has two ends! One end is tapered, and the other end is cut evenly. You need the tapered end DOWN. This will maximize the juice flow. Trust me.
Ready To Roll

That's it ohmie, you're set. I like to pulse the coil at this point to get any cotton-y tastes out. Then vigorously apply more juice before putting the chimney top on. I fill from the bottom and let it sit for a few minutes.
Welcome to Flavor Country

12w is my flavor zone. You can adjust as you feel necessary, but anything higher than 15w is too warm for me. Lower wattage means no burnt wicks, and more flavor longevity with no dry hits. Even with high VG juice. Enjoy!
Last edited:

")


