What’s up guys! I am finally back after a long break with another review. A huge thanks to Sourcemore for sending me this device. If you guys would like to get one for yourself, you can go to their website by clicking the following link Vandy Vape Pulse AIO Kit 80W Vape Kit (sourcemore.com) and then add the code PAIOK to get a discount on The Vandy Vape Pulse AIO for only $56.99 which is only R857,24. Anyway onto the review!
So as I’ve made it obvious, I’ll be reviewing the Vandy Vape Pulse AIO Kit. I’ve had this device for just over 2 weeks now and I must say that I have been loving the experience so far. There have been a few things here and there that I haven’t liked but we will get into that.
Unboxing
Ok so first things first, we have the box.
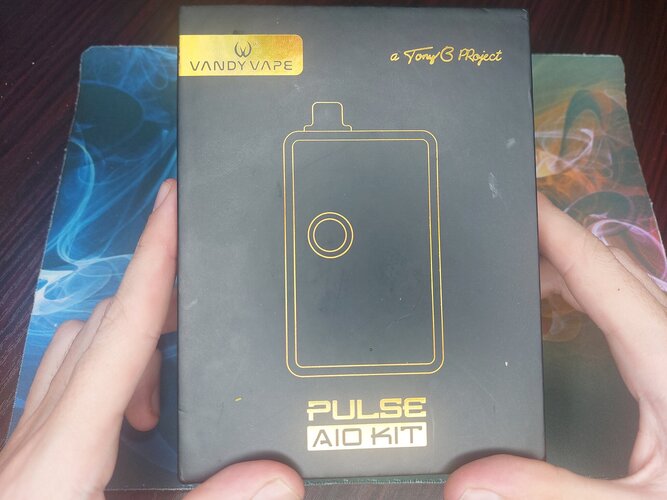
Very simple packaging but I really like it.
Inside we get the Vandy Vape Pulse AIO,
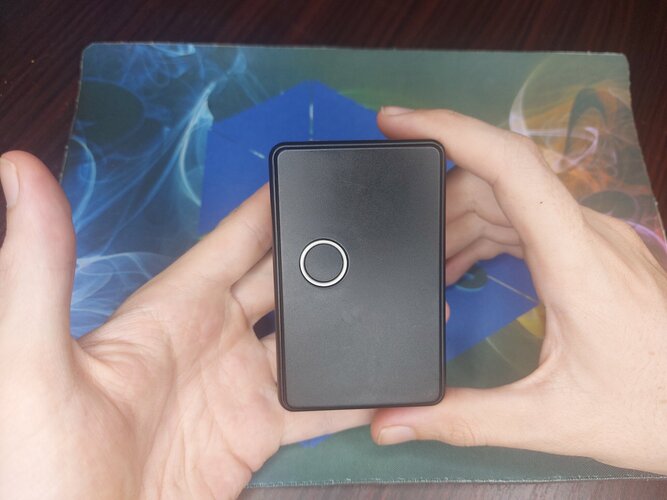
two bridges (one is Rebuildable and the other is commercial),
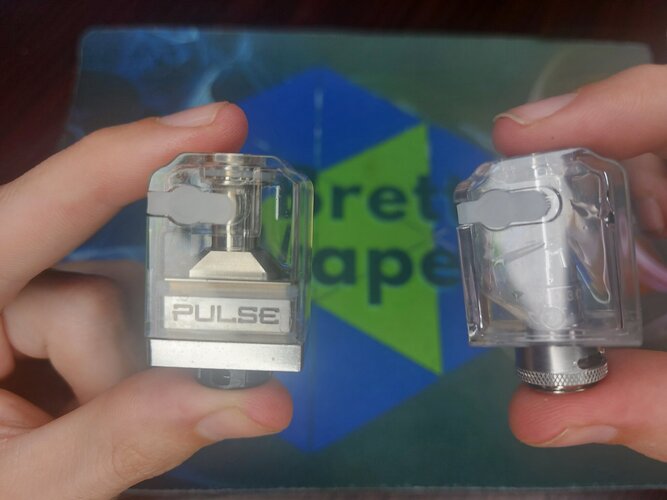
two VVC Coils (one is 0.3 ohm and the other is 0.6 ohm), a 18650 Battery Adapter because this device can take up to a 21700 Battery,
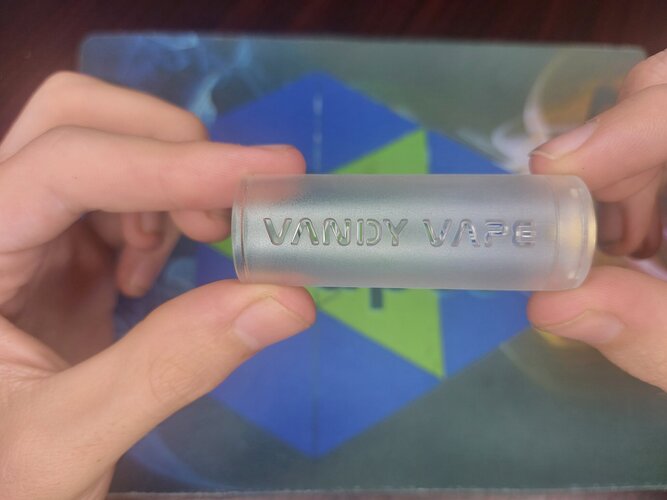
and then we get spares, some basic Ni80 Coils and some tools.
Review
Now lets get into the device. This device looks so cool. You get multiple colors as well with the typical Pulse frosted design but I received the Solid Black version.
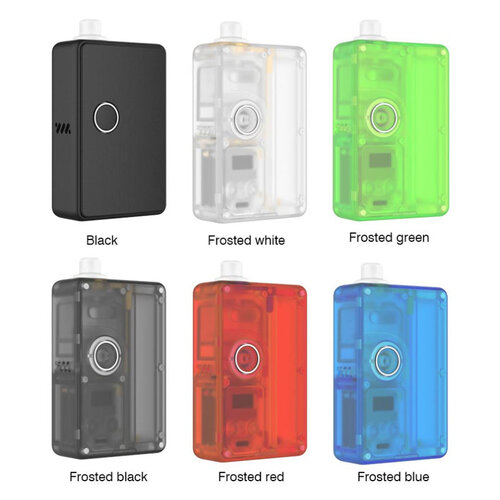
For the size, this device is quite light too using the same materials as the Vandy Vape Pulse devices. It has a max output of 80W which is more than enough since the rebuildable bridge is single coil and the way that they have designed the airflow on here, you don’t want to go too hot, otherwise the condensation will become a problem. That brings me to my first problem with the device. If we have a look at the rebuildable bridge here, the airflow goes through the 510 base on both sides.
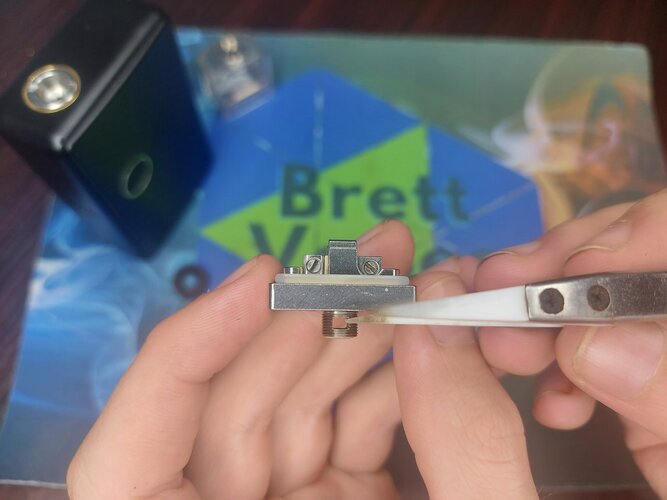
But the device itself only has air holes on the one side which creates a tighter draw and creates condensation.
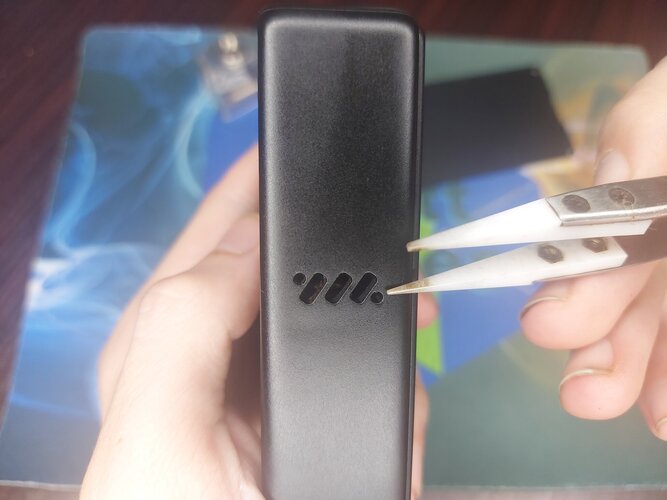
But there are a few fixes. One is to drill holes into the back plate in line with the bottom of the bridge, and the other way is the wicking. If you don't wick this bridge right, it leaks and the condensation then becomes a big problem. But other than that, this devices looks awesome and you can change pretty much everything on this device from the door panels, to the button, to the ring that goes around the button! You want to have a completely mismatched devices with one part of each color? You go for it!.
Lets get into building and wicking this Bridge. The coils you get with it are terrible and I do not recommend you using them. I’ve tried a couple different coils and have found that the Bewolk Platinum Series coils work really well here.
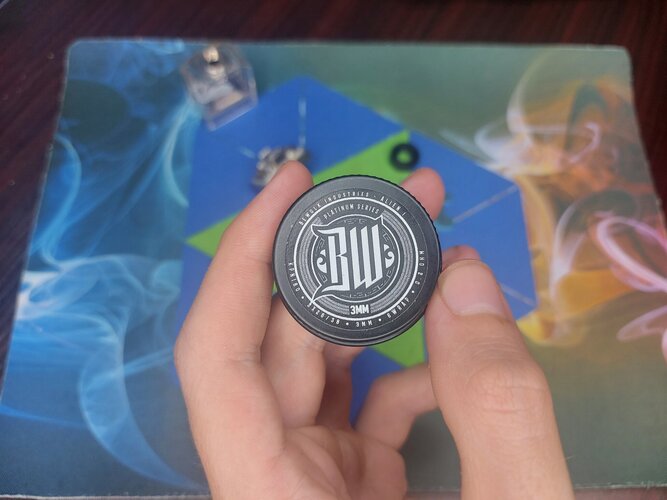
So first thing you do when you want to build here, you need to remove this black plastic ring that goes on the 510 screw which doubles up as an airflow ring.
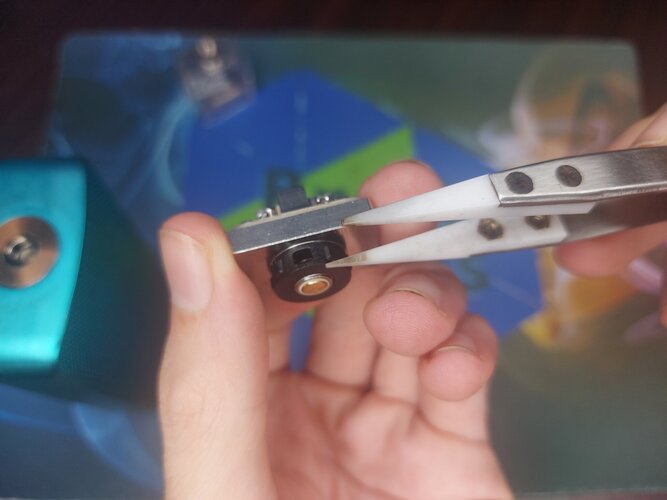
You just screw it off and put it aside. DO NOT THROW IT AWAY. Then you just screw the base onto a regulated device with a 510 and now we can begin.
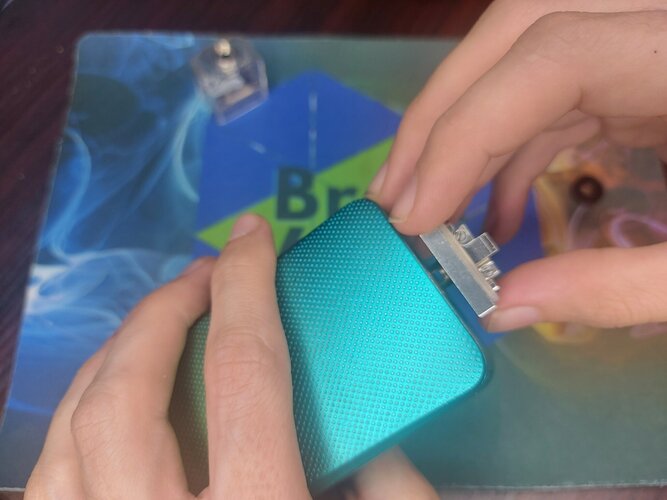
You are going to want to cut the legs to about 5mm length.
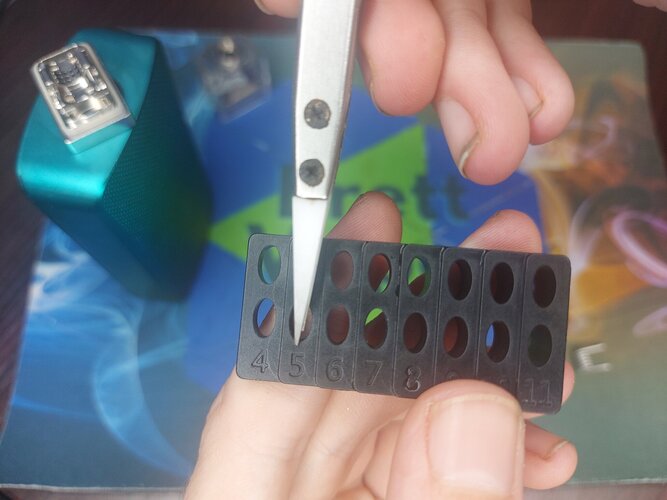
Once you've cut the legs we then put the coil in. What I love about this build deck is that it is based on the Kylin Mini build deck and it just works so well with flavor and for an AIO the clouds are not bad at all.
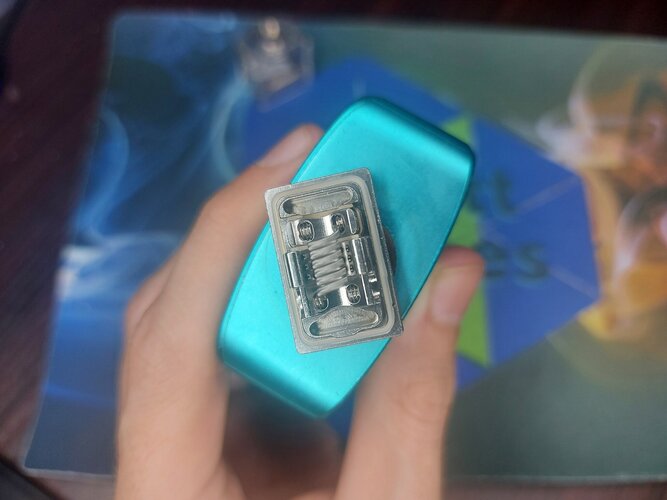
When your coils is in, all you need to do is adjust the coils and then dry burn to check for any hotspots. Remember when you dry burn, you want to dry burn on a low heat so that you don’t accidentally melt your coil. Like with any rebuildable coil, you want the coil to heat up evenly from the center out.
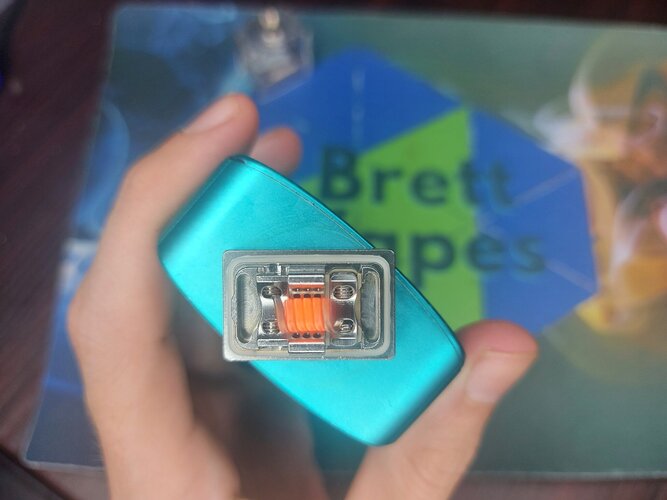
Now that the coil has been installed and there are no hotspots, we can jump into the most important part. If you wick this wrong, you will either get dry hits from the get go, or it will leak. I’ll be using Firebolt cotton for this.
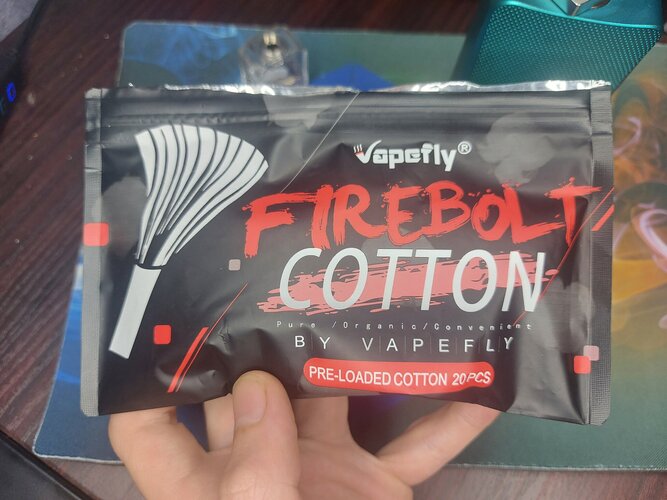
Because it is a single coil we will only use half a strand of firebolt so one strand lasts you two rewicks.
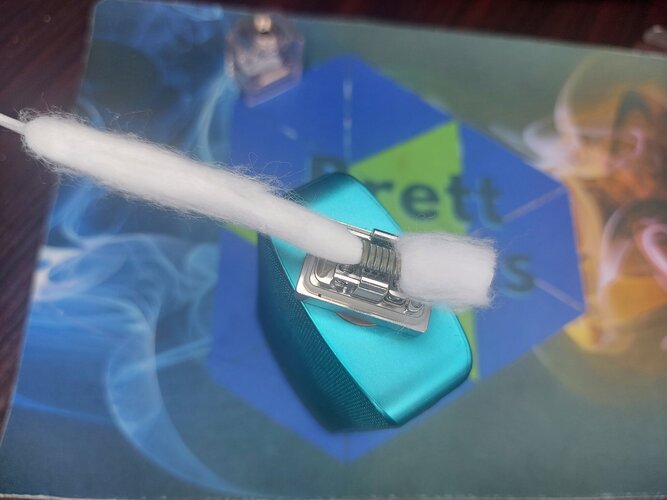
Now the length you want to cut is along the edge of build deck. But you don't want to press the cotton down. Just straight along.
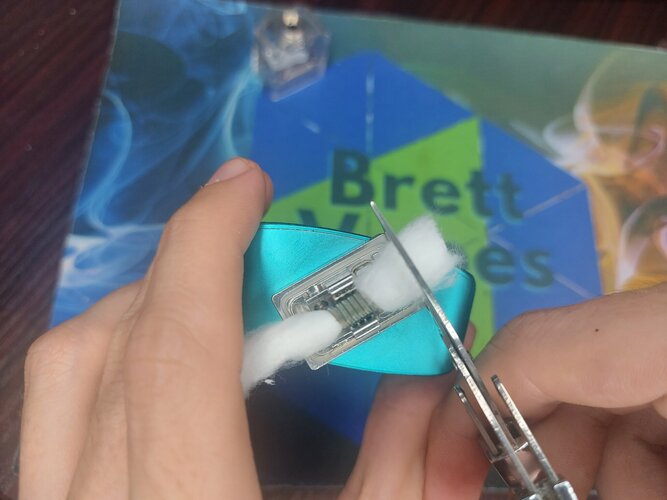
Once you’ve get the cotton, you need to thin it out but not too much otherwise it will be too thin and leak.
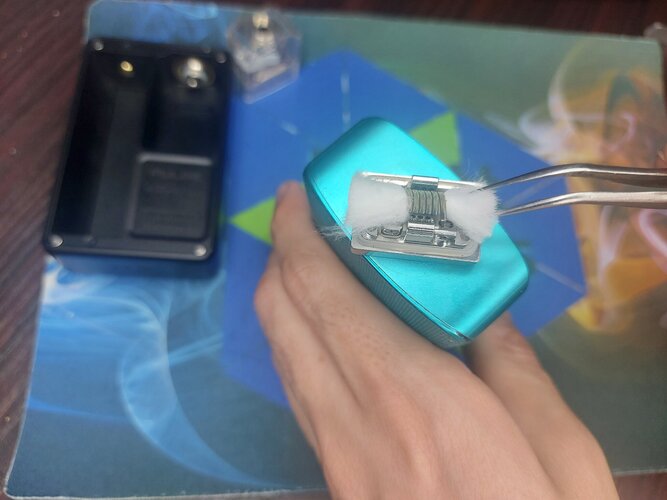
It should end up looking something like this.
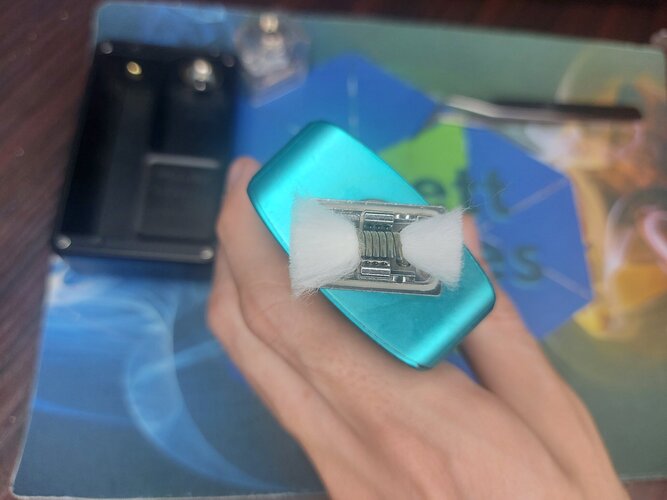
Next you need to gently push the cotton into he juice trays. Make sure the cotton is not leaving any space, otherwise it will leak. The end product should look similar to this.
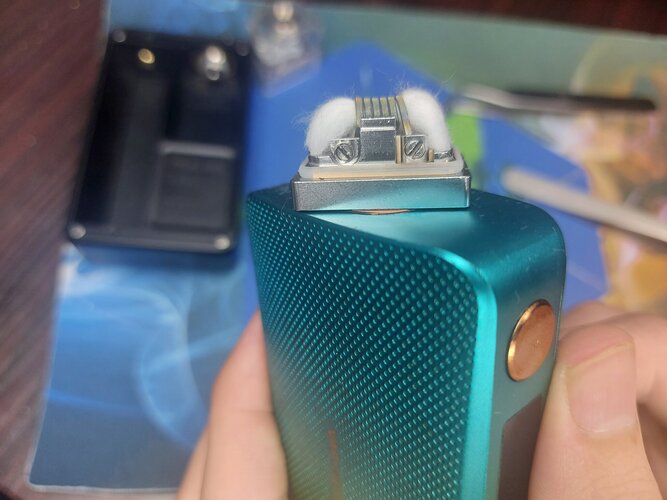
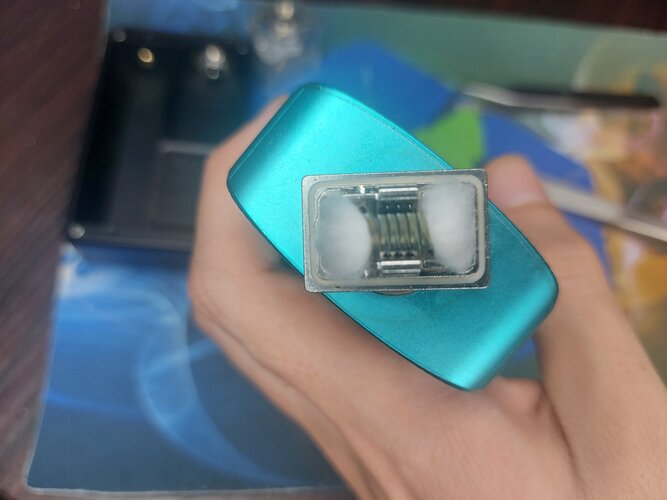
Now all that is left is to prime it and then put it back into the mod. Don't forget to put the black airflow ring back on.
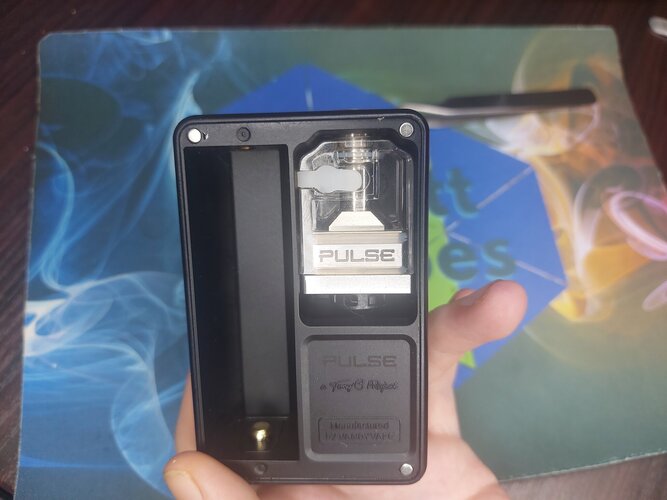
Once your bridge is in, note that when you screw the 510 screw in to tighten the bridge, go finger tight. So tighten it until it stops. Do not try to tighten it more unless you want to crack the device or break the bridge. Then you put on the drip tip ( I highly recommend getting a 510 drip tip from a Gear RTA but you can use whatever is to your preference) now you are good to and happy Vaping!
Final Thoughts
I absolutely love his device. It has become my new daily device, it is light, compact, and has a very comfortable feel in the hand. The ide button does take some getting used to and I wish I had the frosted plates so that I wouldn't have to lift the plate every time I want to see my battery life but overall this device is really good and I would definitely recommend anyone who is looking for a small compact device to get one of these.
Thank you so much for all your support guys and for making this possible and I hope this review has helped with any doubts or has answered any questions you had, If you still have questions feel free to ask down below.
Until the next one Keep safe.
So as I’ve made it obvious, I’ll be reviewing the Vandy Vape Pulse AIO Kit. I’ve had this device for just over 2 weeks now and I must say that I have been loving the experience so far. There have been a few things here and there that I haven’t liked but we will get into that.
Unboxing
Ok so first things first, we have the box.

Very simple packaging but I really like it.
Inside we get the Vandy Vape Pulse AIO,

two bridges (one is Rebuildable and the other is commercial),

two VVC Coils (one is 0.3 ohm and the other is 0.6 ohm), a 18650 Battery Adapter because this device can take up to a 21700 Battery,

and then we get spares, some basic Ni80 Coils and some tools.
Review
Now lets get into the device. This device looks so cool. You get multiple colors as well with the typical Pulse frosted design but I received the Solid Black version.

For the size, this device is quite light too using the same materials as the Vandy Vape Pulse devices. It has a max output of 80W which is more than enough since the rebuildable bridge is single coil and the way that they have designed the airflow on here, you don’t want to go too hot, otherwise the condensation will become a problem. That brings me to my first problem with the device. If we have a look at the rebuildable bridge here, the airflow goes through the 510 base on both sides.

But the device itself only has air holes on the one side which creates a tighter draw and creates condensation.

But there are a few fixes. One is to drill holes into the back plate in line with the bottom of the bridge, and the other way is the wicking. If you don't wick this bridge right, it leaks and the condensation then becomes a big problem. But other than that, this devices looks awesome and you can change pretty much everything on this device from the door panels, to the button, to the ring that goes around the button! You want to have a completely mismatched devices with one part of each color? You go for it!.
Lets get into building and wicking this Bridge. The coils you get with it are terrible and I do not recommend you using them. I’ve tried a couple different coils and have found that the Bewolk Platinum Series coils work really well here.

So first thing you do when you want to build here, you need to remove this black plastic ring that goes on the 510 screw which doubles up as an airflow ring.

You just screw it off and put it aside. DO NOT THROW IT AWAY. Then you just screw the base onto a regulated device with a 510 and now we can begin.

You are going to want to cut the legs to about 5mm length.

Once you've cut the legs we then put the coil in. What I love about this build deck is that it is based on the Kylin Mini build deck and it just works so well with flavor and for an AIO the clouds are not bad at all.

When your coils is in, all you need to do is adjust the coils and then dry burn to check for any hotspots. Remember when you dry burn, you want to dry burn on a low heat so that you don’t accidentally melt your coil. Like with any rebuildable coil, you want the coil to heat up evenly from the center out.

Now that the coil has been installed and there are no hotspots, we can jump into the most important part. If you wick this wrong, you will either get dry hits from the get go, or it will leak. I’ll be using Firebolt cotton for this.

Because it is a single coil we will only use half a strand of firebolt so one strand lasts you two rewicks.

Now the length you want to cut is along the edge of build deck. But you don't want to press the cotton down. Just straight along.

Once you’ve get the cotton, you need to thin it out but not too much otherwise it will be too thin and leak.

It should end up looking something like this.

Next you need to gently push the cotton into he juice trays. Make sure the cotton is not leaving any space, otherwise it will leak. The end product should look similar to this.


Now all that is left is to prime it and then put it back into the mod. Don't forget to put the black airflow ring back on.

Once your bridge is in, note that when you screw the 510 screw in to tighten the bridge, go finger tight. So tighten it until it stops. Do not try to tighten it more unless you want to crack the device or break the bridge. Then you put on the drip tip ( I highly recommend getting a 510 drip tip from a Gear RTA but you can use whatever is to your preference) now you are good to and happy Vaping!
Final Thoughts
I absolutely love his device. It has become my new daily device, it is light, compact, and has a very comfortable feel in the hand. The ide button does take some getting used to and I wish I had the frosted plates so that I wouldn't have to lift the plate every time I want to see my battery life but overall this device is really good and I would definitely recommend anyone who is looking for a small compact device to get one of these.
Thank you so much for all your support guys and for making this possible and I hope this review has helped with any doubts or has answered any questions you had, If you still have questions feel free to ask down below.
Until the next one Keep safe.


