

Hi everyone!
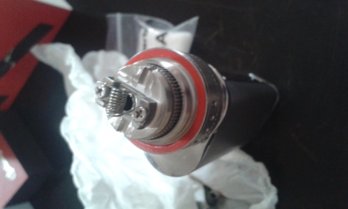
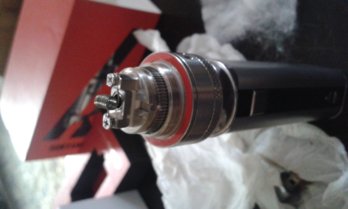
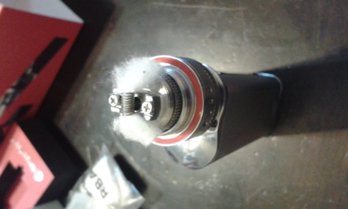
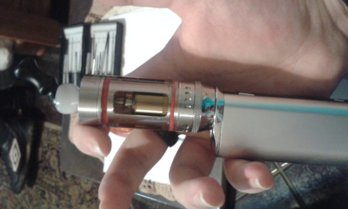
So after watching a number of tutorials on YouTube, I finally mustered up the courage to give RBA a go. I'm not exactly the smartest when it comes to this type of DIY, but hey, if all the guys can do it, surely I can too. I prefer my coils to be around 1 ohms and above, so, I used 26 gauge kanthal at then wraps at approx 2,5mm. I was sooo happy when this coil fired up. It reads on my istick 30w at 1.1 ohms, in my sweet spot! Here's the pics of my handiwork.
All opinions and reviews welcome!

")
 . My first attempt ended up in the bin ... and the 2nd ... and the 3rd
 ! 4th is a happening thing tonight.
 awesome first coil, well done

