

I want to do this to my mini?
Should I go for it.
http://www.e-cigarette-forum.com/forum/reos-mods/542476-reo-remove-paint-3.html
Follow along with the video below to see how to install our site as a web app on your home screen.

Note: this_feature_currently_requires_accessing_site_using_safari
aw no alex, now you make me want to strip my reo and do stuff to it also
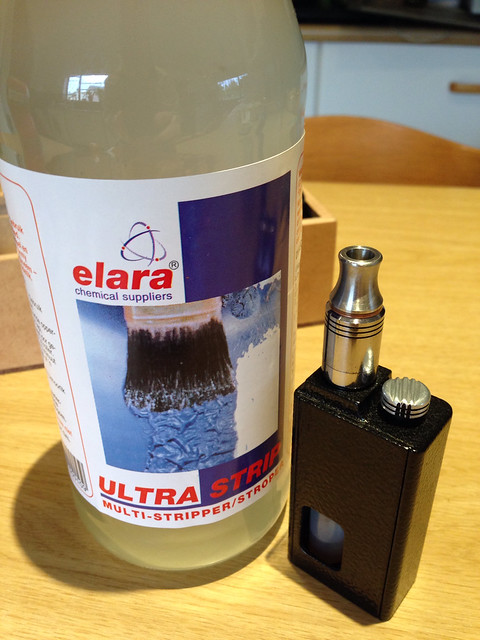
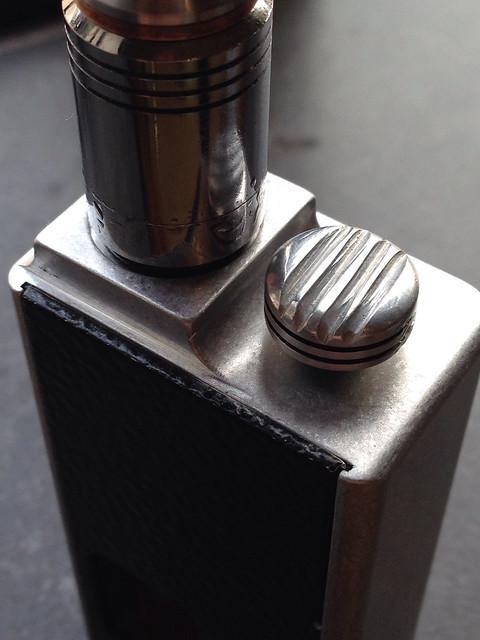

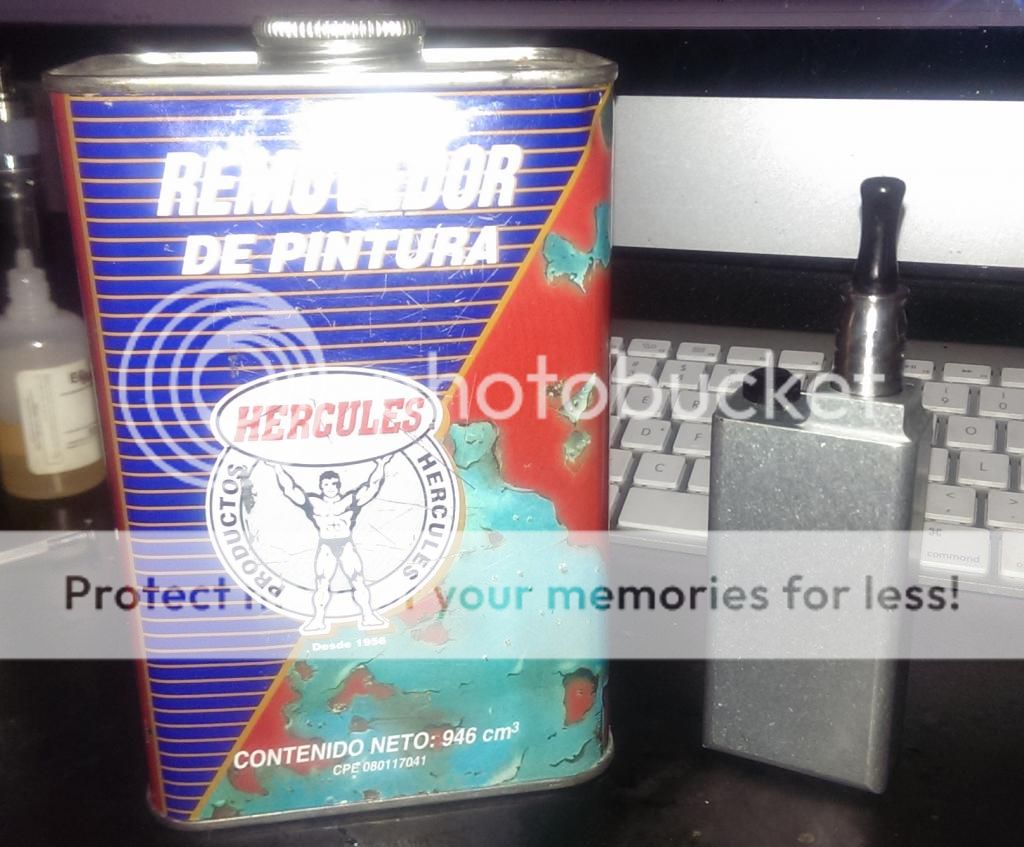
Great work. Most do not strip inside the catch cup or on the inside of the mod. You surely have surgeon's hands. Looks awesome, well done.I started off with this
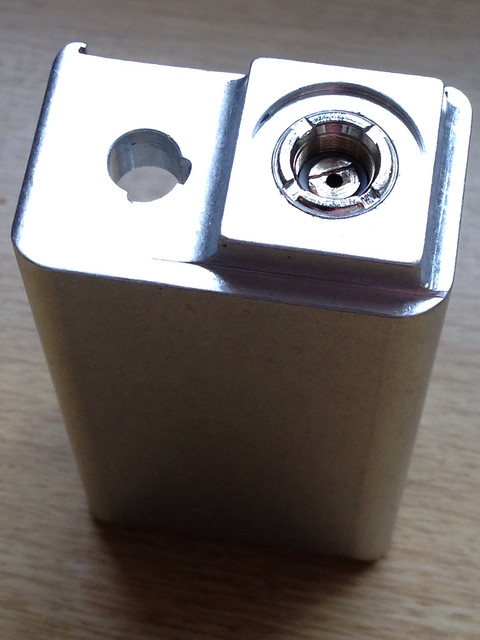
I was careful to avoid getting paint stripper inside the 510.
Found that using a wooden toothpick was best for getting into the small places
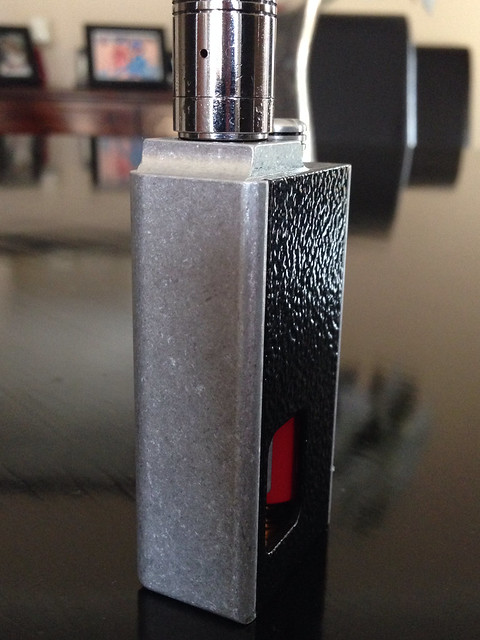
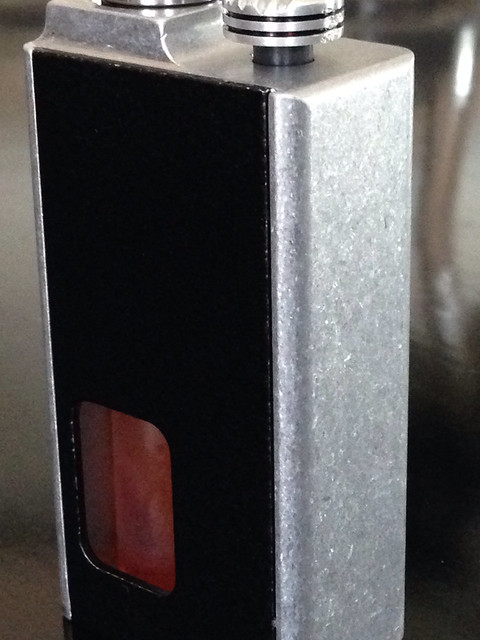
I left the door painted for now.
Sick as Tits
I am well pleased with the end result.
Great work. Most do not strip inside the catch cup or on the inside of the mod. You surely have surgeon's hands. Looks awesome, well done.
By the way, what is the active ingredient in the paint stripper fluid that eats away the paint or the plastic spoon?
By the way, what is the active ingredient in the paint stripper fluid that eats away the paint or the plastic spoon?
It contains Methylene Chloride "Dichloromethane". But they normally contain Acetone as the active ingredient if I'm not mistaken.
You're right Alex, but the nasty stuff that even removes epoxy coatings on integrated circuits and processors are Dichloromethane.
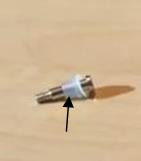
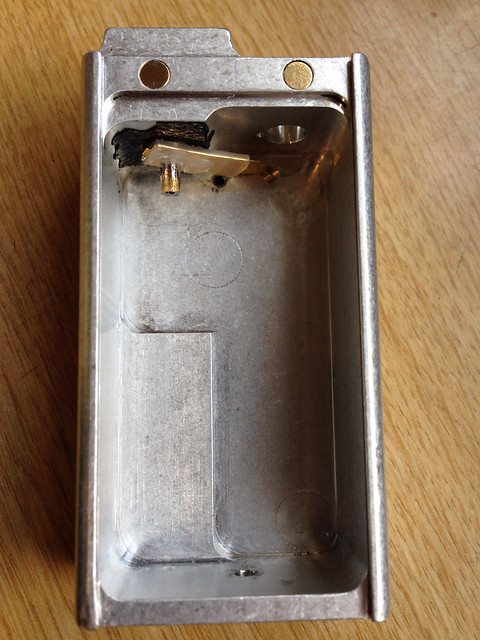
Great work, @Alex. This is the little bugger you are talking about - shown by the arrow in the picture. Think that is silicone? Also picked up recently that it should be put inside the 510 connection on its own - not around the center pin as shown on the picture. Apparently not easy, some wetting helps. If you insert it attached to the center pin you run the risk of damaging that silicone gasket. This info was given by SuperXDrifter on ECF - he said his video on installing the sub -ohm kit was wrong in this regard.

")

