Custom built bottom feed mod.
Created 7 hours ago · 14 images · 364 views · stats
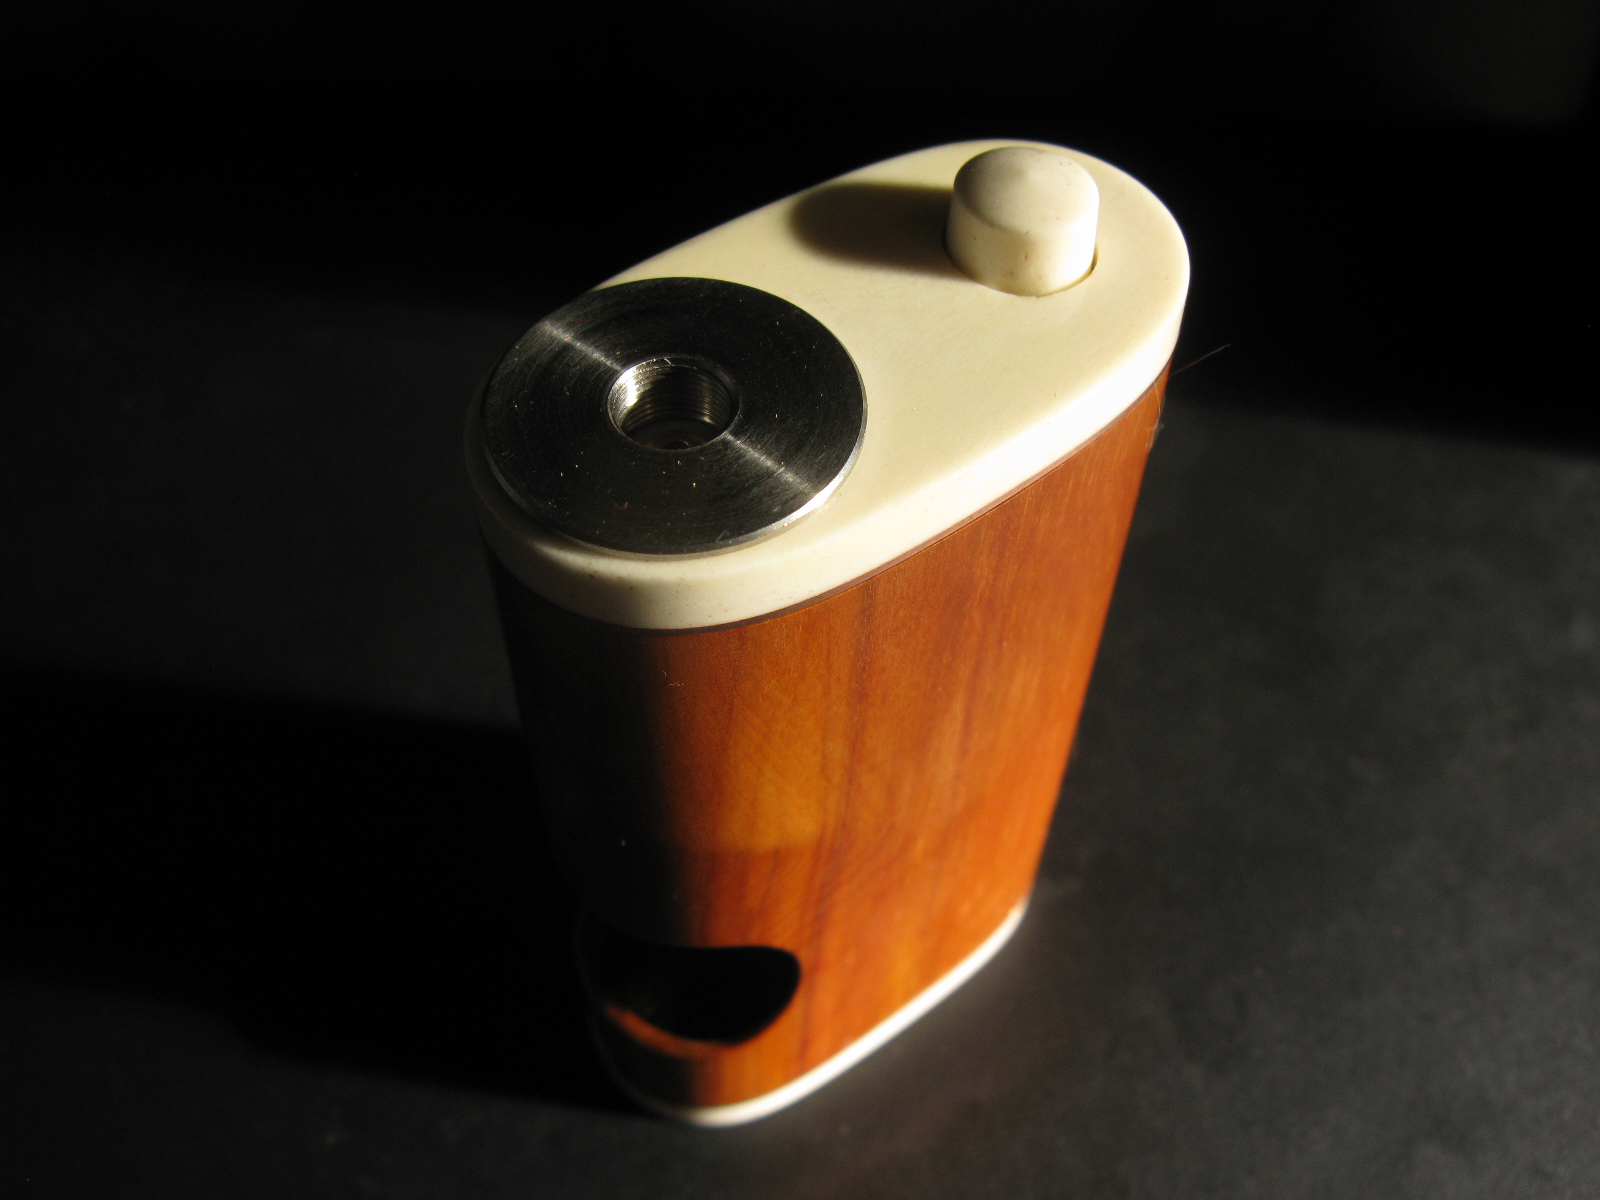
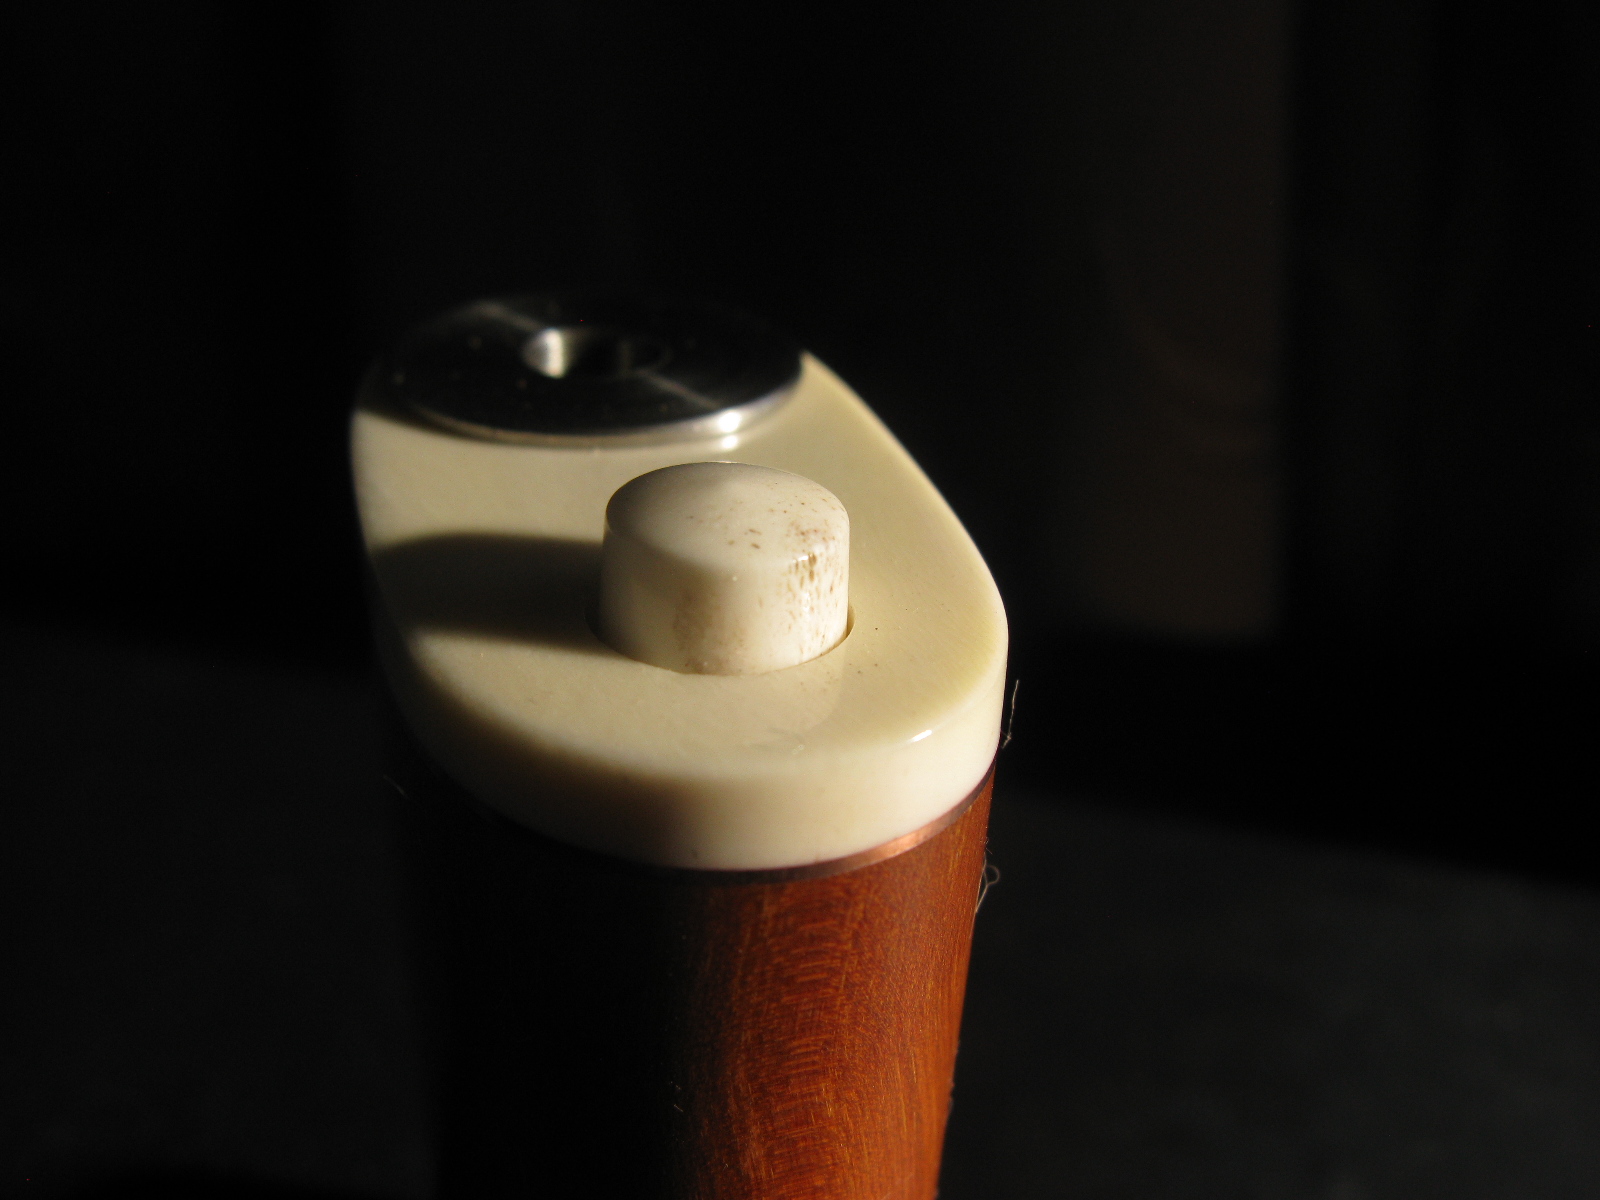
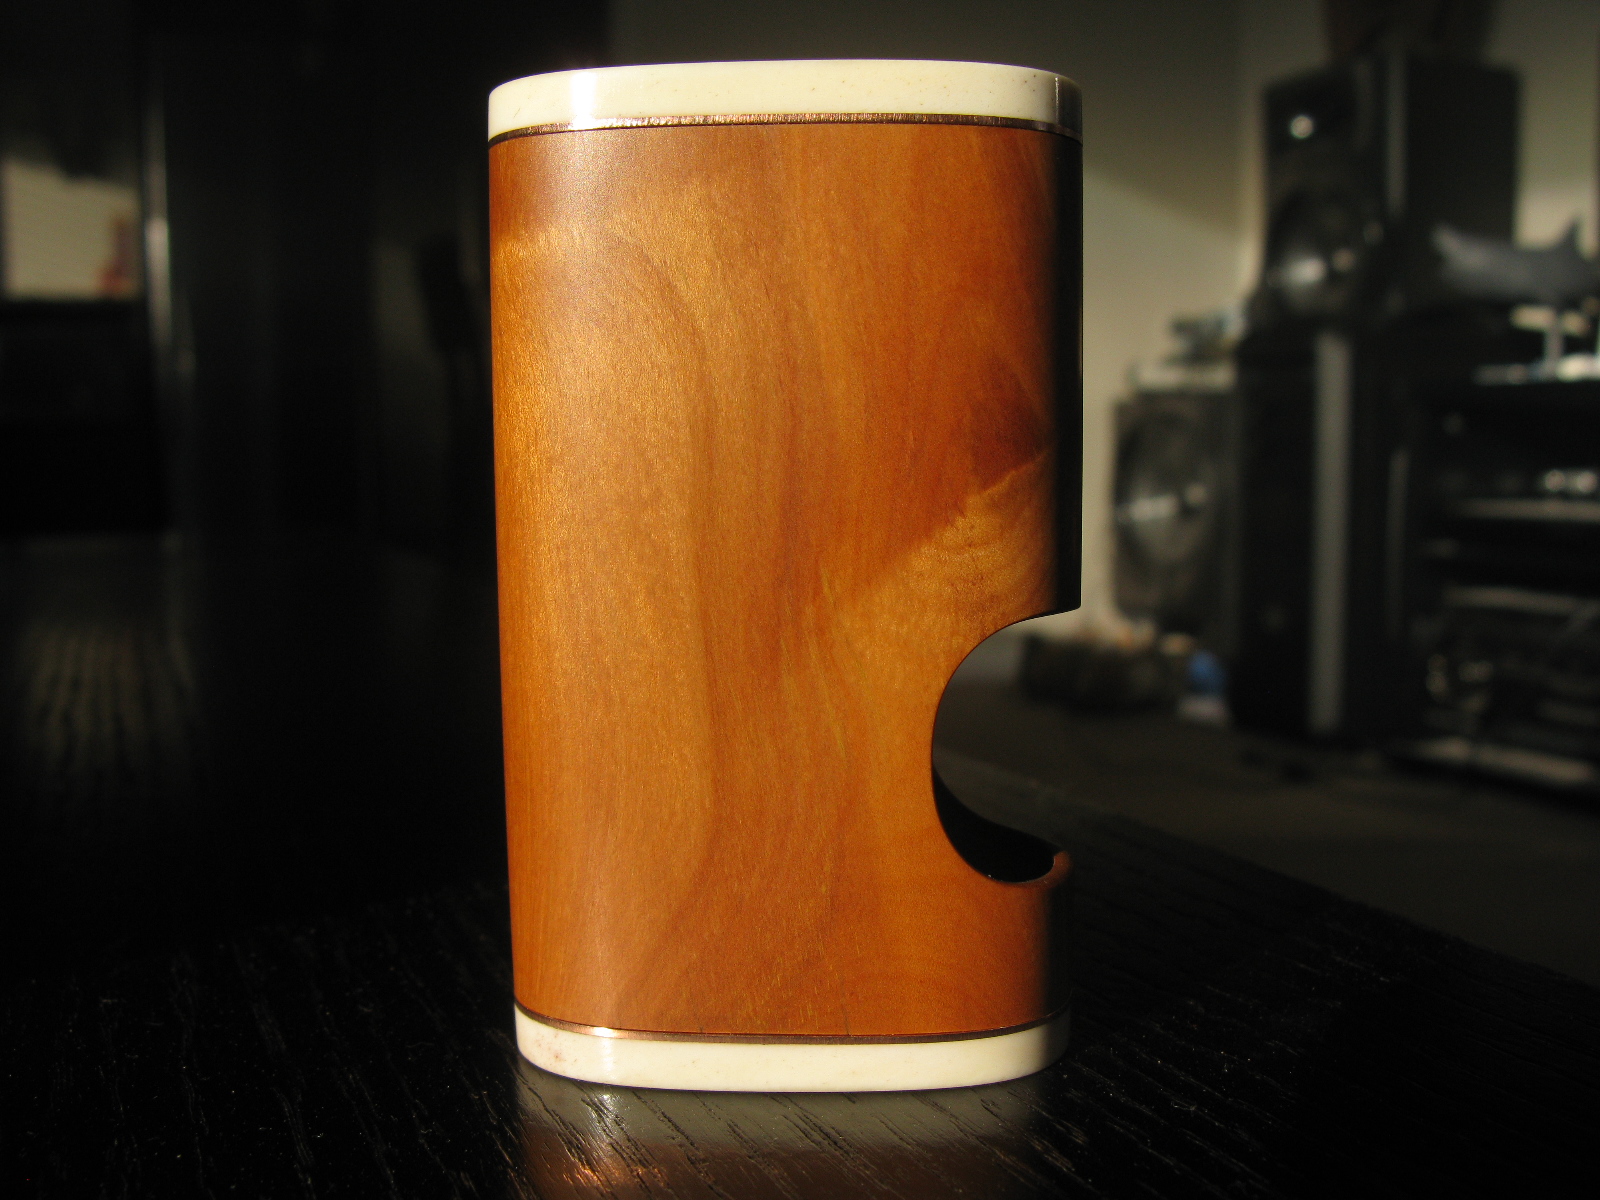
Finished product

One month ago /u/longwhitecloudnz posted a video on reddit.com/r/electronic_cigarette, showing one of his wooden mods. I was completely blown away. I asked him right away about making a custom box and if he could ship it to Sweden. I realize now that I didn't even ask about the price, it wasn't relevant, I simply had to have one!
Type

The mods he builds are bottom fed, mechanical, and most are single 18650. But more than anything else, They are, by far, the most beautiful wooden mods I have ever seen!
Moneyshot

He makes all his mods from indigenous New Zealand wood-types. As you can see, he is a highly skilled artisan. The aesthetics of it all is just stunning. Now that it is finished, payed for, and on it's way to be shipped to me. I cannot deny it, compared to most other mods, yes, it was expensive. But in my opinion, the amount of care and work that he poured into this one single mod. Makes it incomparable to "most other mods". TLDR: cheap? no. But I have no regrets.
Day 5

Now begins a short series of pictures that I received during the build process. For fun I will write what day I got them counting day 1 as the day I first contacted him. For this mod, we agreed to use "matai" (black pine) A hard and resistant wood with a rich golden hue. He also felt like trying something new. The white pieces are bone which will become the "end caps". Bone proved to be a very good material for this purpose. It is much harder than wood, it is scratch and crack resistant, it is a poor conductor of heat, it will not swell or shrink and it looks very nice together with the wood. For all conductive parts he uses pure copper.
Day 5

A diamond in the rough. First cuts made and initial holes drilled.
Day 14

Preparing for joining. everything is carefully positioned, soldered or epoxied.
Day 14

First assembly, rough sanding and lid holes drilled.
Day 14

First assembly, rough sanding and lid holes drilled.
Day 17 (different lighting)

Almost done sanding. After this, squonk hole will be cut, and it will get final sanding and oiling.
Day 17 (different lighting)

Almost done sanding. After this, squonk hole will be cut, and it will get final sanding and oiling.
Day 26

Almost done now, oiled up and looking fantastic.
Day 26

Unfortunately there is no picture of it, but under this lid is an engraving with my name and the mods model number.
Day 26

Now it just needs the 510 connector and the fire button.
Day 26

He will also be sending along a rogue atomizer modified for bottom feed, some spare tubing, a couple of juice bottles.
source:
Created 7 hours ago · 14 images · 364 views · stats
Finished product

One month ago /u/longwhitecloudnz posted a video on reddit.com/r/electronic_cigarette, showing one of his wooden mods. I was completely blown away. I asked him right away about making a custom box and if he could ship it to Sweden. I realize now that I didn't even ask about the price, it wasn't relevant, I simply had to have one!
Type

The mods he builds are bottom fed, mechanical, and most are single 18650. But more than anything else, They are, by far, the most beautiful wooden mods I have ever seen!
Moneyshot

He makes all his mods from indigenous New Zealand wood-types. As you can see, he is a highly skilled artisan. The aesthetics of it all is just stunning. Now that it is finished, payed for, and on it's way to be shipped to me. I cannot deny it, compared to most other mods, yes, it was expensive. But in my opinion, the amount of care and work that he poured into this one single mod. Makes it incomparable to "most other mods". TLDR: cheap? no. But I have no regrets.
Day 5

Now begins a short series of pictures that I received during the build process. For fun I will write what day I got them counting day 1 as the day I first contacted him. For this mod, we agreed to use "matai" (black pine) A hard and resistant wood with a rich golden hue. He also felt like trying something new. The white pieces are bone which will become the "end caps". Bone proved to be a very good material for this purpose. It is much harder than wood, it is scratch and crack resistant, it is a poor conductor of heat, it will not swell or shrink and it looks very nice together with the wood. For all conductive parts he uses pure copper.
Day 5

A diamond in the rough. First cuts made and initial holes drilled.
Day 14

Preparing for joining. everything is carefully positioned, soldered or epoxied.
Day 14

First assembly, rough sanding and lid holes drilled.
Day 14

First assembly, rough sanding and lid holes drilled.
Day 17 (different lighting)

Almost done sanding. After this, squonk hole will be cut, and it will get final sanding and oiling.
Day 17 (different lighting)

Almost done sanding. After this, squonk hole will be cut, and it will get final sanding and oiling.
Day 26

Almost done now, oiled up and looking fantastic.
Day 26

Unfortunately there is no picture of it, but under this lid is an engraving with my name and the mods model number.
Day 26

Now it just needs the 510 connector and the fire button.
Day 26

He will also be sending along a rogue atomizer modified for bottom feed, some spare tubing, a couple of juice bottles.
source:


