

In my high school engineering class, we were given the option to do an independent project. I decided to design and build my own laser engraver!
(source) · 5 days ago
Preliminary CAD Sketch of the Frame

I used Inventor to lay out the basic frame of the design and to make sure everything fit. I also used it to design parts that I would later 3d print.
3d Printing
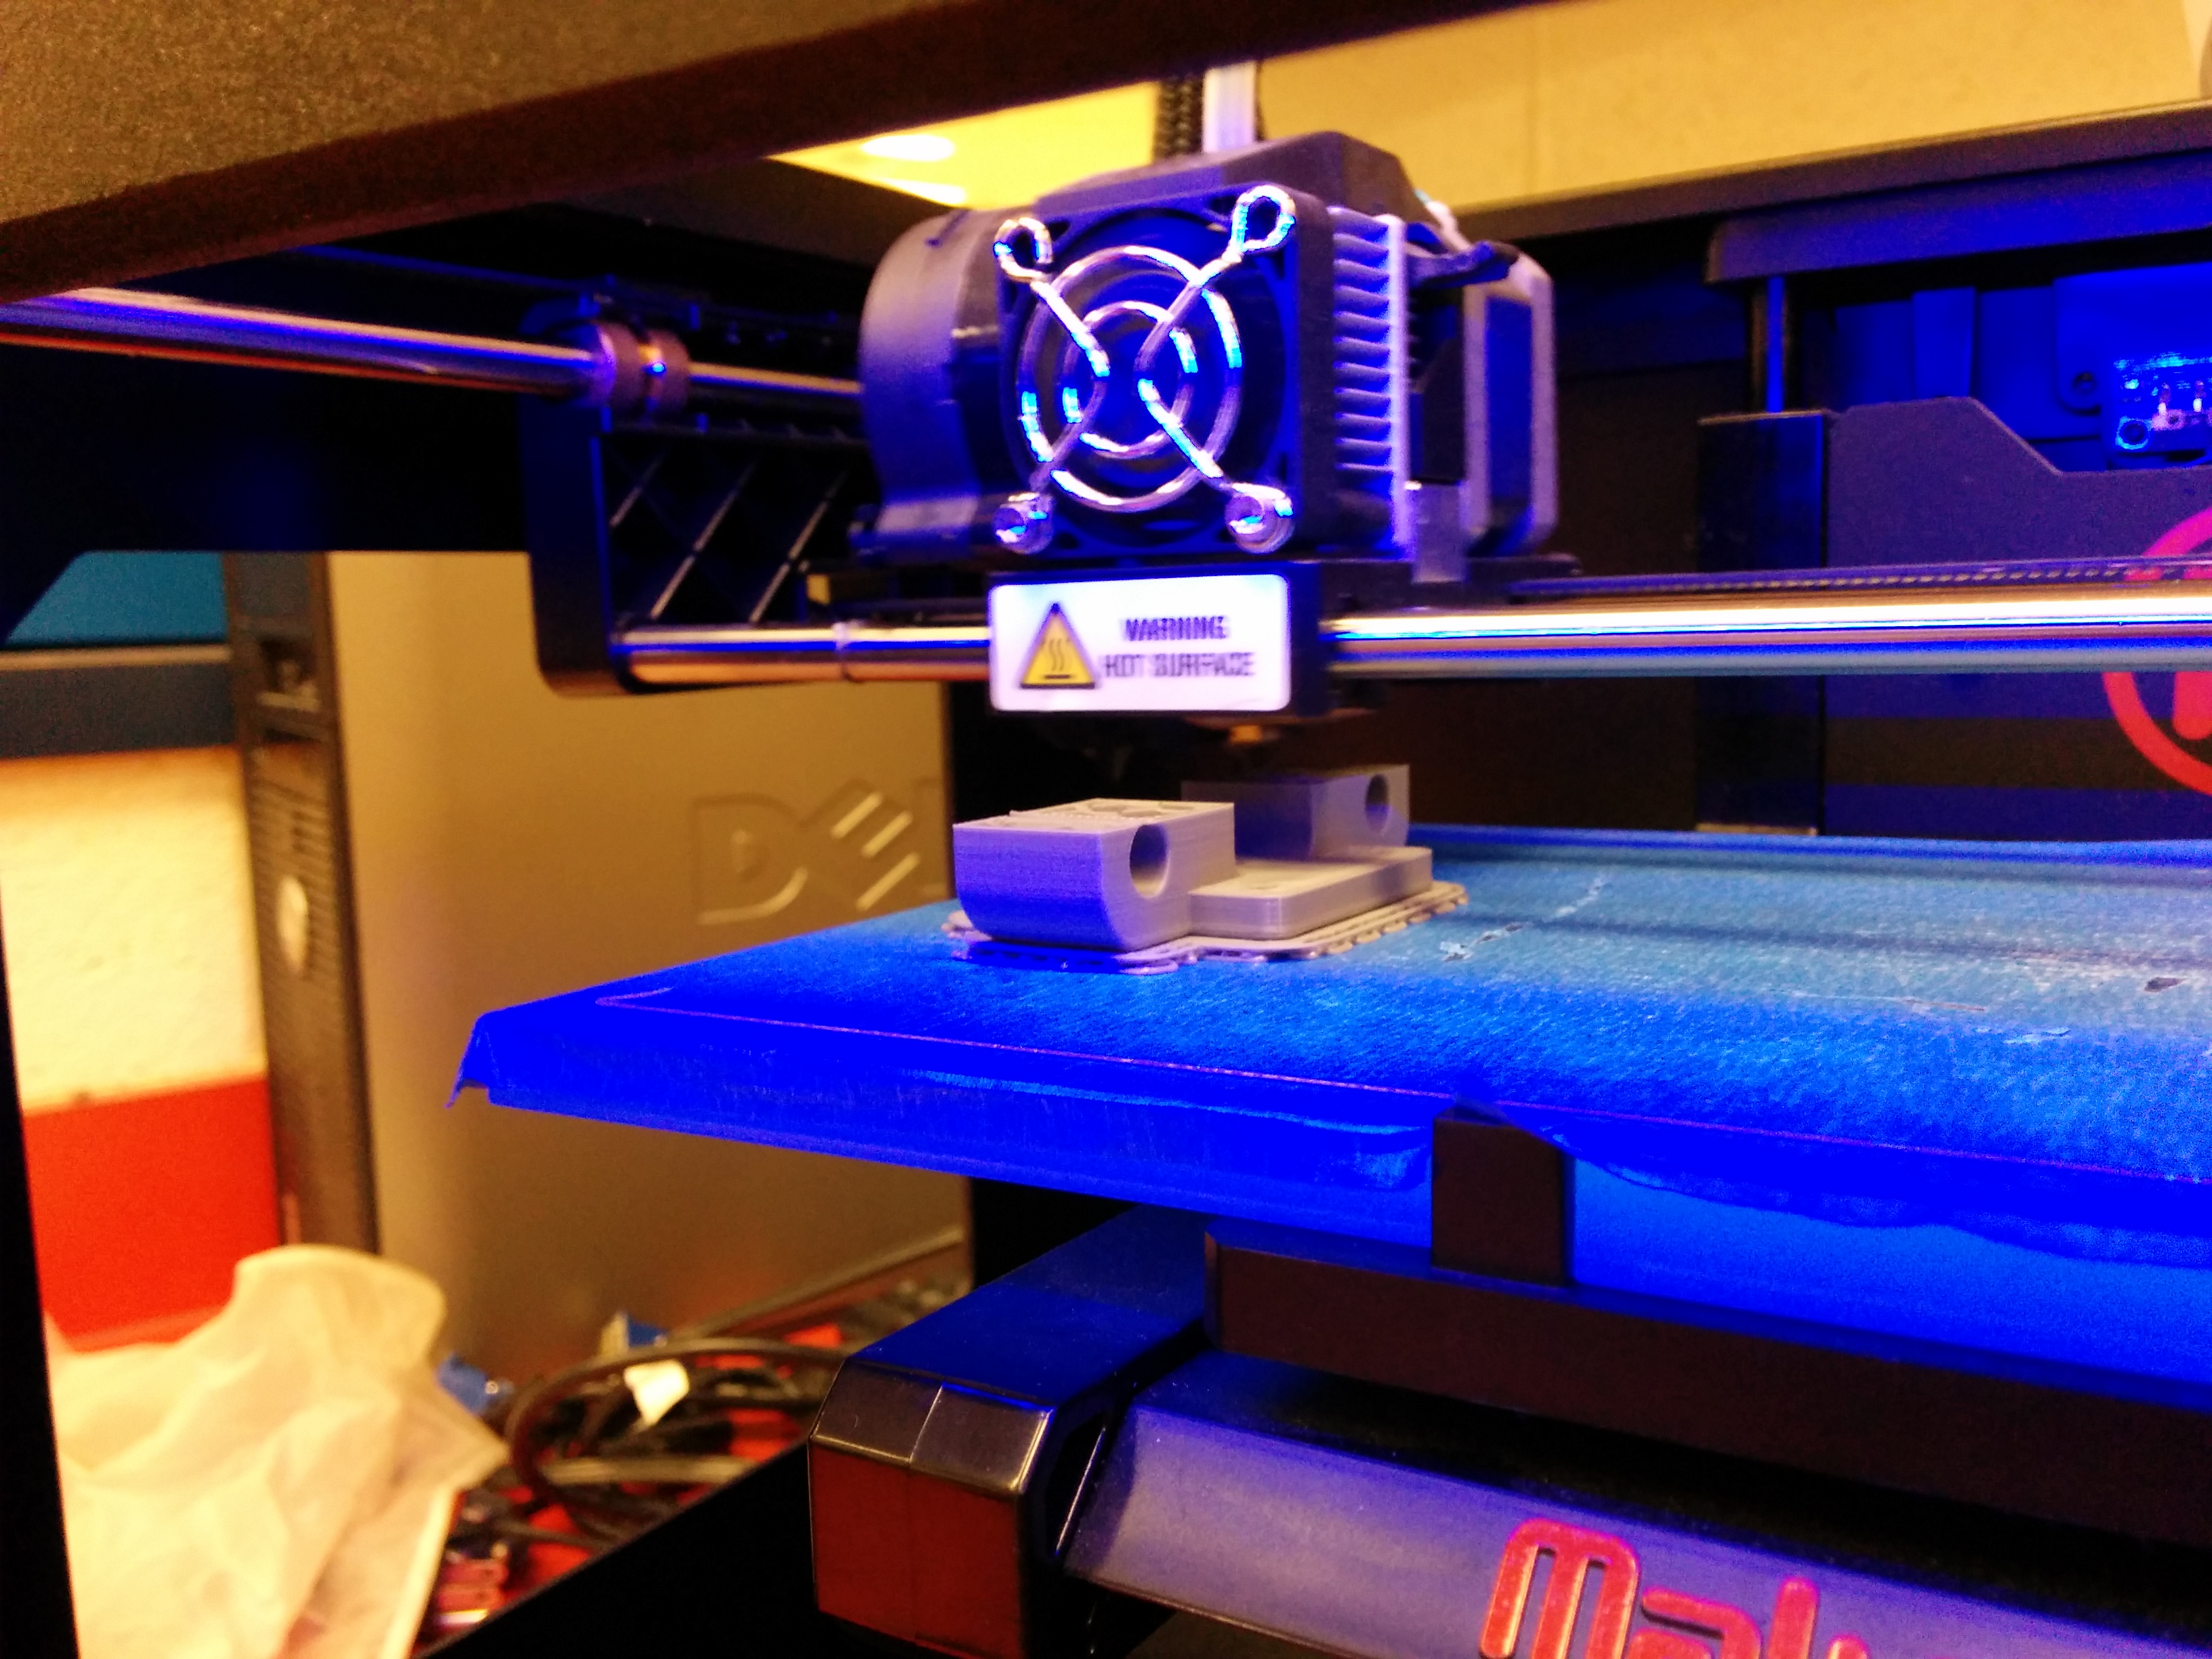
This was my first time using a 3d printer, and I was surprised at how well it worked. I used to think 3d printing was a bit gimmicky, but it proved to be invaluable for this project.
Finished Part

The metal rods seen here would serve as the y-axis, while the entire gantry would slide along the x-axis. The metal bearings are impregnated with oil to reduce friction.
Heat Sink

I made the heat sink for the laser by hand out of a block of aluminum and some cooling fins from an old robot controller. This part holds the laser diode and slides along the y-axis.
The Laser

I bought this 2 watt 440nm laser diode off of amazon for $60. It also needed a driver and a lens, so the total cost was around $100 for the laser system.
The Finished Y-axis

Stepper motor and belt installed.
Testing the Frame
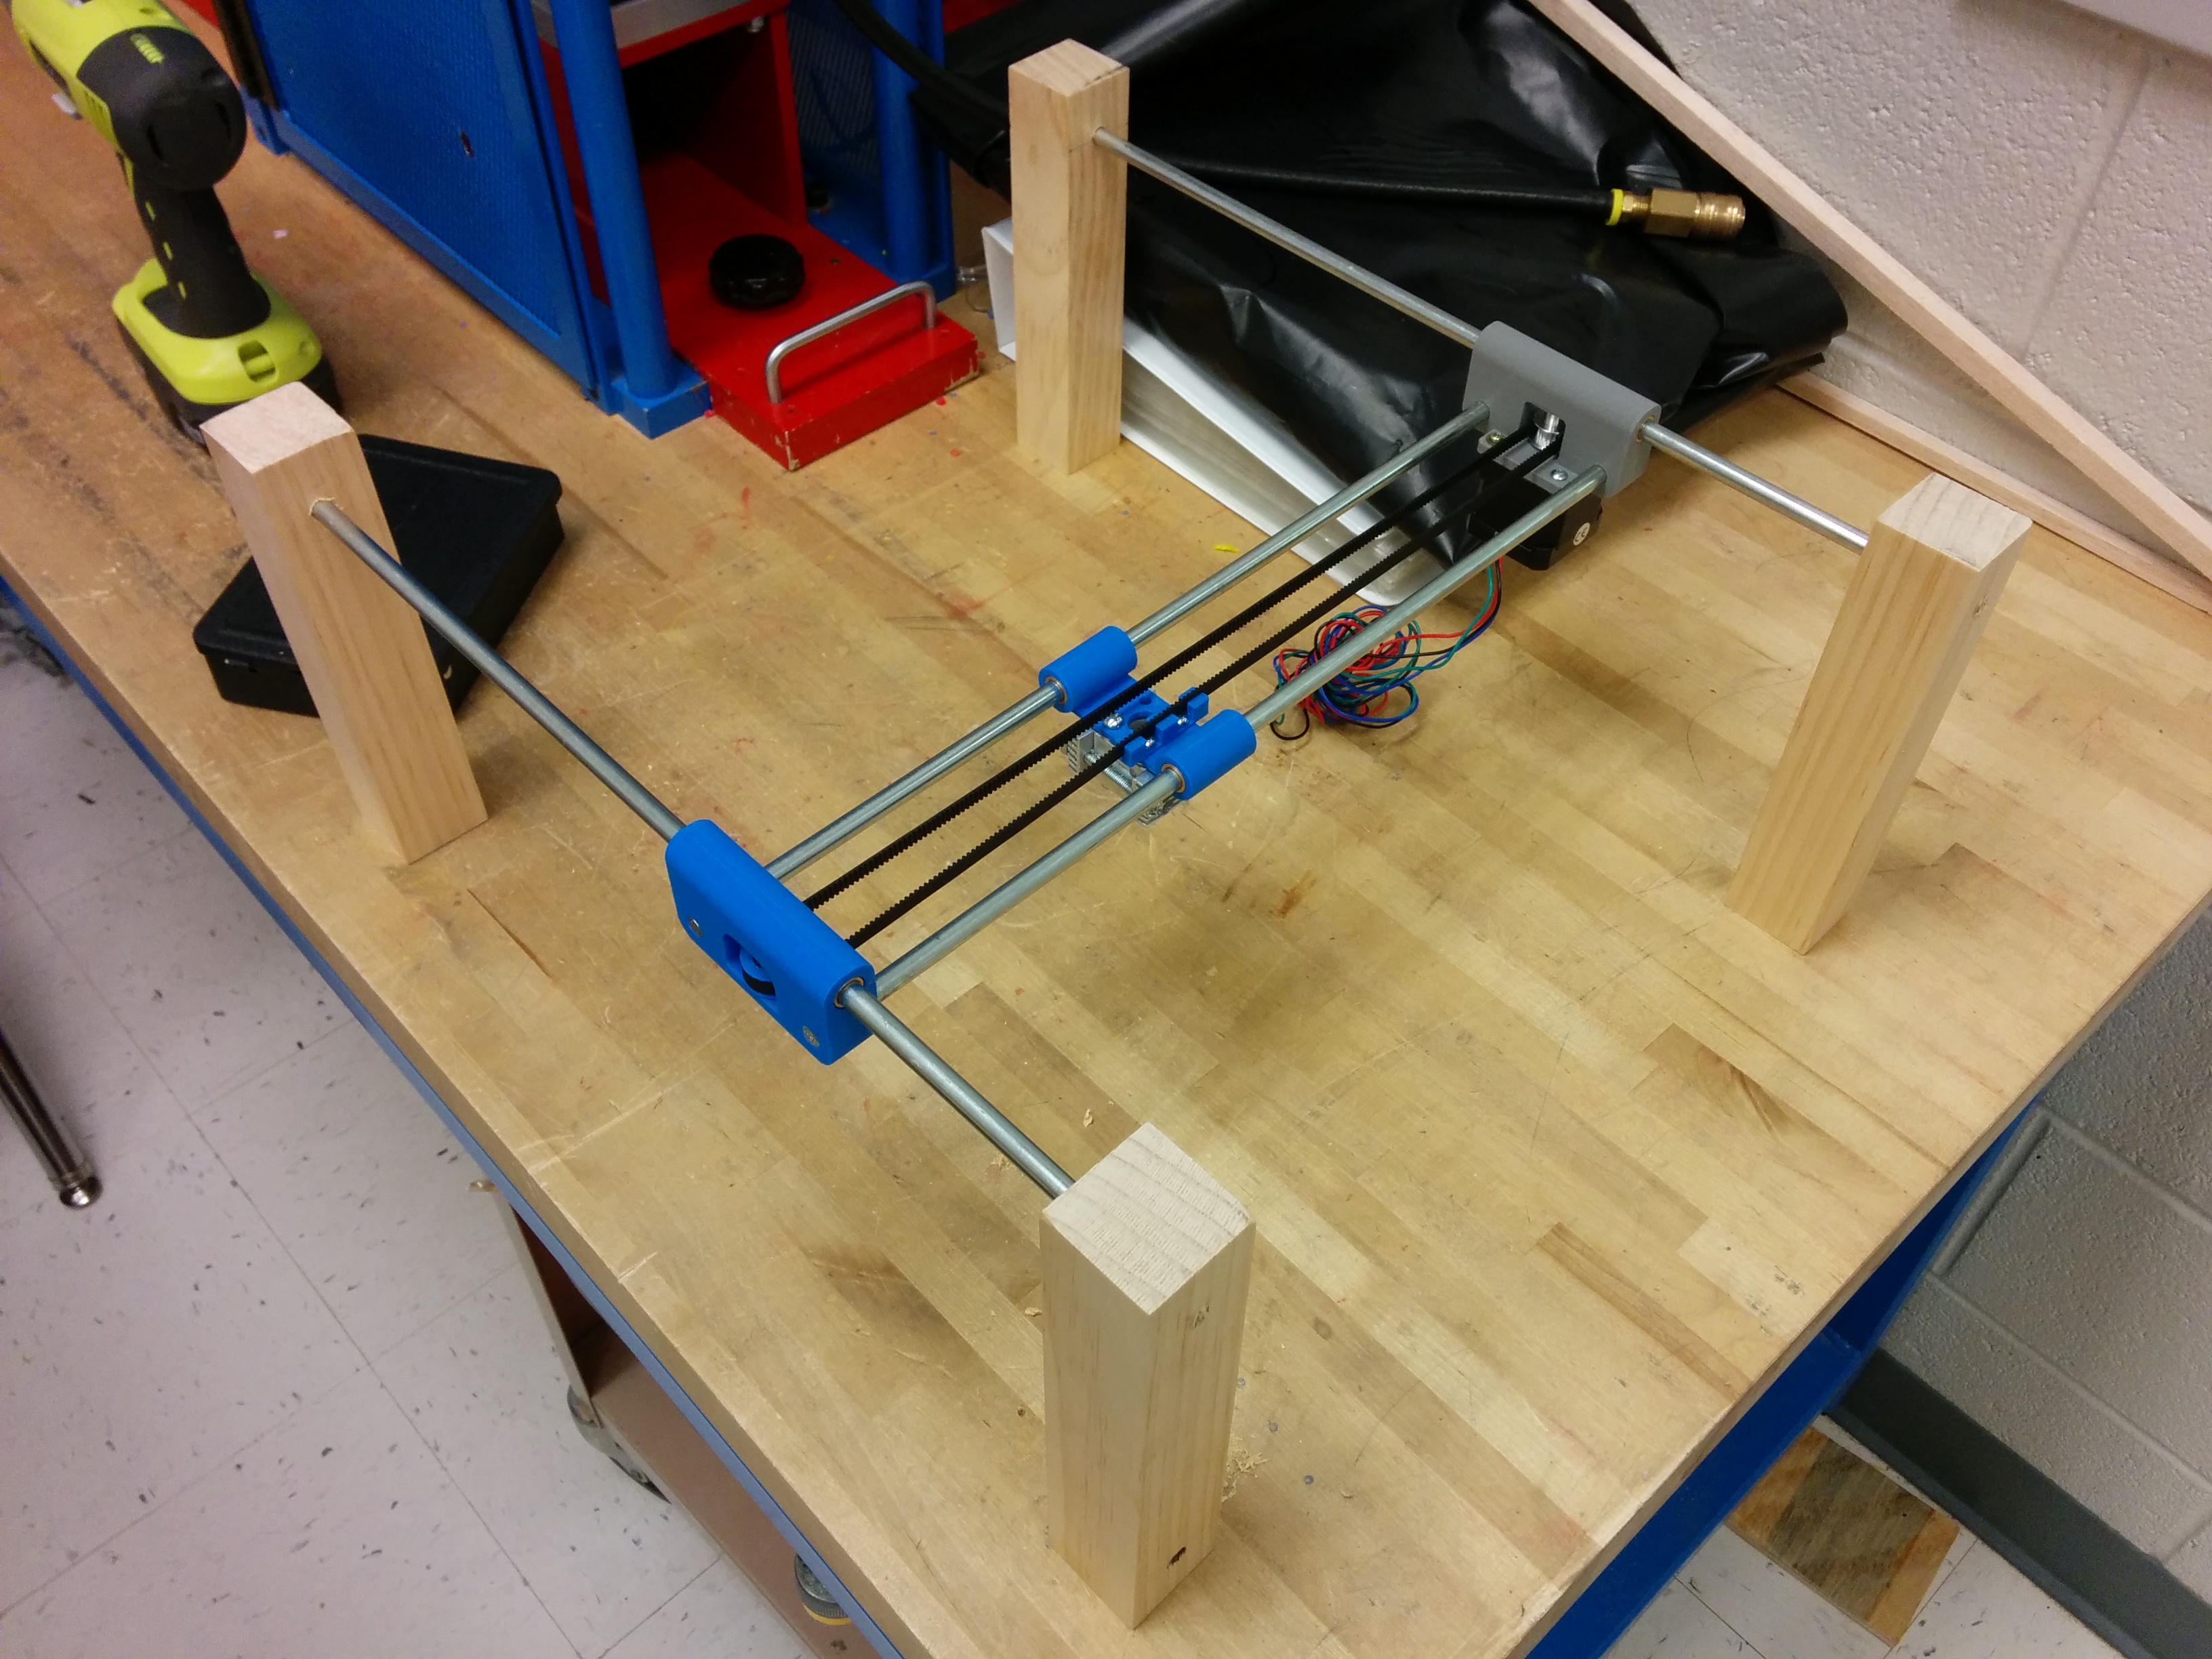
I wanted to make sure the x and y axes would slide smoothly before screwing everything down.
Frame taking shape

The x-axis stepper motor can be seen here. To keep things simple, I only used two motors and two belts.
Both Axes Complete
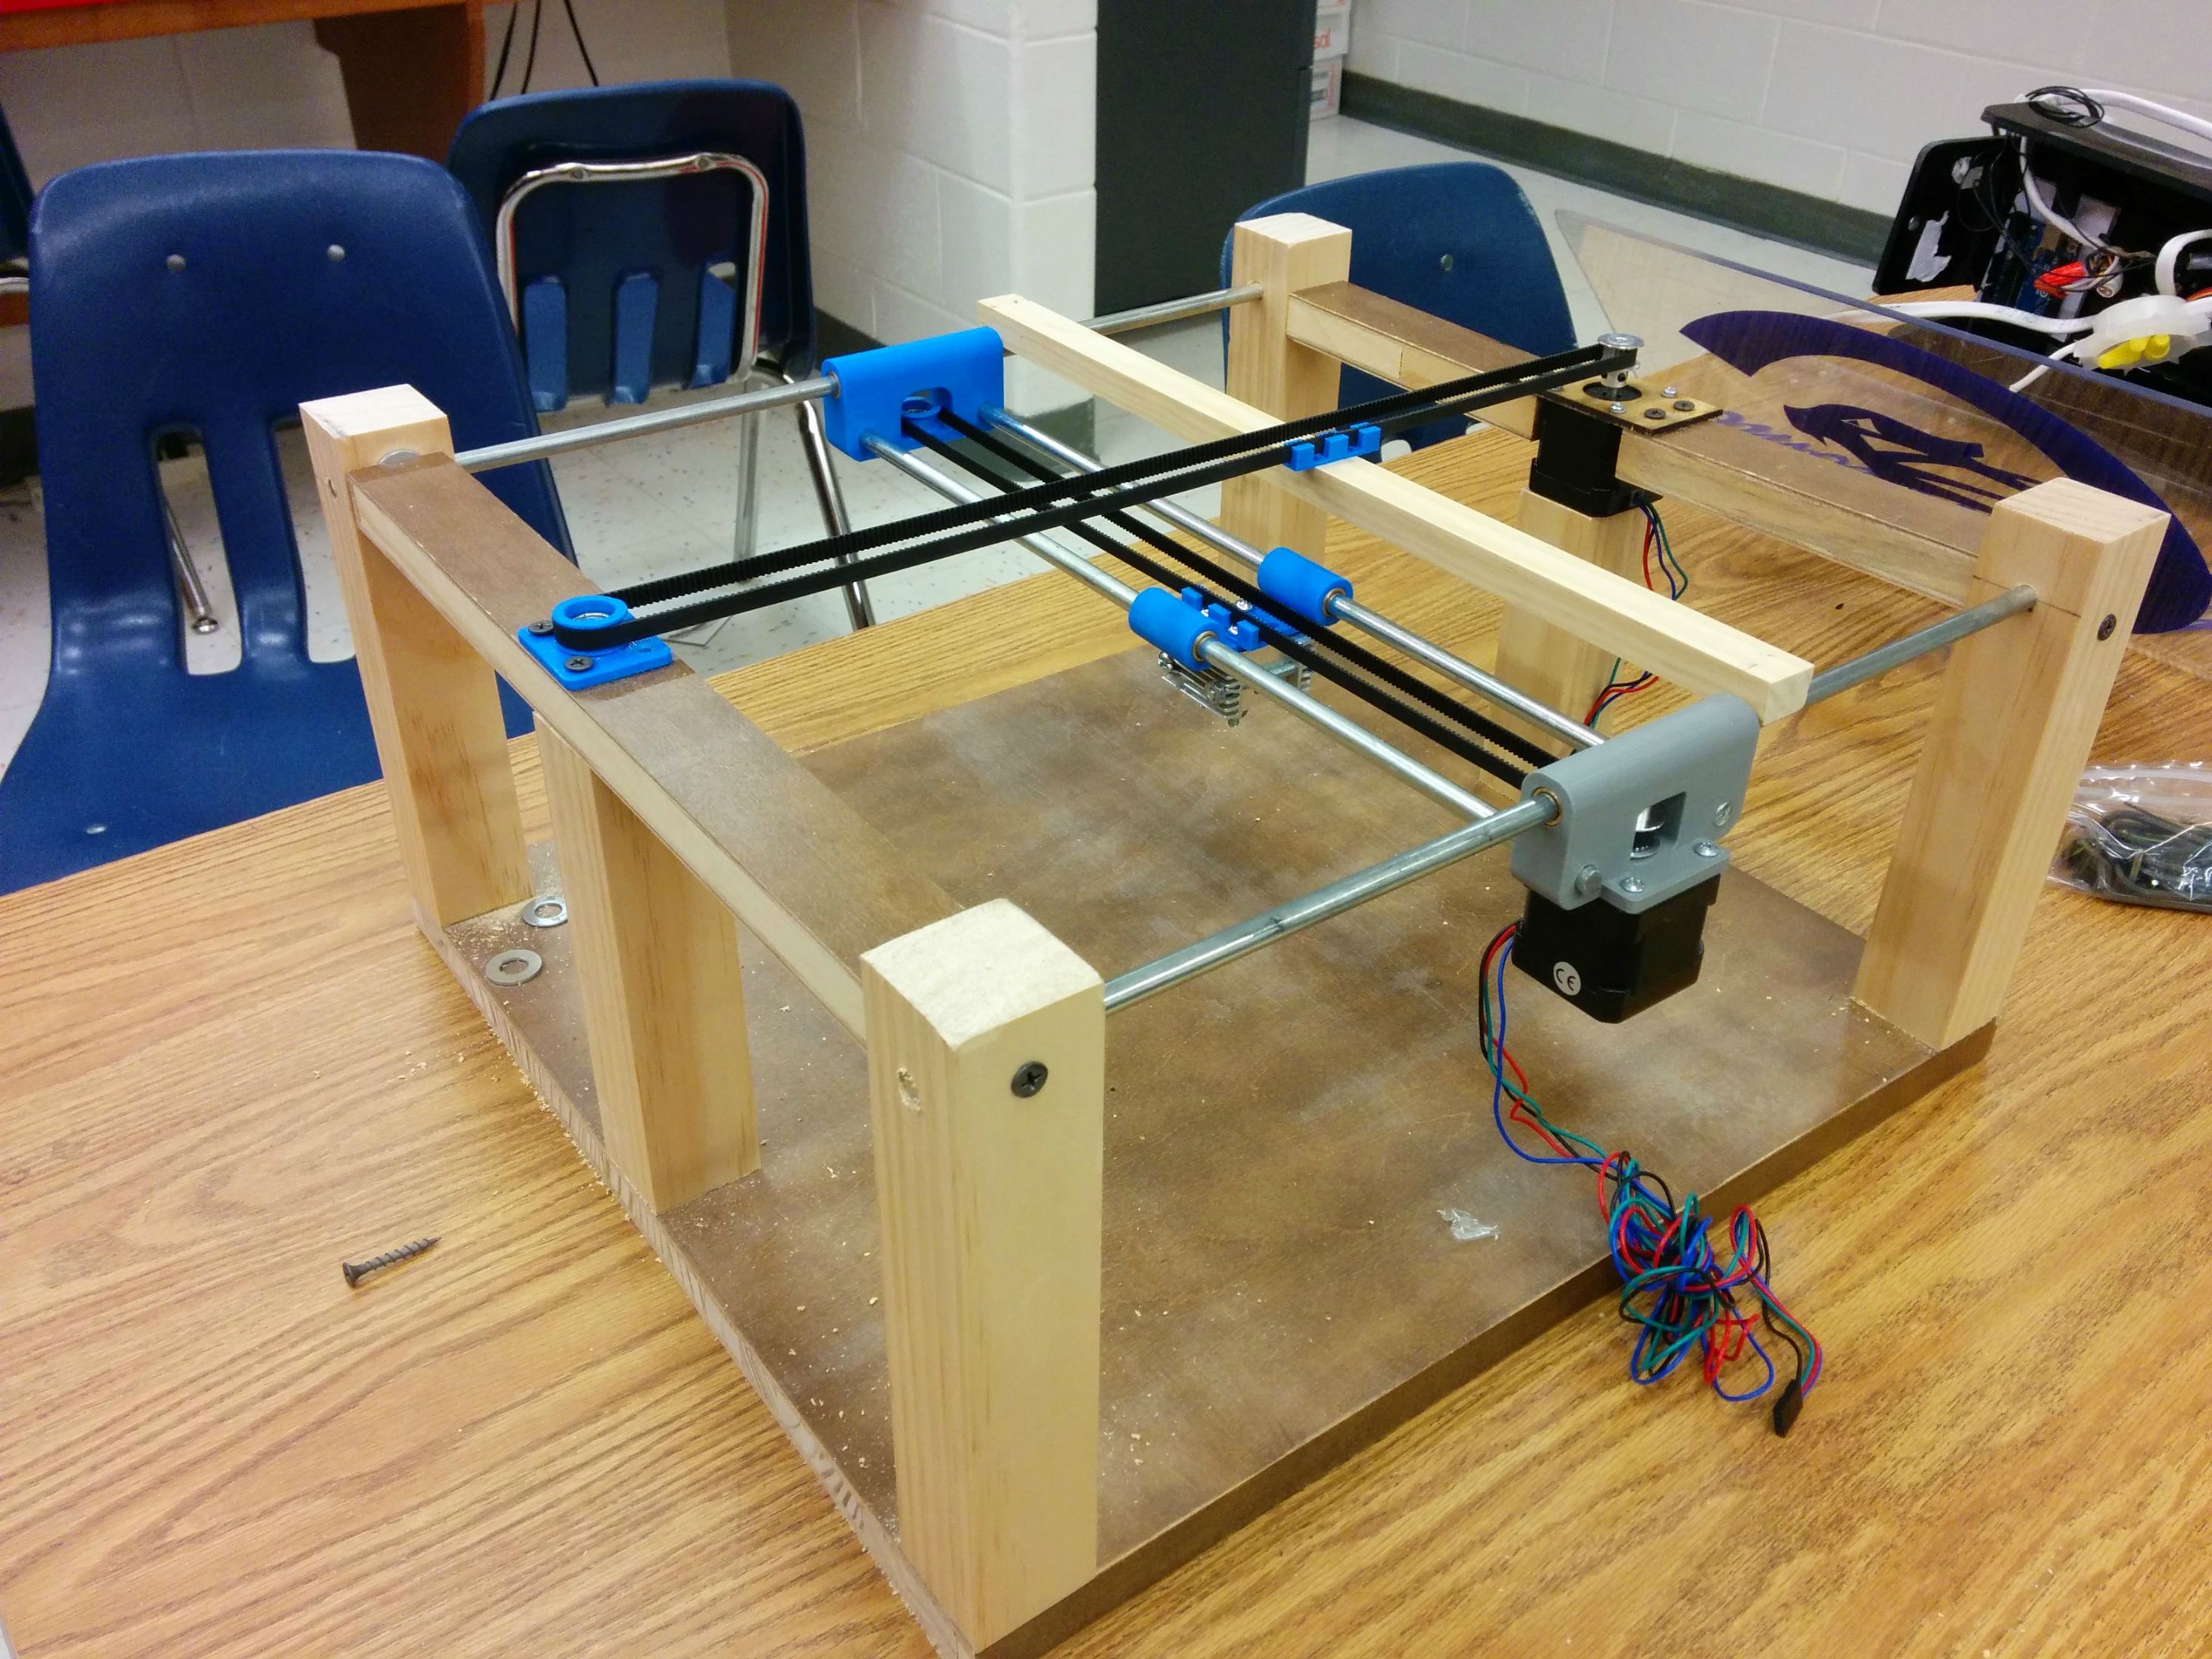
I wasn't sure if using a single belt and motor to move the x-axis would work, but luckily it did.
Testing Motion

With the arduino and stepper motor drivers connected, I was able to test the motion of each axis.
First Computer-Controlled Test
I used inkscape to make the design, gcodetools to export it to g-code, and grbl on the arduino to interpret the g-code. Here, it is engraving "Hello World!".
First Engraving!

Building the Enclosure
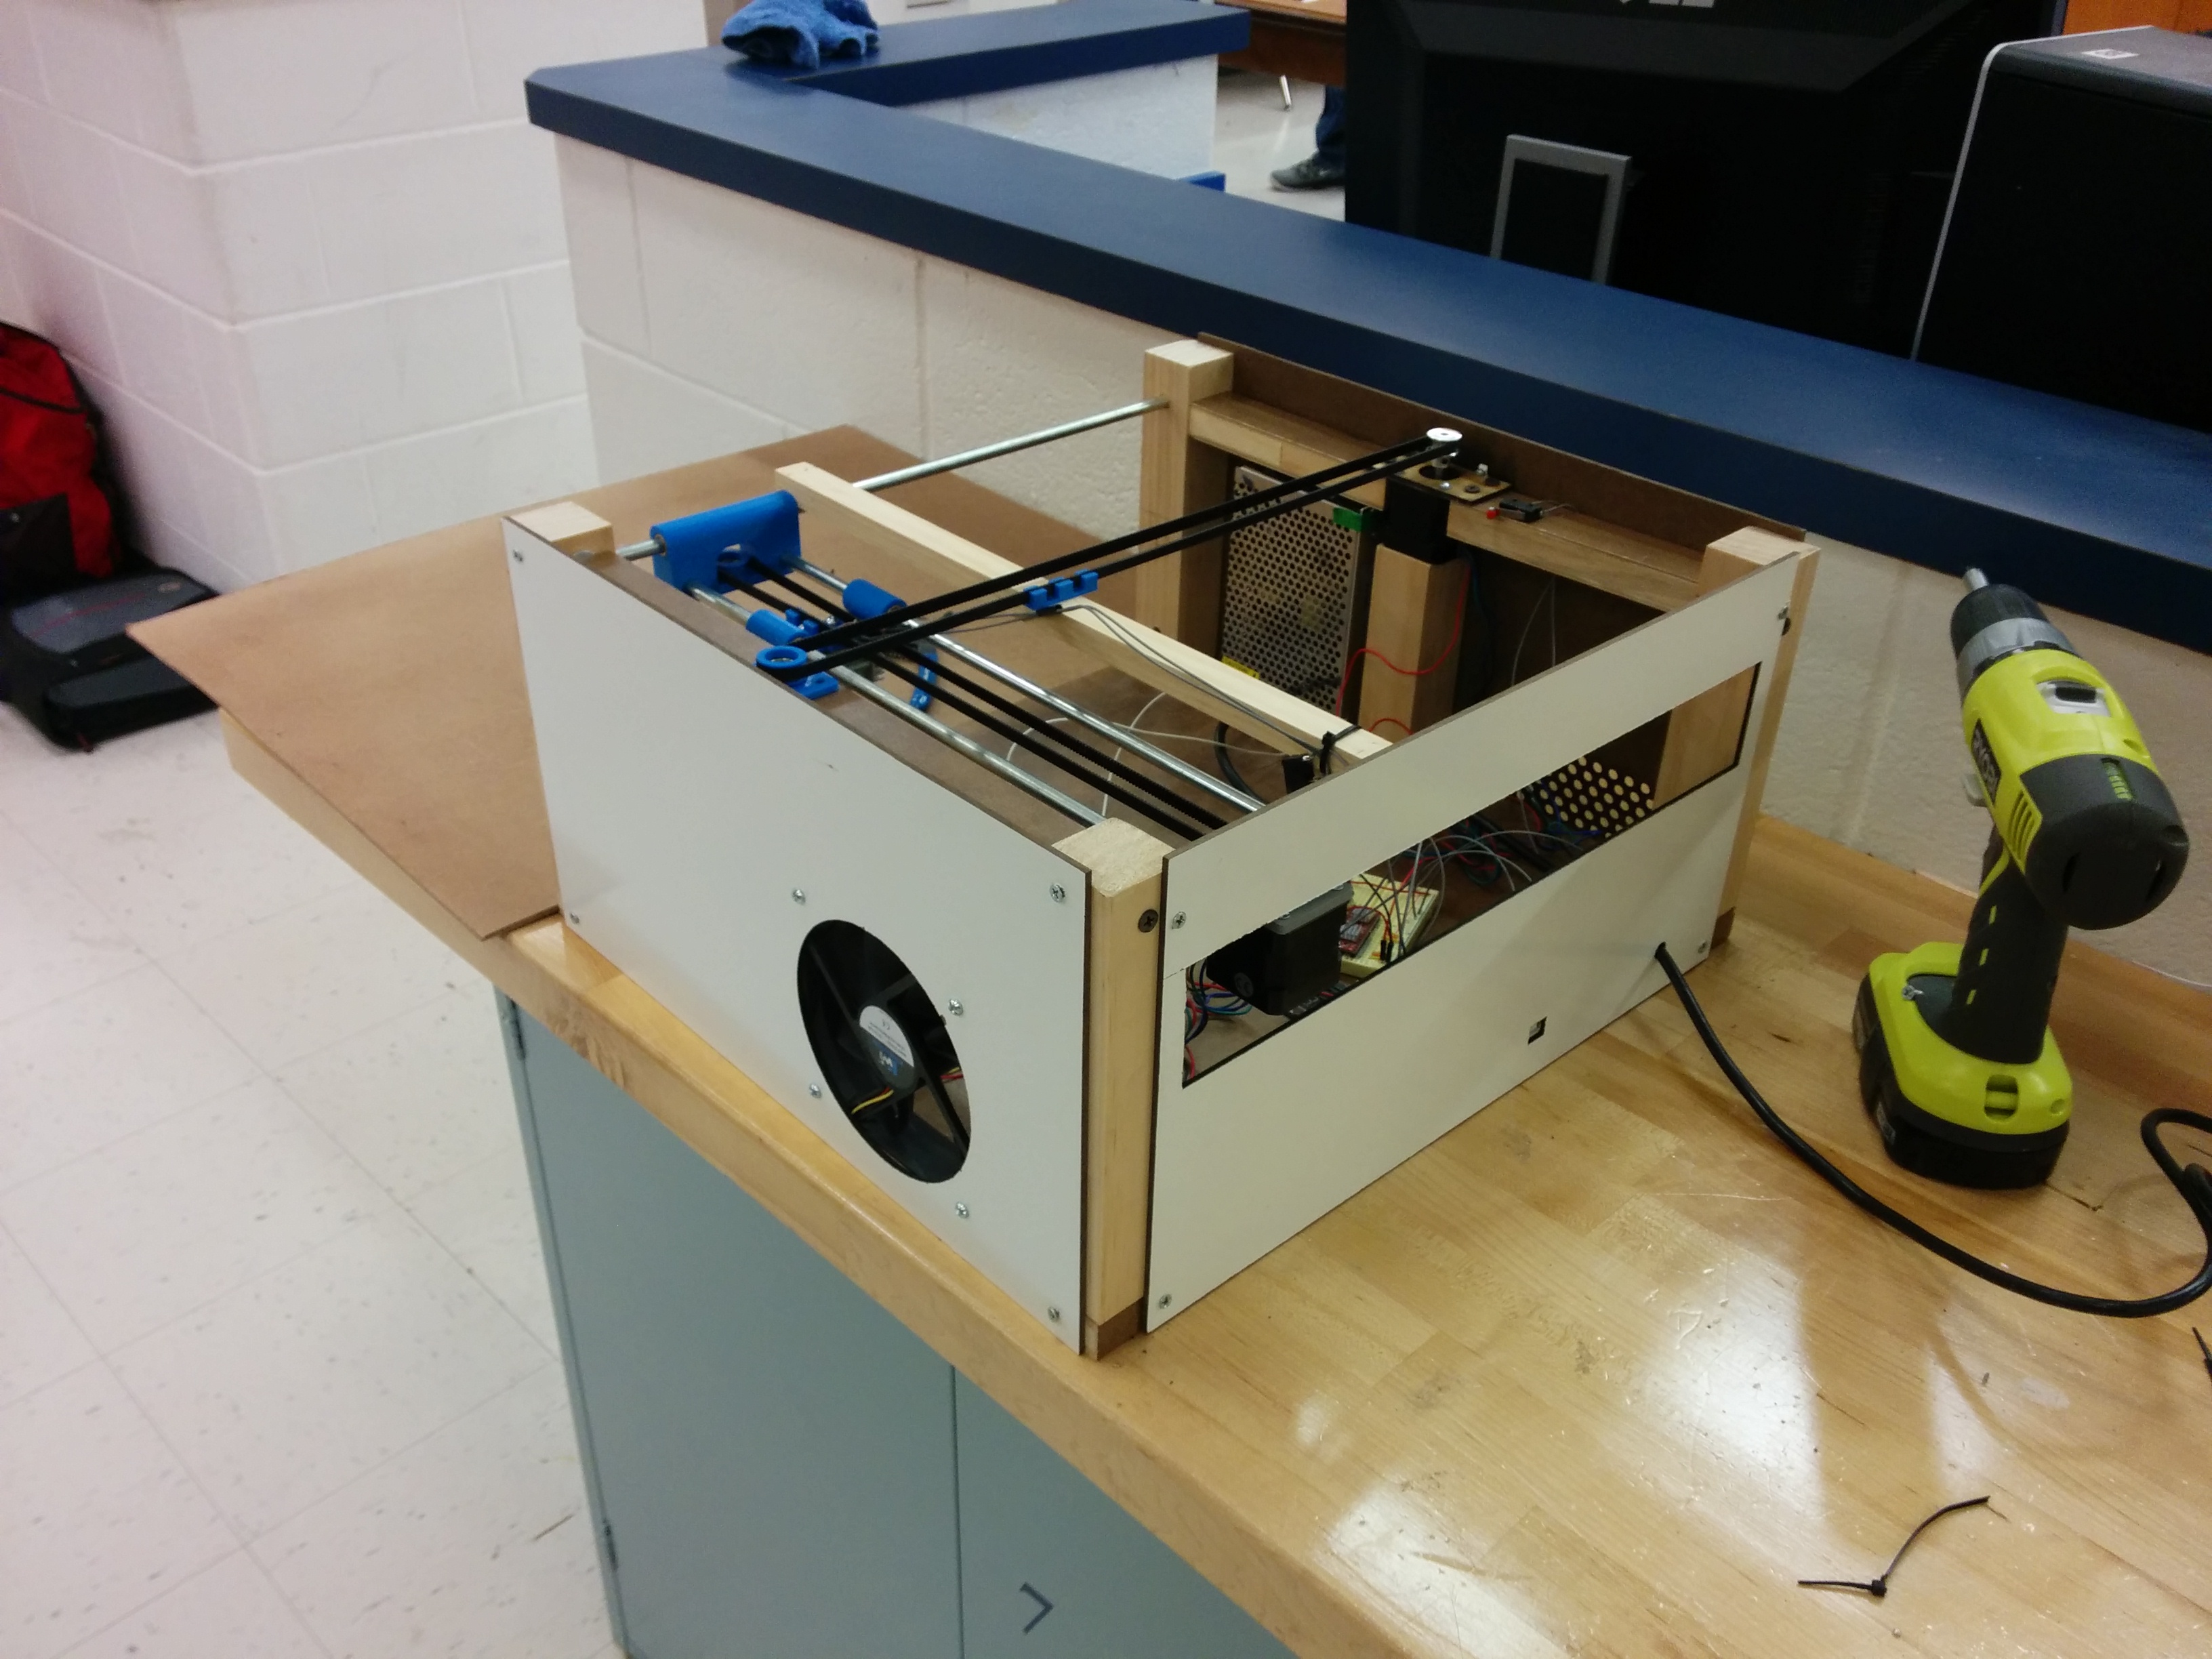
I made the walls out of whiteboard material and used a more powerful laser cutter to cut any necessary holes. I also added a computer fan to evacuate smoke from the interior.
Electronics

Pretty messy, I know, but all that would be out of sight and out of mind. In this picture, from left to right, you can see the arduino, voltage regulator and driver for the laser, stepper motor drivers, and power supply.
Adding the Platform

This wooden platform supports the material being engraved and also covers the electronics.
Almost Finished

All that's left is a protective cover to shield the user from harmful laser radiation.
Bending the Cover

The hinged cover is made of orange acrylic, which is designed to block ultraviolet light. I found that it also completely blocks the blue laser light.
Finished!

Looks pretty professional, if you ask me.
Laser Engraver Image Test
Side View
View Through the Fan
Comparison

Images like this don't work too well. It works much better with solid colors.
Engraving a Phone Case

Probably the most successful application of the laser engraver so far.
Cutting Balsa Wood
So far I've only been able to cut balsa wood and paper, but I hope this will be useful for making model airplanes and the like. Cutting requires the machine to move much more slowly.
Finished Gear


")

