Navigation
Install the app
How to install the app on iOS
Follow along with the video below to see how to install our site as a web app on your home screen.

Note: this_feature_currently_requires_accessing_site_using_safari
More options
You are using an out of date browser. It may not display this or other websites correctly.
You should upgrade or use an alternative browser.
You should upgrade or use an alternative browser.
DIY Mod build Q&A.
- Thread starter TylerD
- Start date

![DSC_1124 [1280x768].JPG](https://www.ecigssa.co.za/data/attachments/30/30469-ea76d2be48963c793b372fecfc1646af.jpg "DSC_1124 [1280x768].JPG")
![DSC_1130 [1280x768].JPG](https://www.ecigssa.co.za/data/attachments/30/30476-9389ddddb9e0e084bdea30e8687965dc.jpg "DSC_1130 [1280x768].JPG")
![DSC_1131 [1280x768].JPG](https://www.ecigssa.co.za/data/attachments/30/30477-d9c8863804a78f10f952210067cace48.jpg "DSC_1131 [1280x768].JPG")
![DSC_1127 [1280x768].JPG](https://www.ecigssa.co.za/data/attachments/30/30473-eb0a61b81e9b8d3e8b6da1e66a48e4c2.jpg "DSC_1127 [1280x768].JPG")
![DSC_1132 [1280x768].JPG](https://www.ecigssa.co.za/data/attachments/30/30474-c1b6de8d1ca58ceba782296971dae13e.jpg "DSC_1132 [1280x768].JPG")
![DSC_1134 [1280x768].JPG](https://www.ecigssa.co.za/data/attachments/30/30475-090da6b95bd2a7540fdd8929dbb5d227.jpg "DSC_1134 [1280x768].JPG")
![DSC_1133 [1280x768].JPG](https://www.ecigssa.co.za/data/attachments/30/30472-26baf0309b29f736c84556a63cc121c2.jpg "DSC_1133 [1280x768].JPG")
![DSC_1136 [1280x768].JPG](https://www.ecigssa.co.za/data/attachments/30/30468-76453c28c7999931d2c25b82fcd4c42b.jpg "DSC_1136 [1280x768].JPG")
![DSC_1137 [1280x768].JPG](https://www.ecigssa.co.za/data/attachments/30/30470-5ade5795b77c55ed6251c4728a365153.jpg "DSC_1137 [1280x768].JPG")
![DSC_1142 [1280x768].JPG](https://www.ecigssa.co.za/data/attachments/30/30471-5da3fc6738c4bc268f04734e3ad89aad.jpg "DSC_1142 [1280x768].JPG")
![DSC_1140 [1280x768].JPG](https://www.ecigssa.co.za/data/attachments/30/30466-9ea20c8a77d1a83bc1285f9c34da9c6b.jpg "DSC_1140 [1280x768].JPG")
![DSC_1135 [1280x768].JPG](/data/attachments/30/30465-bb7ffdcb4c77f5aac19ab393c2f4b003.jpg)
![DSC_1143 [1280x768].JPG](/data/attachments/30/30467-678597145024681cc8081d2bcfebb70f.jpg)
Awesome! Very neat work dude!
Awesome! Very neat work dude!
I was going to do a black and yellow batman logo style paint job but I decided I cant put batman on allllllll my mods

Very Nice man!!
V
Viper_SA
Guest
Can anyone tell we where I can source just 510 and mosfet for a single 18650 build? Maybe the switch too.
Can anyone tell we where I can source just 510 and mosfet for a single 18650 build? Maybe the switch too.
Apart from the 510 connector (not locally available), everything else available from your local electronic supplier.
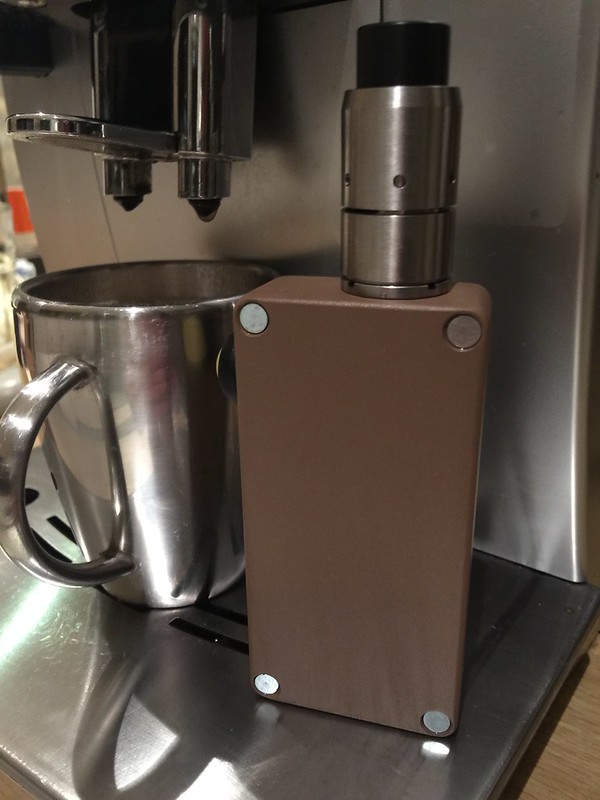
I Didn't take any pics before this stage, but it mostly involved lots of sanding.. to get rid of the "Hammond Lean". Eventually I was able to get her standing straight, next to my Reo.
The next step involved cleaning, getting ready for primer. Three prime coats later, followed by yet more sanding and we were ready for the paint. This was completed after another 3 coats, and finished with a fine sand down.
Which brings me to this first pic, and test fitting the tray in the corner.
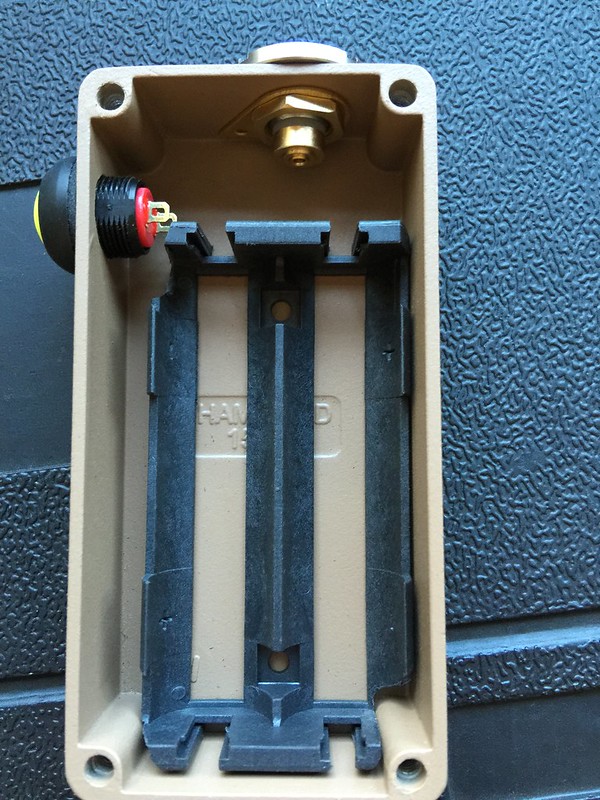
For this one, I had decided to create a groove for the wire into the bottom edge of the battery sled, so that the cable formed part of the sled after completion. I finished it off with epoxy, and sanded everything back into spec. after this photo was taken.
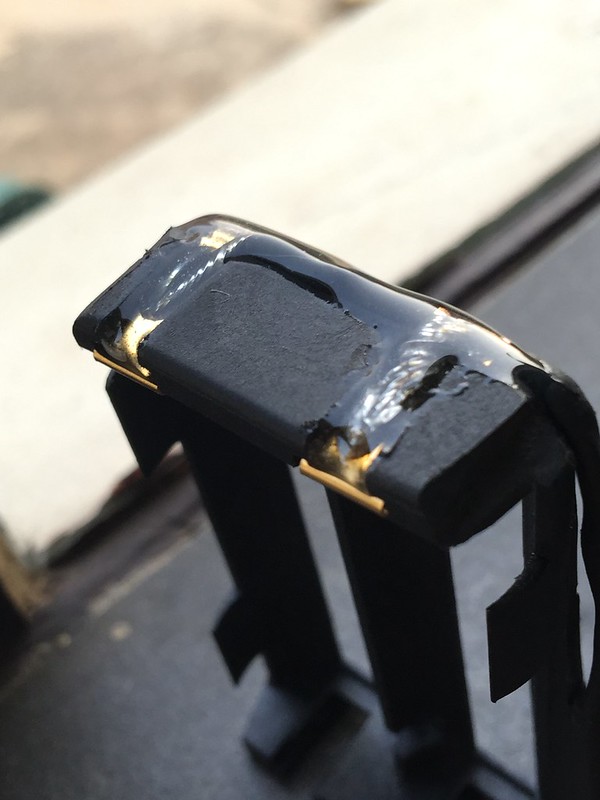
Another test fitting to check wire lengths.
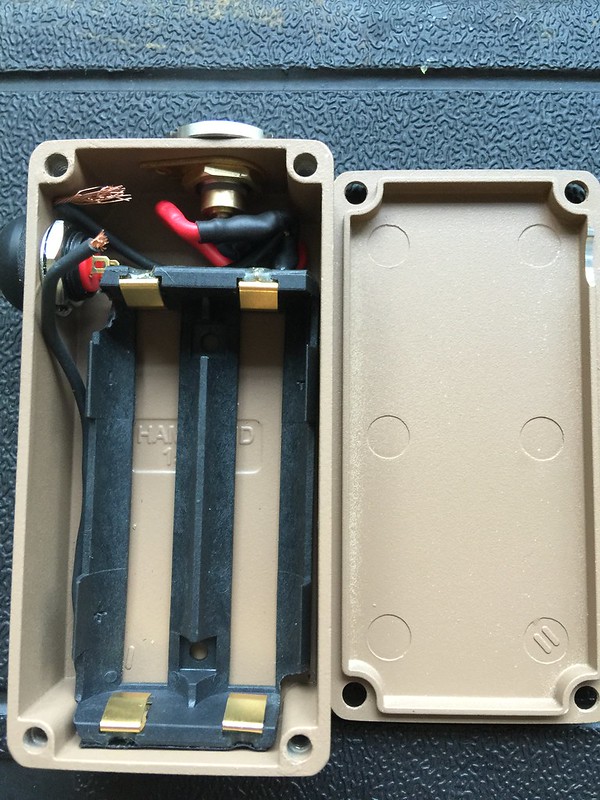
Final test with batteries in. The only epoxy used was in the two mounting holes on the battery sled. The mosfet assembly fits snugly in place without the need for any glue, and for future possible maintenance issues.
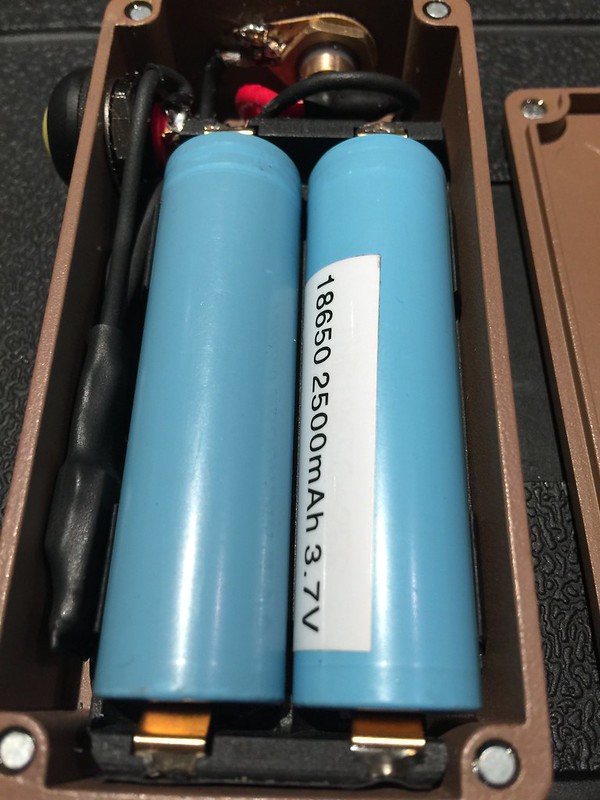
And all done.
The next step involved cleaning, getting ready for primer. Three prime coats later, followed by yet more sanding and we were ready for the paint. This was completed after another 3 coats, and finished with a fine sand down.
Which brings me to this first pic, and test fitting the tray in the corner.
For this one, I had decided to create a groove for the wire into the bottom edge of the battery sled, so that the cable formed part of the sled after completion. I finished it off with epoxy, and sanded everything back into spec. after this photo was taken.
Another test fitting to check wire lengths.
Final test with batteries in. The only epoxy used was in the two mounting holes on the battery sled. The mosfet assembly fits snugly in place without the need for any glue, and for future possible maintenance issues.
And all done.
Awesome!

Nice one @Alex I'm busy with one down in the cape and the weather is driving me nuts 2 coats 30min apart is taking 2 - 3 days to dry before I can wet sand and add more paint.
I found the sanding and painting part to be very relaxing, I've almost finished a paint job on one of my friends Reo's that has gone from raw alum to appliance white, and it's starting to look incredible now.


Great stuff. Looking forward to see the progress.OK so within the next week or so i will be posting my journey to build a 3D printed DIY box, big thanks for the help @eviltoy , here is a peek at the design it needs a few update then going to be printed within the next few days
View attachment 35619 View attachment 35620
Ah yeah a local 3D printed mod
OK so within the next week or so i will be posting my journey to build a 3D printed DIY box, big thanks for the help @eviltoy , here is a peek at the design it needs a few update then going to be printed within the next few days
View attachment 35619 View attachment 35620
Great stuff guys, cant wait to see it completed

Question, will the 3D printer be able to print the door groove angle (on the mod itself, where the door slides in)? Or will you cut it afterwards?
Its all printed thats the beauty of it, no hole drilling ect all complete just like a few excess pieces in the sidesGreat stuff guys, cant wait to see it completed
Question, will the 3D printer be able to print the door groove angle (on the mod itself, where the door slides in)? Or will you cut it afterwards?
This looks awesome. Can't wait to see the finished product
Went this morning booked the printing but the place is a bit back logged but will have the printed models in my hands next weekThis looks awesome. Can't wait to see the finished product
Series will give you 8.4v on full charge. For that to be vapeable you going to have to build a very high ohm coil or you'll just end up setting your wicks alight.Question: Should I go series or parallel on my DIY boxes?
My recommendation is to go parallel it almost doubles the amp load you can run.
If you want to go series you need a pwm board or something to tone it down.
Stick to parallel bud. Series is boss but for the cloud makers like me. But Is abit hectic at timesQuestion: Should I go series or parallel on my DIY boxes?
Sent from my SM-G925F using Tapatalk

Similar threads
- Replies
- 0
- Views
- 253
- Replies
- 1
- Views
- 3K
- Replies
- 0
- Views
- 2K
- Replies
- 2
- Views
- 1K
