Hi All
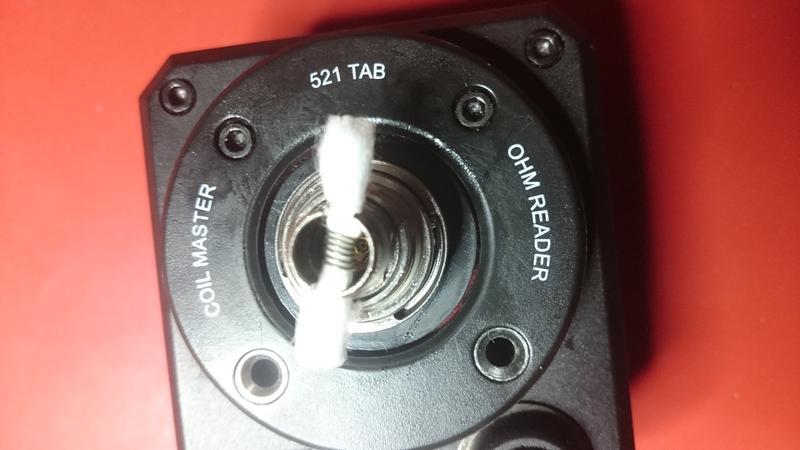
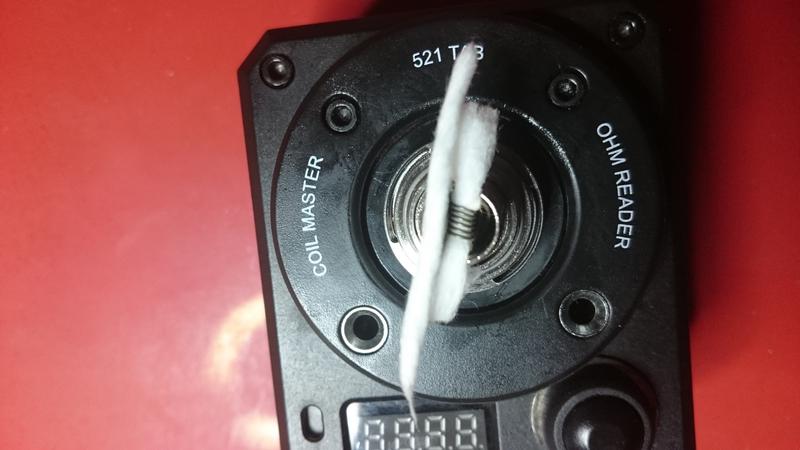
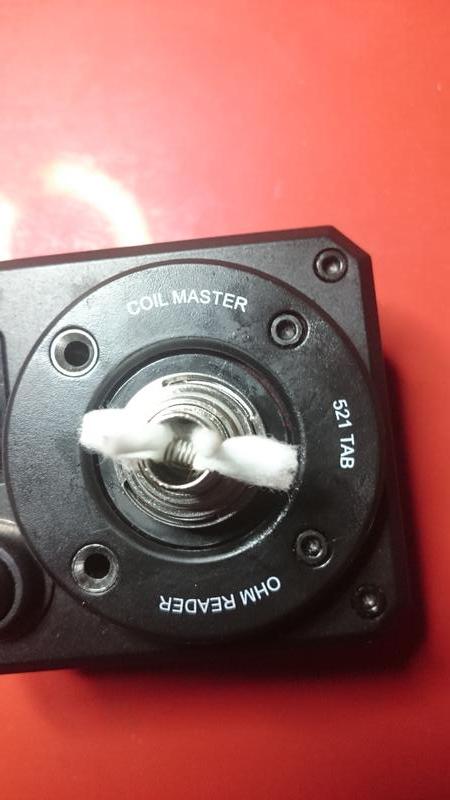
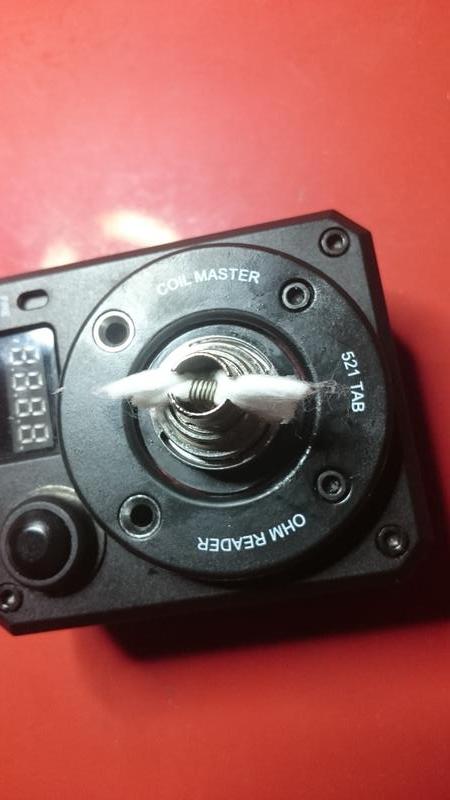
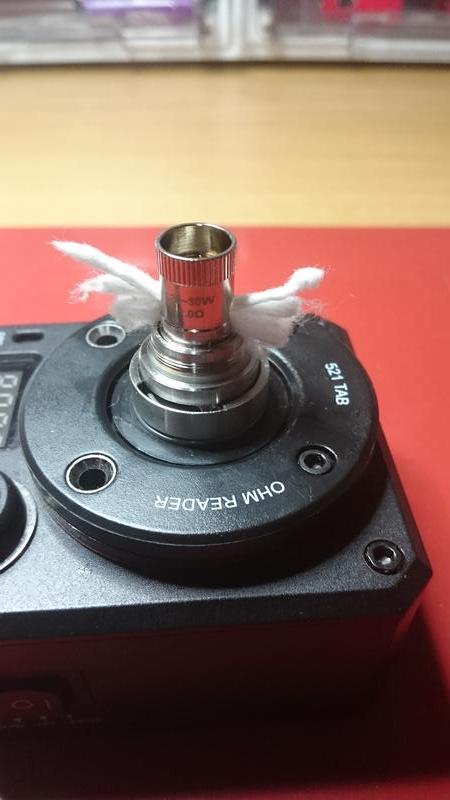
Looking for advice on wicking methods for the ECR rebuildable head on my Melo 3 mini tank. Currently when I wick every now and then I get a horrible burnt hit and the tank leaks. How can this be avoided?
Any assistance will be much appreciated")
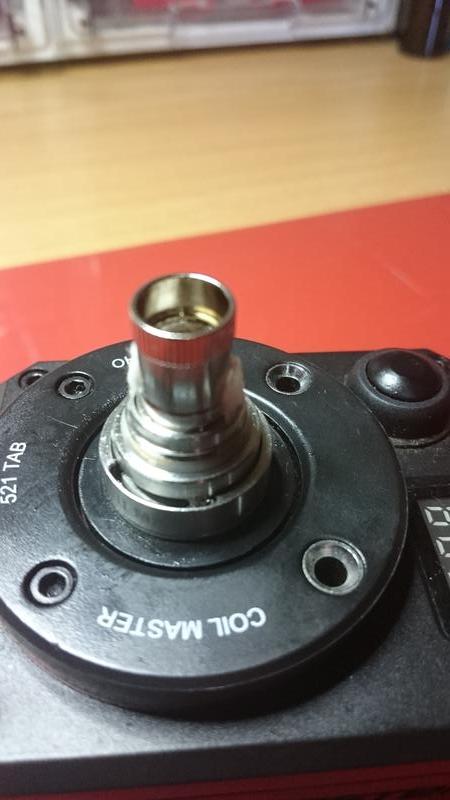
Looking for advice on wicking methods for the ECR rebuildable head on my Melo 3 mini tank. Currently when I wick every now and then I get a horrible burnt hit and the tank leaks. How can this be avoided?
Any assistance will be much appreciated