I happened to open up one of the oem dual horizontal coils on my Pt mini 3 and looking at the loose twisted silica fibers gave me the heeby jeebies.
In my YouTube travels I came across Bill Bottoms and his oval coil rebuild... bottoms hahaha ...sorry minion humour.
In short I now have a dislike for silica fibers and rebuild with japanese organic cotton. There seems to be a dislike for the dual horizontal coils due to the fact that they obstruct each others airflow. The coil housing is crammed with silica wick to stop gurgling and leaking. (another complaint of the dual coils)
A view of the dual horizontals. These seem to be an older version and the current trend seems to be the vertical coil with wick inside the casing.
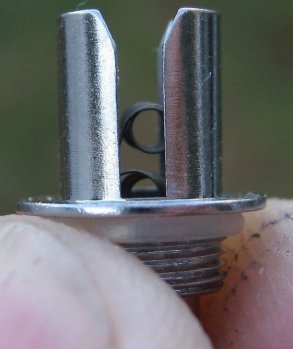
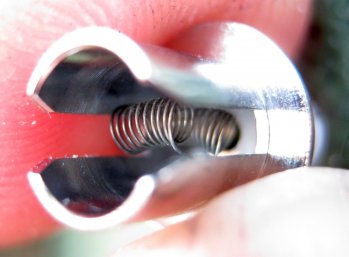
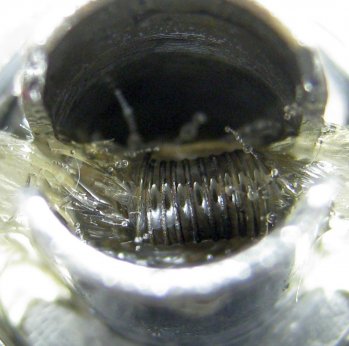
The heeby jeeby silica wicked coil, my throat tickles just looking at it.
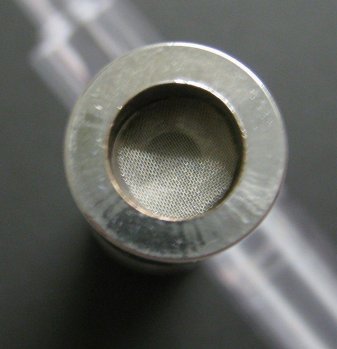
This is a quick fix, a stainless steel screen under the drip tip, its a 150 line per inch so adds a fair amount of drag to the airflow. I only do mouth to lung'ers so no probs for me.
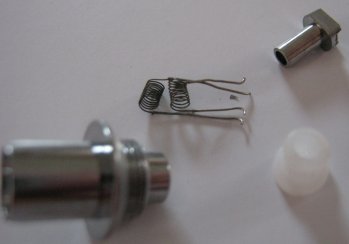
Heres the parts of the opened up coil assembly, wick had already been tossed by this stage.
On to the build, original coil was a 2.0 ohm, so its roughly 6 wraps of #30 on 2 x 1.5mm drill bits to acquire the oval shape. Some #30 gauge is used as a spacer to get the coils off after they have been heated on the drill bits to keep their shape.
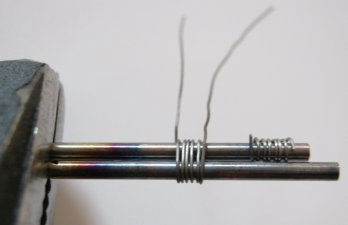
Once you slide the spacer out, the oval coil comes out easily.
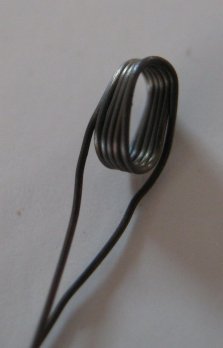
Bill recommends a washer as a spacer to get the coil centered, didnt work for me and I removed said spacer.
Basically its
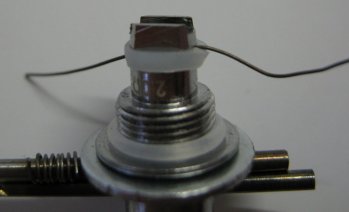
Done and dusted.
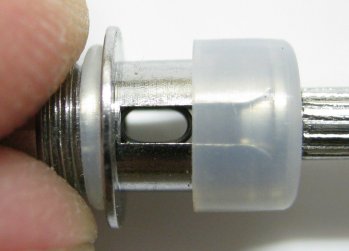
Now for the wick, I used a piece about 30mm long half the thickness of the sheet (3mm maybe) and at least twice the height of the coil, ie 6~8mm.
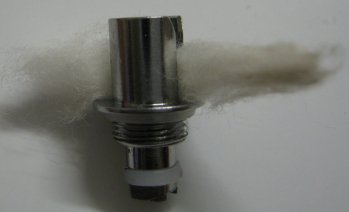
Trimmed flush with the edge of the well.
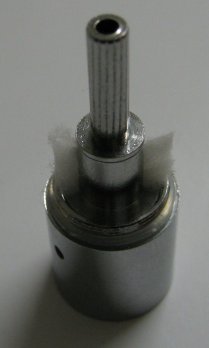
A view from the top.
If those fibers do decide to let go, at least you'll have a nice organic cough, more errrhemm than scratchy.
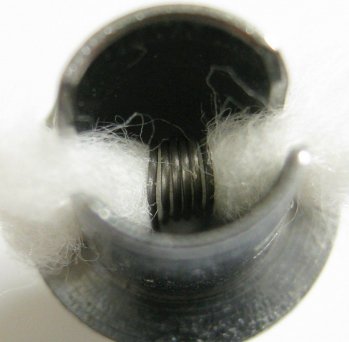
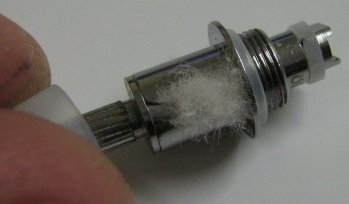
Fluff out the cotton, notice how it fills the cutouts, even without the cap seal on.
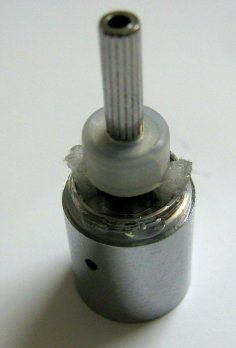
Coil assembled pre- wetted with a drop of neat glycerine on the threads for ease of threading.
Tadaa!
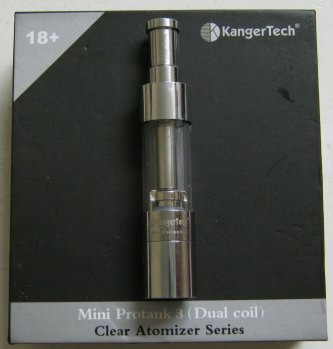
So, how does it vape man?
Dunno, saving it for a tasty juice, but I’m super confident that I won’t be disappointed.


In my YouTube travels I came across Bill Bottoms and his oval coil rebuild... bottoms hahaha
In short I now have a dislike for silica fibers and rebuild with japanese organic cotton. There seems to be a dislike for the dual horizontal coils due to the fact that they obstruct each others airflow. The coil housing is crammed with silica wick to stop gurgling and leaking. (another complaint of the dual coils)
A view of the dual horizontals. These seem to be an older version and the current trend seems to be the vertical coil with wick inside the casing.


The heeby jeeby silica wicked coil, my throat tickles just looking at it.

This is a quick fix, a stainless steel screen under the drip tip, its a 150 line per inch so adds a fair amount of drag to the airflow. I only do mouth to lung'ers so no probs for me.

Heres the parts of the opened up coil assembly, wick had already been tossed by this stage.

On to the build, original coil was a 2.0 ohm, so its roughly 6 wraps of #30 on 2 x 1.5mm drill bits to acquire the oval shape. Some #30 gauge is used as a spacer to get the coils off after they have been heated on the drill bits to keep their shape.

Once you slide the spacer out, the oval coil comes out easily.

Bill recommends a washer as a spacer to get the coil centered, didnt work for me and I removed said spacer.
Basically its
- insert the drill bits back into the coil.
- position the coil in the housing with the legs hanging out the bottom.
- 1 leg outside the silicone insulator and 1 inside.
- pull the legs tight and slide the positive contact back in.
- trim leads flush.

Done and dusted.

Now for the wick, I used a piece about 30mm long half the thickness of the sheet (3mm maybe) and at least twice the height of the coil, ie 6~8mm.

Trimmed flush with the edge of the well.

A view from the top.
If those fibers do decide to let go, at least you'll have a nice organic cough, more errrhemm than scratchy.

Fluff out the cotton, notice how it fills the cutouts, even without the cap seal on.

Coil assembled pre- wetted with a drop of neat glycerine on the threads for ease of threading.

Tadaa!

So, how does it vape man?
Dunno, saving it for a tasty juice, but I’m super confident that I won’t be disappointed.


