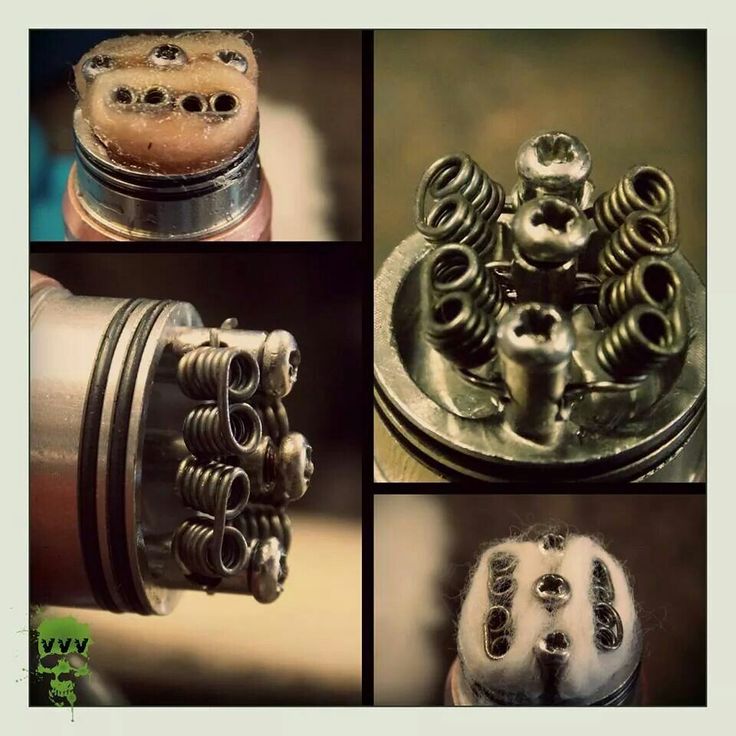
Why when you can just buy another one?
At R40 a pop, why not?
This is the 1ohm coil for a Vap3 V8 type atomiser.
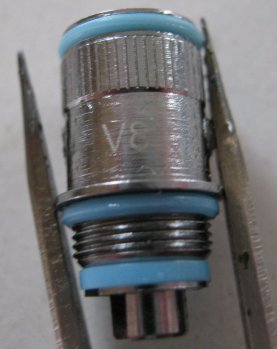
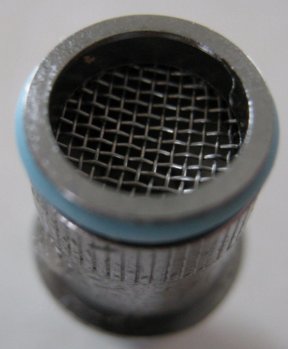
It has a nice screen serving as anti spit back no doubt, it is also where to begin for the dissassembly, fairly tricky getting it to pop off.
Stripped because soaking in spirit didnt help and neither did a blast of steam. That caked on crud could have been a ceramic coating, it was stuck solid and glowed for a while after the coil was powered down. Only way to get it off to reuse the original coil is to burn it clean.
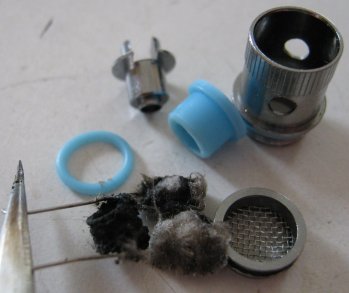
Coil cleaned and ready for stuffing with organic jap cotton in a scottish roll format.
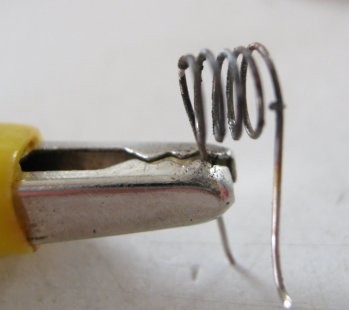
Wicked, slight heavier on the one side, will keep that in mind for next time.
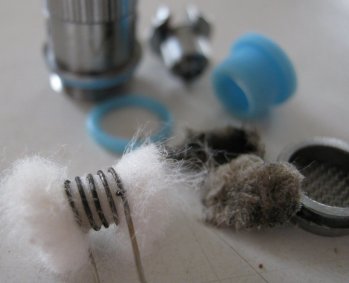
Install the coil with the wick ends against the case holes and fluff it up a bit.
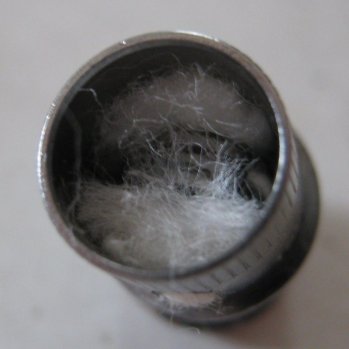
Presoak with plain glycerine.
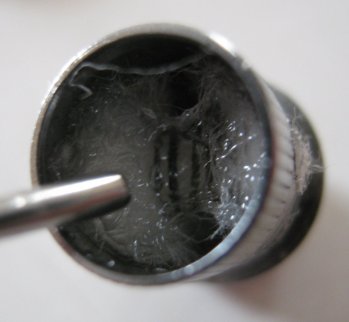
Reinstall the silicon grommet with one coil leg on the outside against the wall and one on the inside of the grommet.
Then insert the positive pin and trim any protruding wire flush with a nail clipper.
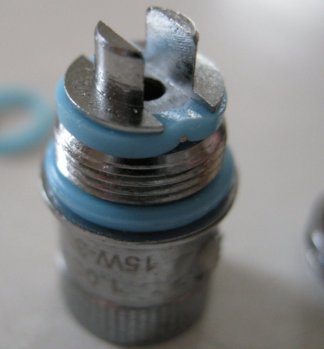
Finally reinstall the ss screen. Notice how juiced the side vent is, means less startup soak wait time even though those first few vapes are going to be rather bland.
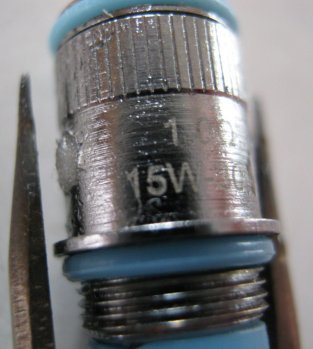
Here we check for shorts and to make sure we're still in the ballpark of the original coil resistance.
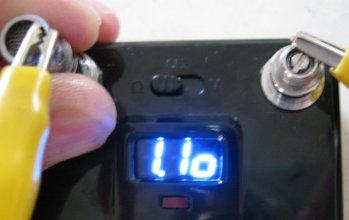
Looking good, it might be a while before I get feedback from the V8's owner as to how well the rebuilt coil functions, but I dont have any reason to think it will be a disaster.
PS. I used a multimeter to check the right clip wasnt touching the center positive terminal.
At R40 a pop, why not?
This is the 1ohm coil for a Vap3 V8 type atomiser.

It has a nice screen serving as anti spit back no doubt, it is also where to begin for the dissassembly, fairly tricky getting it to pop off.

Stripped because soaking in spirit didnt help and neither did a blast of steam. That caked on crud could have been a ceramic coating, it was stuck solid and glowed for a while after the coil was powered down. Only way to get it off to reuse the original coil is to burn it clean.

Coil cleaned and ready for stuffing with organic jap cotton in a scottish roll format.

Wicked, slight heavier on the one side, will keep that in mind for next time.

Install the coil with the wick ends against the case holes and fluff it up a bit.

Presoak with plain glycerine.

Reinstall the silicon grommet with one coil leg on the outside against the wall and one on the inside of the grommet.
Then insert the positive pin and trim any protruding wire flush with a nail clipper.

Finally reinstall the ss screen. Notice how juiced the side vent is, means less startup soak wait time even though those first few vapes are going to be rather bland.

Here we check for shorts and to make sure we're still in the ballpark of the original coil resistance.

Looking good, it might be a while before I get feedback from the V8's owner as to how well the rebuilt coil functions, but I dont have any reason to think it will be a disaster.
PS. I used a multimeter to check the right clip wasnt touching the center positive terminal.


