

S
Spyro
Guest
Why trade a promech 2 for a promech?
Just curious.
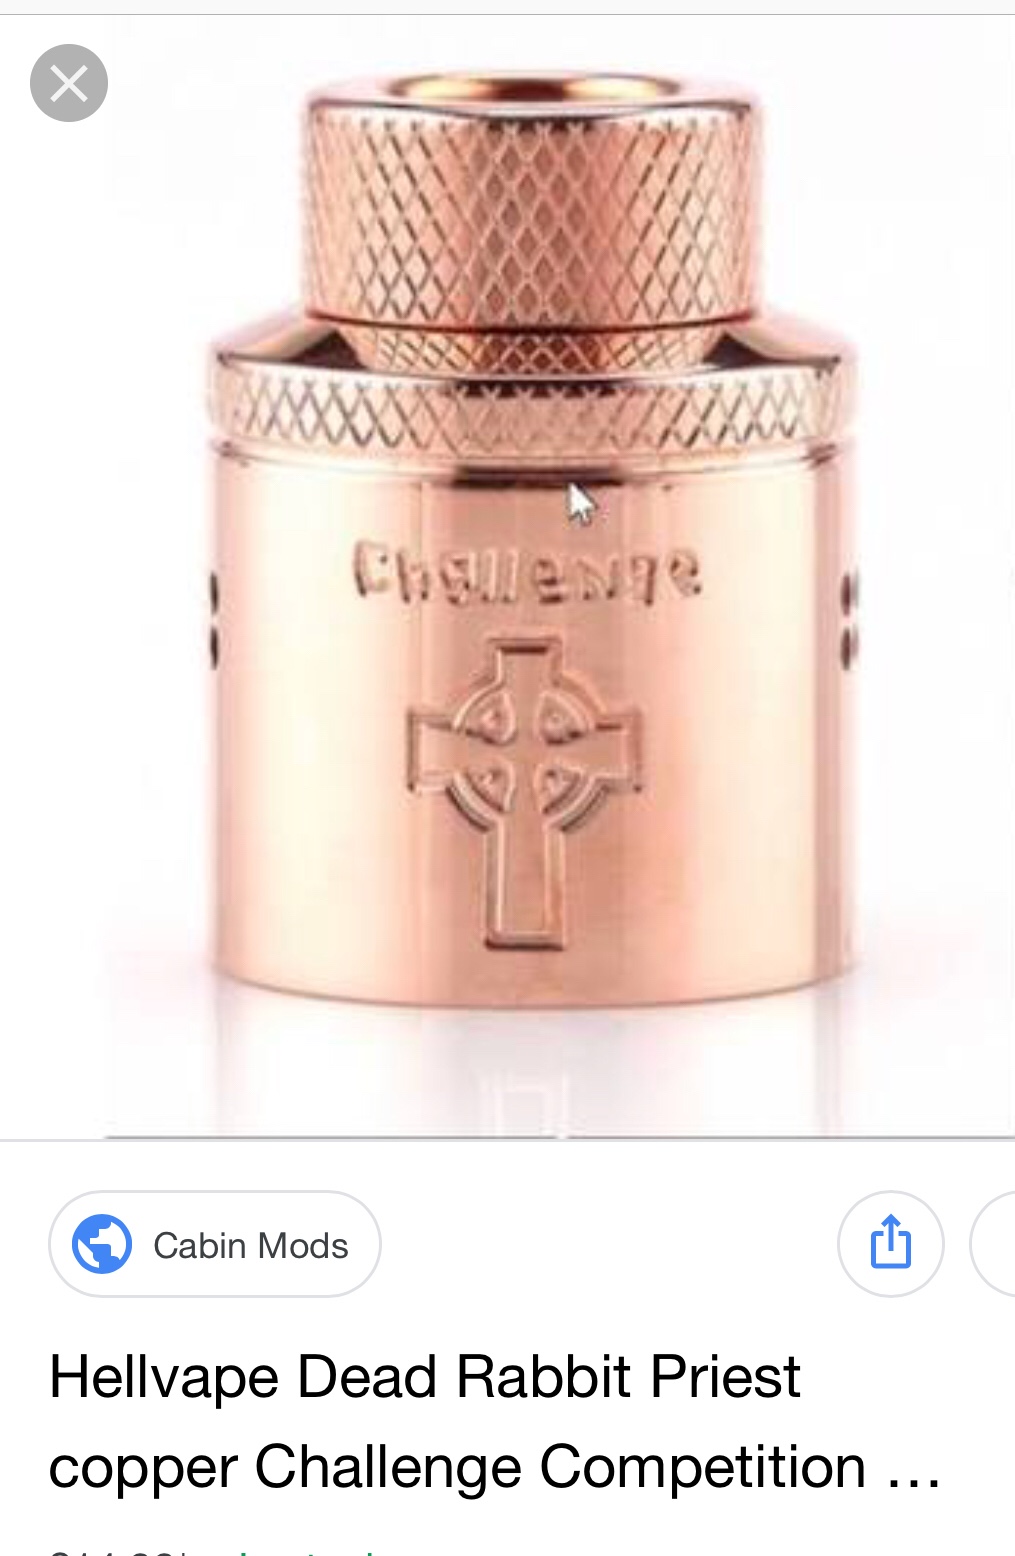
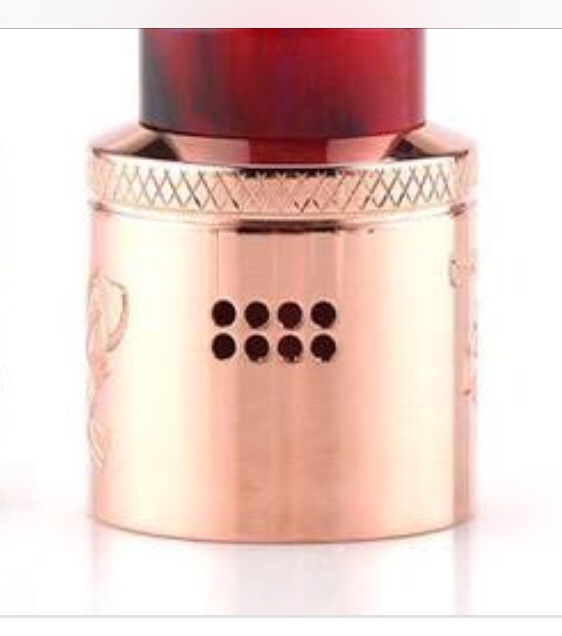
I want a full copper mech to match my dead rabbit with priest Cap. Original plan was to strip it . But because of the black sleeves I've decided to go with the pro mech 1 for the sake of complete copper.
")


") ) just a tip but ensure you oil the threads on the bit that screws onto your vape as it prevents it from getting stuck later on. And wipe down the vape ensuring there is no residue on it.
) just a tip but ensure you oil the threads on the bit that screws onto your vape as it prevents it from getting stuck later on. And wipe down the vape ensuring there is no residue on it..jpeg")
.jpeg")

.jpeg")
.jpeg")

