Navigation
Install the app
How to install the app on iOS
Follow along with the video below to see how to install our site as a web app on your home screen.

Note: this_feature_currently_requires_accessing_site_using_safari
More options
You are using an out of date browser. It may not display this or other websites correctly.
You should upgrade or use an alternative browser.
You should upgrade or use an alternative browser.
Polishing Vape Gear
- Thread starter Rob Fisher
- Start date
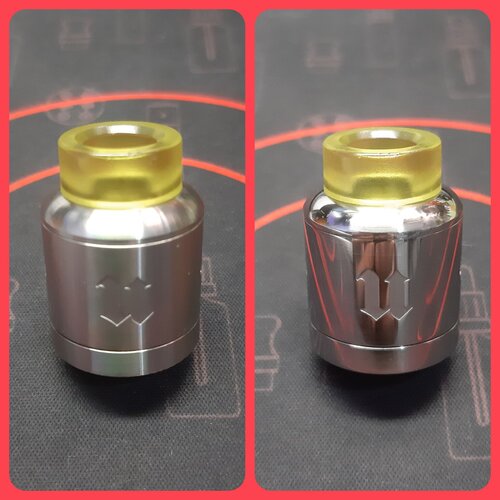
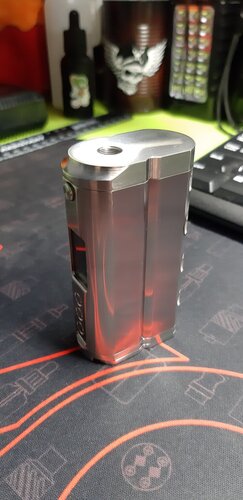
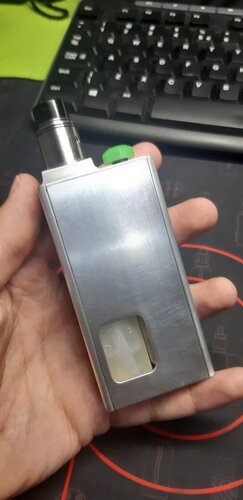
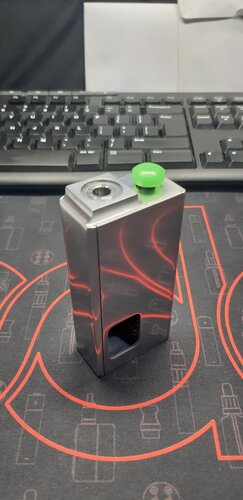
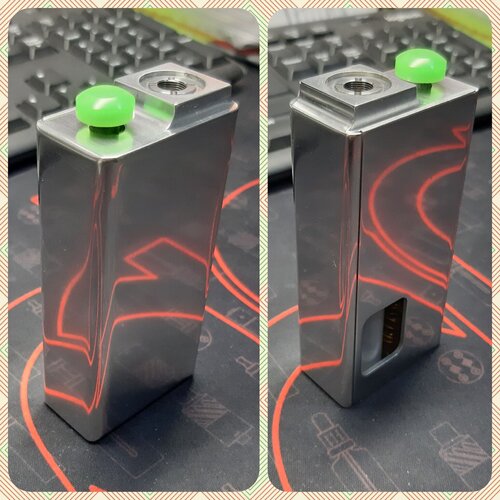
Mothers is the way... used it on the Dvarw DL with spectacular results! Thanks @Rob Fisher ! I now understand the appeal (and difference). All polish are equal, some are just more equal than others...
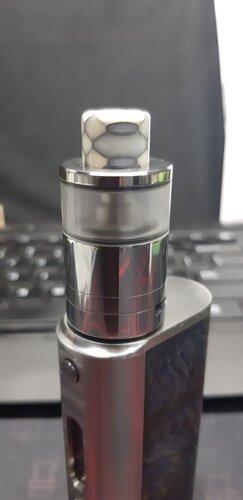

Mothers is the way... used it on the Dvarw DL with spectacular results! Thanks @Rob Fisher ! I now understand the appeal (and difference). All polish are equal, some are just more equal than others...
View attachment 229846
Winner winner chicken dinner!
Very nice
V
Viper_SA
Guest
Thank goodness I'm into brushed stainless... That looks like a LOT of work. Nicely done @DarthBranMuffin
V
Viper_SA
Guest
This might not be 100% the right thread for this, but it's the closest one I could find and maybe I can give someone some fresh thoughts.
I usually just soak my attys in warm water (the warmest the tap will allow) and then shake them dry and leave the parts on some kitchen towel to dry overnight. This has always worked for me, but recently, especially with some MTL RTA's I have noticed they need some more cleaning, and a gentle toothbrush scrub or so as well. Even started using a bit of Sunlight Liquid while soaking. I always washed the glass separately and dried it with a soft cloth, so they were never in scorching hot water or soap.
No I have to go back a little bit before I can go forward. Some weeks back I was washing my Recurve that I use for juice testing. It has a snazzy red 810 drip tip. When it came out of the warm water it had turned a sickly pink I was heartbroken. Tried a few things, but to no avail. In the end I chucked it into scorching water again and from there straight into some ice water from the fridge. Viola, color restored.
So last night I was washing one of my Pioneer RTA's and I also had the plastic tank section in there. When I threw out the container and prepared to place the parts on my kitchen towel I noticed that the plastic had turned a milky white color. Didn't fuss about it too much, and figured it would be fine once it had juice in. It was not fine and the milky color made seeing the level impossible almost. I stripped the RTA again and tried the same trick as with the drip tip. Nope, not working.... Spoke to @DarthBranMuffin who suggested trying a plastic polish (like the type you can polish your car's headlight covers with). To be honest I didn't even know things like that are available. Ran to the shops today, and finally found something similar at Midas after most places stared at me like I was crazy. Now I have half a tube of Autosol metal polish in the garage that I bought back in 2012 when I was heavy into airgunning and still serviced and refurbished airguns for people. So I know this stuff lasts forever. I picked up the only one in the range that had the word "plastic" on it.
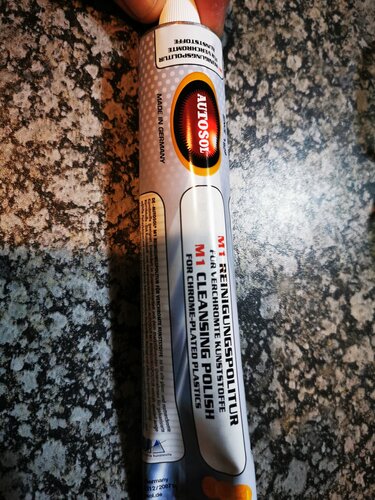
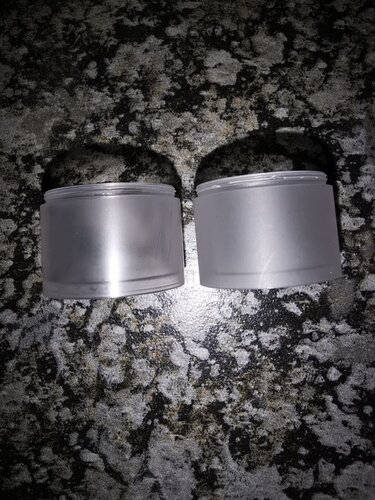
Also picked up some microfiber cloths and off I went to polish the little plastic tank section. Worked like a dream and in a very very short time it had been restored to it's former look. Now the Autosol leaves a little greasy residue much like Brasso, so I reached for the Sunlight Liquid and toothbrush to clean it properly. Wham! Back came the milky color. So it was the damn Sunlight Liquid that caused my problems. Polished it again, and this time decided that if it cracked due to chemicals, so be it. I have a spare if all else fails. So to clean off the greasy residue I used Mr. Muscle Kitchen Clean. No damage to the plastic and it stayed almost crystal clear. The one on the left is the old one, compared to a brand new one from it's packaging on the right. (I wish I had taken some before pics)
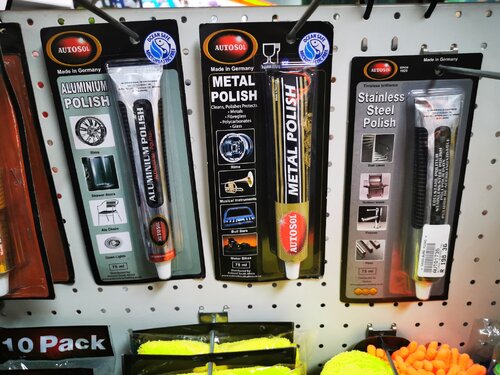
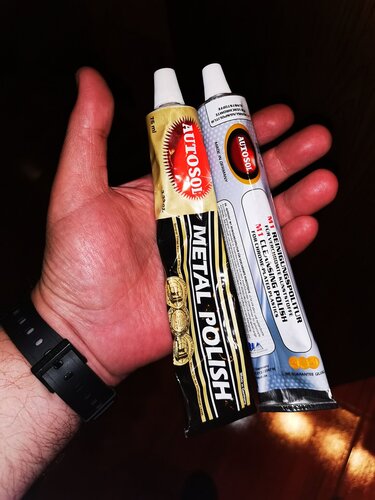
When I was fist introduced to Autosol on a UK airgun forum we only had the gold metal polish one available at my local Midas. Today I saw that it comes in different applications now. Ranging from metal to plastic, aluminum and even stainless steel separately.
Sorry for the long post for something so insignificant, but maybe somewhere someone can get an idea or save some money with this product. I paid R170 for the 75g tube. (will add a pic at the end of the thread to demonstrate size)
Here is the range that was available today, there might be more in bigger cities.
I usually just soak my attys in warm water (the warmest the tap will allow) and then shake them dry and leave the parts on some kitchen towel to dry overnight. This has always worked for me, but recently, especially with some MTL RTA's I have noticed they need some more cleaning, and a gentle toothbrush scrub or so as well. Even started using a bit of Sunlight Liquid while soaking. I always washed the glass separately and dried it with a soft cloth, so they were never in scorching hot water or soap.
No I have to go back a little bit before I can go forward. Some weeks back I was washing my Recurve that I use for juice testing. It has a snazzy red 810 drip tip. When it came out of the warm water it had turned a sickly pink
So last night I was washing one of my Pioneer RTA's and I also had the plastic tank section in there. When I threw out the container and prepared to place the parts on my kitchen towel I noticed that the plastic had turned a milky white color. Didn't fuss about it too much, and figured it would be fine once it had juice in. It was not fine and the milky color made seeing the level impossible almost. I stripped the RTA again and tried the same trick as with the drip tip. Nope, not working.... Spoke to @DarthBranMuffin who suggested trying a plastic polish (like the type you can polish your car's headlight covers with). To be honest I didn't even know things like that are available. Ran to the shops today, and finally found something similar at Midas after most places stared at me like I was crazy. Now I have half a tube of Autosol metal polish in the garage that I bought back in 2012 when I was heavy into airgunning and still serviced and refurbished airguns for people. So I know this stuff lasts forever. I picked up the only one in the range that had the word "plastic" on it.

Also picked up some microfiber cloths and off I went to polish the little plastic tank section. Worked like a dream and in a very very short time it had been restored to it's former look. Now the Autosol leaves a little greasy residue much like Brasso, so I reached for the Sunlight Liquid and toothbrush to clean it properly. Wham! Back came the milky color. So it was the damn Sunlight Liquid that caused my problems. Polished it again, and this time decided that if it cracked due to chemicals, so be it. I have a spare if all else fails. So to clean off the greasy residue I used Mr. Muscle Kitchen Clean. No damage to the plastic and it stayed almost crystal clear. The one on the left is the old one, compared to a brand new one from it's packaging on the right. (I wish I had taken some before pics)

When I was fist introduced to Autosol on a UK airgun forum we only had the gold metal polish one available at my local Midas. Today I saw that it comes in different applications now. Ranging from metal to plastic, aluminum and even stainless steel separately.
Sorry for the long post for something so insignificant, but maybe somewhere someone can get an idea or save some money with this product. I paid R170 for the 75g tube. (will add a pic at the end of the thread to demonstrate size)
Here is the range that was available today, there might be more in bigger cities.


V
Viper_SA
Guest
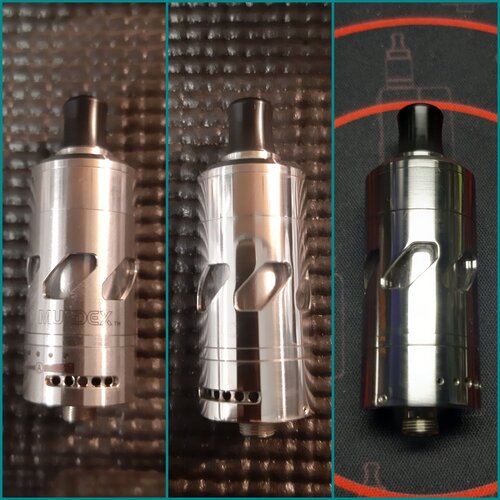
My fingers are cramping up just looking at that! I've polished enough airgun pistons to know the work that goes into it. Even with mechanical help sometimes.Step 1: get Reo
Step 2: create fingerprint magnet
It's ok, it's my fingerprint magnet and I like it!!
View attachment 237022
My fingers are cramping up just looking at that! I've polished enough airgun pistons to know the work that goes into it. Even with mechanical help sometimes.
I'll feel it tomorrow for sure... this was by-hand only.
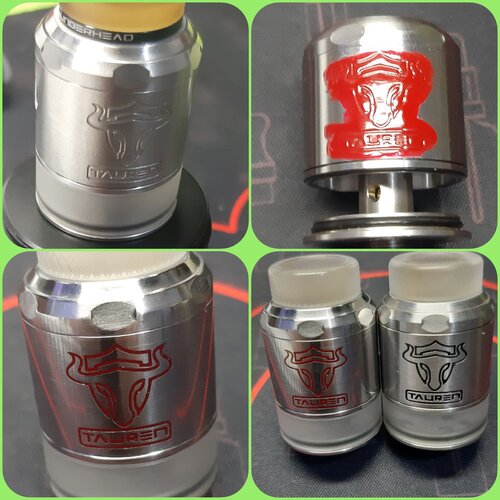
Netjies! Looks great.Quick Tip for fixing engraved logos on tanks:
- Remove extra paint from the logo if it started flaking/peeling
- paint on two layers of your preferred color, cutex will do (don't tell the Mrs)
- Let it dry over night
- Polish it up and you have a new tank logo sorted
View attachment 237261
Quick Tip for fixing engraved logos on tanks:
- Remove extra paint from the logo if it started flaking/peeling
- paint on two layers of your preferred color, cutex will do (don't tell the Mrs)
- Let it dry over night
- Polish it up and you have a new tank logo sorted
View attachment 237261
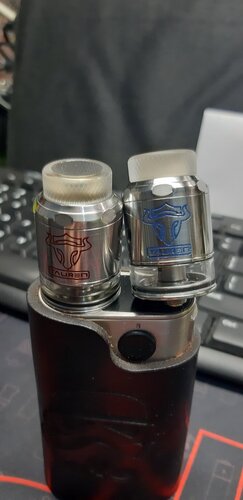
I knew that Taureen RDTA was going to the right home!!!
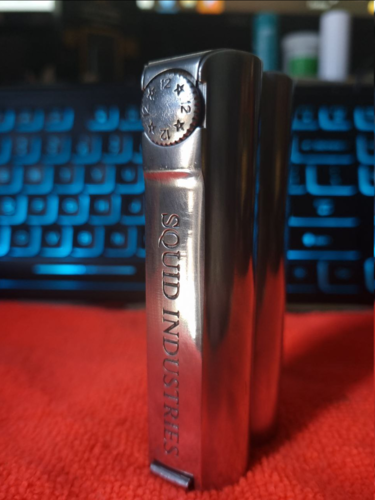
Beautiful! Can’t wait to see the final result.Labour of love - got this pre loved Double barrel and between me and my ''tame engineer'' this is the nearly finished result ...[@Resistance you'll like this]
View attachment 237348
Labour of love - got this pre loved Double barrel and between me and my ''tame engineer'' this is the nearly finished result ...[@Resistance you'll like this]
View attachment 237348
Nicely Done @ARYANTO !!!
So far so good. Glad you kept going with this project.Labour of love - got this pre loved Double barrel and between me and my ''tame engineer'' this is the nearly finished result ...[@Resistance you'll like this]
View attachment 237348
That blue one has my name written on it.
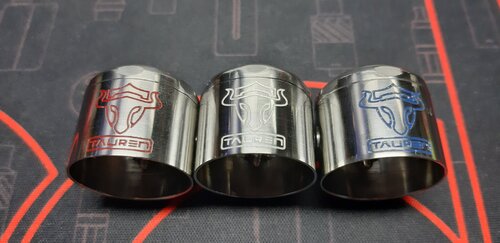
I told you the blue would look good!!Unintentionally ended up being Red White and Blue... but looking good none the less!
View attachment 238481
Awesome job!
That's friggen fantastic! ... You've certainly taken Mod and Atty restoration to a whole new levelUnintentionally ended up being Red White and Blue... but looking good none the less!
View attachment 238481
Similar threads
- Replies
- 3
- Views
- 616


